If you want to get the most out of your boat, learning how to properly clean the hull is non-negotiable. It’s hands down the best thing you can do for performance and fuel efficiency. The whole routine—hauling out, pressure washing the slime off, scrubbing away the tough stuff like barnacles, and finishing with a protective coat—is a core skill every boat owner should have in their back pocket.
Why a Clean Hull Is Your Boat’s Best Upgrade
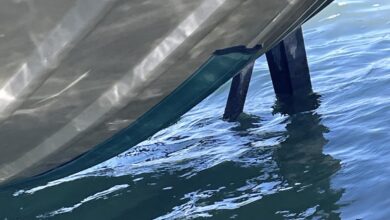
A clean hull isn’t just about looking good at the dock. It’s the very foundation of your boat’s performance, efficiency, and even its lifespan. Picture your hull slicing through the water. When it’s smooth and slick, it moves almost effortlessly. But when it’s caked with marine growth, you’re essentially dragging an anchor everywhere you go.
That buildup of slime, algae, and barnacles is called biofouling. It creates a massive amount of drag, forcing your engine to muscle through the water and guzzle fuel just to keep you moving. The hit to your wallet and the environment is bigger than most people realize.
The Real Cost of a Dirty Hull
Putting off hull maintenance does more than just slow you down. All that biofouling can increase drag by as much as 60%. That translates into a shocking 30-40% jump in fuel consumption. Ouch. Beyond your fuel bill, the environmental impact has drawn attention from agencies like the IMO and EPA, leading to stricter rules on hull care. You can find extensive industry data on the impact of biofouling on boat performance and the environment.
A clean hull isn’t an expense; it’s an investment. The money you save on fuel and potential repairs far outweighs the cost and effort of regular cleaning. It’s the most practical performance upgrade you can make.
Your Roadmap to a Pristine Finish
To get you started, think of this guide as your roadmap. We’re going to walk through the entire process, step-by-step, so you feel confident taking on the job yourself. When you understand why you’re doing something, the how becomes second nature. From picking the right gear to applying that final protective coat, you’ll learn everything you need for a pro-level finish that keeps your boat in prime condition.
Setting Up Your Dockside Workstation
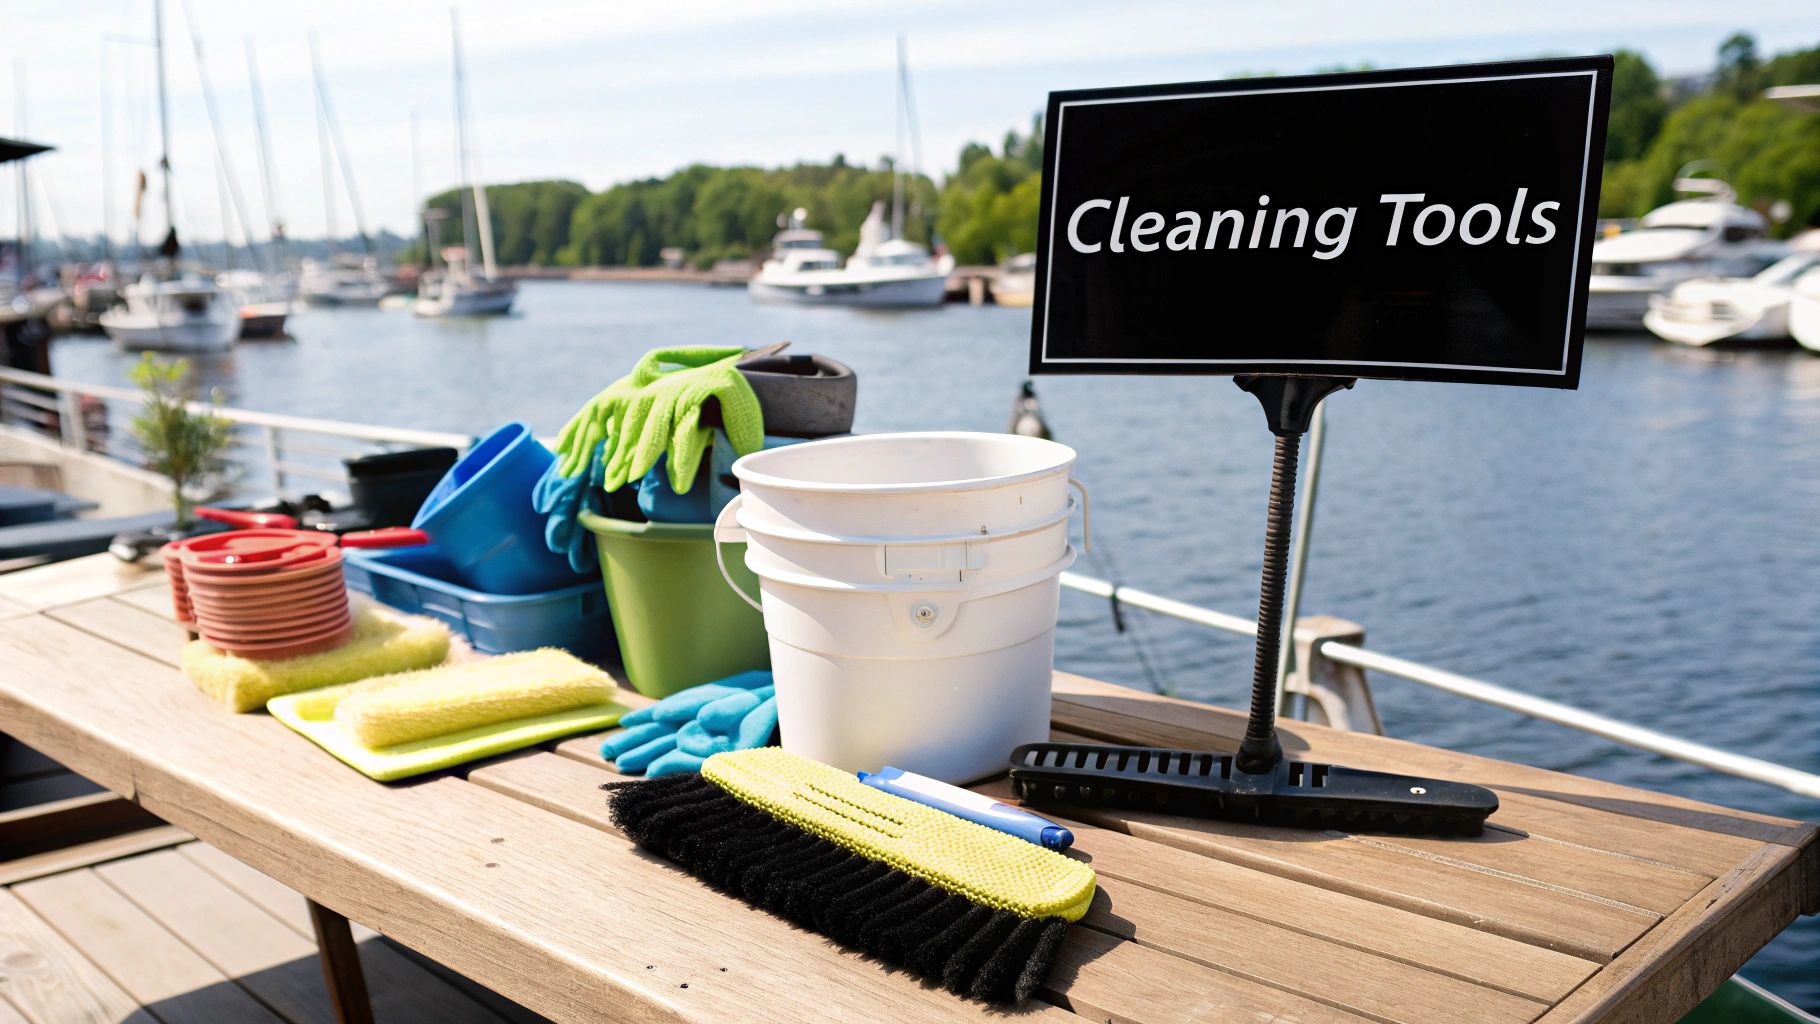
Before you even touch your boat, getting your gear in order is half the battle. From my experience, walking back and forth to the garage for a tool you forgot is the fastest way to turn a productive afternoon into a frustrating chore. A well-organized workstation is your best friend—it makes the whole process smoother, safer, and yields a much better result.
Your primary weapon against marine growth is a pressure washer, but this isn’t a “more power is better” situation. A machine in the 1,500 to 2,000 PSI range is the sweet spot. It has enough muscle to strip away slime and soft growth, but it won’t be so aggressive that you risk peeling off your gelcoat or damaging an aluminum hull.
Choosing the Right Brushes and Scrapers
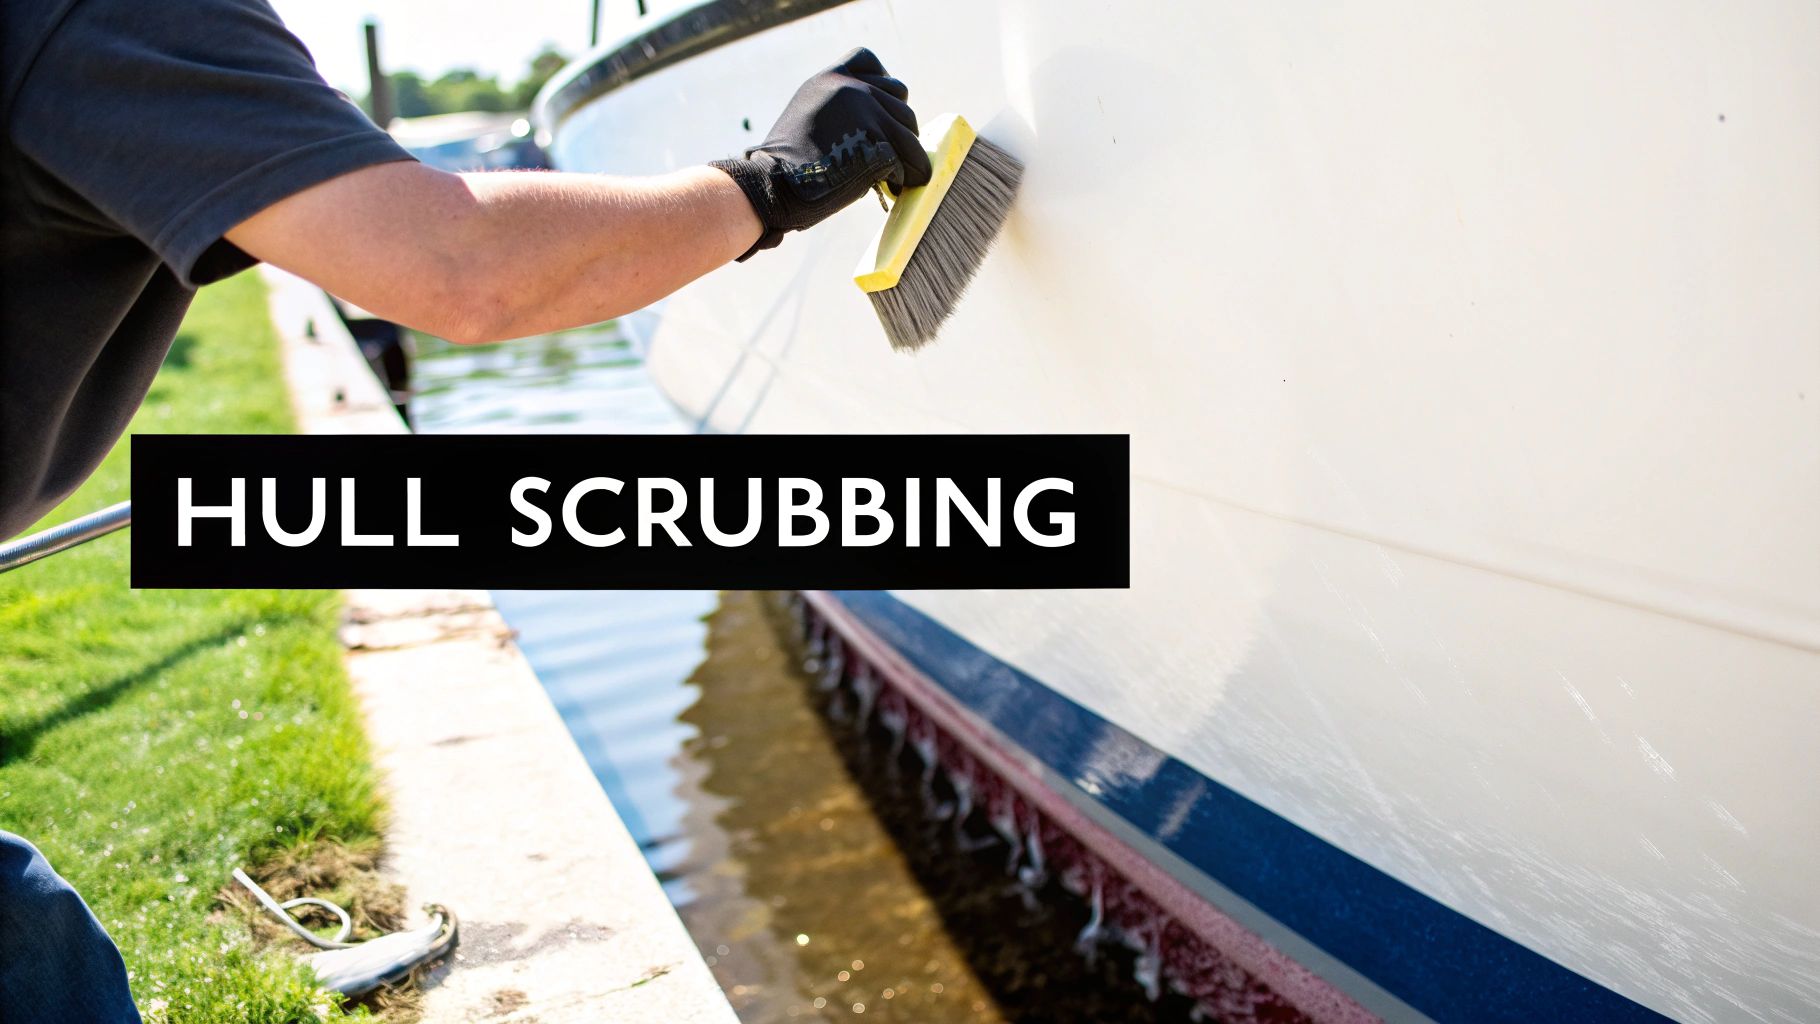
After the pressure washer does the heavy lifting, it’s time for some old-fashioned elbow grease. One of the biggest mistakes I see boat owners make is trying to use one brush for the entire job. You wouldn’t use a sledgehammer to hang a picture frame, right? The same logic applies here.
- Soft-Bristle Brushes: These are your go-to for anything above the waterline, especially painted or delicate surfaces. They clean without leaving a network of fine scratches behind.
- Medium-Stiff Brushes: This is your workhorse for the main hull area. It’s got the backbone to scrub off algae and stubborn grime but isn’t abrasive enough to cause real damage.
- Stiff-Bristle Brushes & Scrapers: Save these heavy-hitters for the nasty stuff below the waterline. Barnacles, oyster shells, and thick calcium deposits won’t stand a chance. Just be sure to use plastic scrapers on fiberglass—metal ones can gouge the surface in a heartbeat.
My Two Cents: Get yourself a good extendable pole that fits your brush heads. It’s a back-saver, for one, but it also helps you apply consistent pressure over large areas. This prevents you from ending up with a clean but patchy-looking hull.
Safety Gear is Non-Negotiable
Let’s be clear: this isn’t optional. You’re going to be working with some pretty potent marine cleaners and kicking up all sorts of dust and debris. Your health is priority number one. I never start a hull cleaning job without this basic kit:
- Splash-Proof Goggles: Chemical splashes to the eye are a serious risk. Don’t skip these.
- Chemical-Resistant Gloves: Standard latex gloves won’t cut it. You need proper nitrile or rubber gloves to protect your skin from the acids and solvents in many hull cleaners.
- P95 Particulate Respirator: If you’re doing any sanding, compounding, or even heavy scrubbing, you’re aerosolizing tiny particles. A respirator is essential to keep that junk out of your lungs.
It also goes without saying that you should wear old clothes you don’t care about and a solid pair of waterproof boots. Once you’re geared up and your tools are laid out, you’re genuinely ready to start the work. Getting this prep right from the beginning sets the stage for a successful and safe cleaning day.
Choosing the Right Cleaner for Your Hull
The hull cleaner you pick can make or break your entire weekend project. Walk into any marine supply store, and you’ll see a wall of bottles all promising a perfect finish. It’s overwhelming, but they mostly fall into a few distinct categories. Knowing the difference is what separates a clean, protected hull from one that’s accidentally been damaged.
I always tell people to think of it like this: you wouldn’t use oven cleaner on your kitchen countertops. The same logic applies here. The right product has to match the stain and your hull’s material—whether that’s fiberglass, aluminum, or wood. Picking the wrong one can easily create a bigger problem than the one you started with.
Matching the Cleaner to the Stain
Before you even think about buying a product, you need to play detective. Figure out what kind of gunk you’re actually dealing with. A little diagnosis upfront saves a ton of money, time, and elbow grease.
- Acid-Based Cleaners: These are the big guns for tough mineral stains. See that stubborn brown or yellow “ICW smile” at the waterline? Or maybe some rust streaks dripping down from your hardware? An acid-based cleaner is what you need. Products with oxalic acid are fantastic for this; they chemically lift those stains right off, often with very little scrubbing.
- Alkaline-Based Cleaners: Think of these as powerful degreasers. They’re built to tackle oily, grimy messes. If you’re fighting exhaust soot near the transom, black scuff marks from bumping against a dock, or just general road grime, an alkaline formula will dissolve that gunk in no time.
Pro Tip: Whatever you do, never mix different types of cleaners. Blending an acid with an alkaline product, for example, can create a nasty chemical reaction that’s both dangerous and completely useless. If you need to use both, rinse the hull completely with fresh water between applications.
What About Eco-Friendly Cleaners?
As boaters, we have a front-row seat to the environment we need to protect. Thankfully, modern eco-friendly cleaners are more effective than ever, designed to biodegrade into harmless substances. In fact, many marinas and local regulations now mandate them, especially if you’re doing any cleaning while the boat is in the water.
While they might not always have the instant punch of harsher chemicals, the best biodegradable options are more than capable for routine cleaning. They typically use plant-based solvents and acids that are much kinder to marine life. This is a huge reason the boat hull cleaner market hit a valuation of around USD 200 million in 2024. As more boaters and marinas prioritize the environment, the demand for green but effective solutions just keeps growing. You can discover more insights about the boat hull cleaner market to see where the industry is headed.
How to Read the Label
This sounds basic, but it’s the most important step: read the label. Check the active ingredients to confirm whether it’s acid- or alkaline-based. More importantly, look for the manufacturer’s specific guidance on hull materials. A product that makes a fiberglass hull gleam might permanently pit or discolor an unpainted aluminum hull.
A few minutes spent reading in the store aisle will save you hours of frustration later. It’s the surest way to get that boat-show shine while safeguarding your investment and the water you love.
Your Hands-on Hull Cleaning Playbook
With your gear laid out and the right cleaner picked, it’s time to get your hands dirty. All that prep work is about to pay off, turning what looks like a massive chore into a straightforward, methodical process. The secret to a great result is working safely and systematically, so let’s walk through exactly how to tackle the job.
First things first: the boat needs to be out of the water. For most of us, that means a trip to the local boatyard to get hauled out. Once it’s on the hard, make sure it’s sitting securely on boat stands or blocks. You need to be able to safely reach every inch of the hull, from the keel right up to the waterline. Don’t be shy about asking the yard crew to reposition a stand if it’s blocking access—your safety and the quality of your work depend on it.
The Initial Power Rinse
Your first move should always be a good rinse with a pressure washer. The goal here isn’t to get it perfectly clean, but to blast off all the soft growth, slime, and general gunk. Think of it as peeling back the easy top layer before you dig into the tougher stuff.
Hold the nozzle about 12-18 inches from the hull and use a fan-tip, somewhere in the 25-40 degree range, to avoid concentrating the pressure too much. By angling the spray, you can get under the growth and lift it off instead of just driving it deeper into the gelcoat. It’s amazing how effective this is; you can knock off up to 80% of the marine fouling this way and save yourself a ton of scrubbing later.
Applying Cleaner and Scrubbing Smart
Now it’s time for the chemicals. Here’s the single most important rule to remember: work from the bottom up. Tackle the hull in small, manageable sections, maybe 3-4 feet wide at a time. If you start from the top, the cleaner will run down the dirty, dry surface and create clean streaks that are a nightmare to get rid of. Starting at the bottom means any drips run over an area you’ve already wetted, preventing those ugly streaks entirely.
Let the cleaner sit for the time specified on the bottle, which is usually around 5-10 minutes. This dwell time is crucial for the chemicals to do their job and break down the stains and growth. Just be sure you don’t let it dry on the hull.
Never, ever apply hull cleaner in direct, hot sunlight. The heat makes it evaporate way too fast, killing its effectiveness and risking it baking right onto your gelcoat. If it’s a hot day, plan to work in the early morning or late afternoon when the sun is less intense.
Once the cleaner has had a chance to work its magic, it’s time to scrub.
- Stubborn waterline stains: Grab a medium-stiff brush and use circular motions to lift the grime.
- Hard growth like barnacles: Use a plastic scraper to gently pry them off. The cleaner should have weakened their grip, so they’ll pop off without you needing to gouge the hull.
- Detailed areas: A smaller brush is perfect for getting around thru-hulls, transducers, and trim tabs. If you skip these spots, you could run into problems with your electronics down the road.
If you want to get into the weeds on cleaning other parts of your boat, our complete guide on how to clean your boat has a ton of extra tips.
The Final Rinse and Inspection
After you’ve scrubbed a section, give it a really thorough rinse with fresh water before moving on. This is a step you can’t afford to rush. Any chemical residue left behind can slowly eat away at your hull’s finish.
A final, careful look ensures you’ve got a perfectly clean surface, ready for its next protective coat.
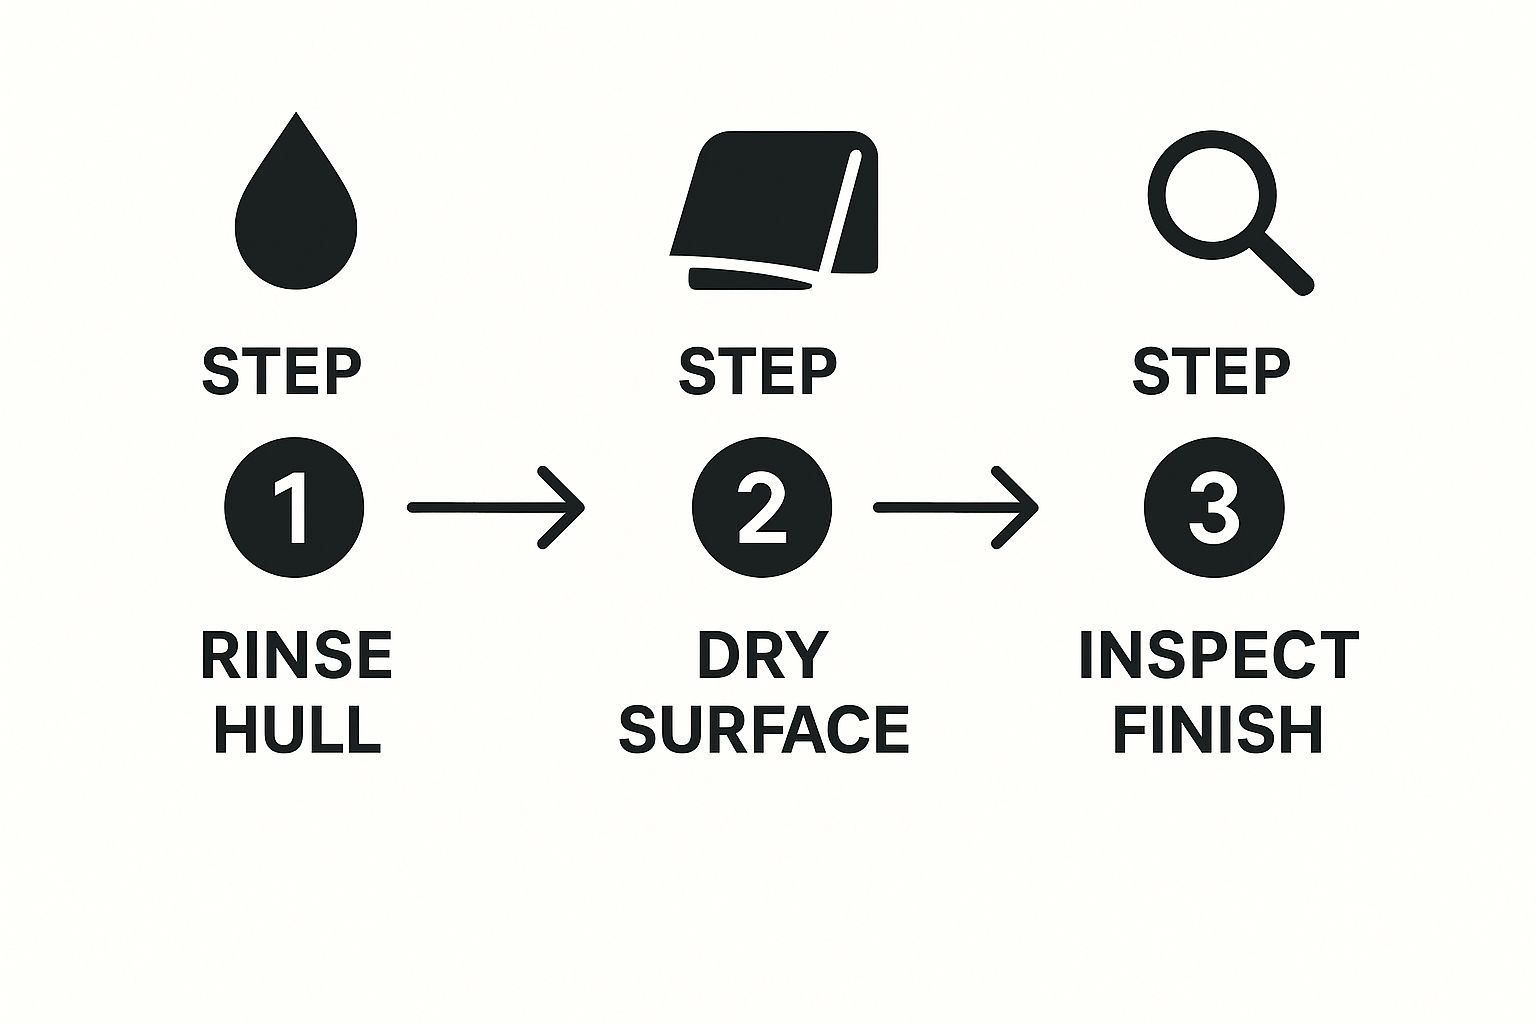
By rinsing well, letting it dry, and giving it one last look-over, you guarantee no residue is left and the entire surface is uniformly clean and prepped.
Applying Protective Finishes for Lasting Results
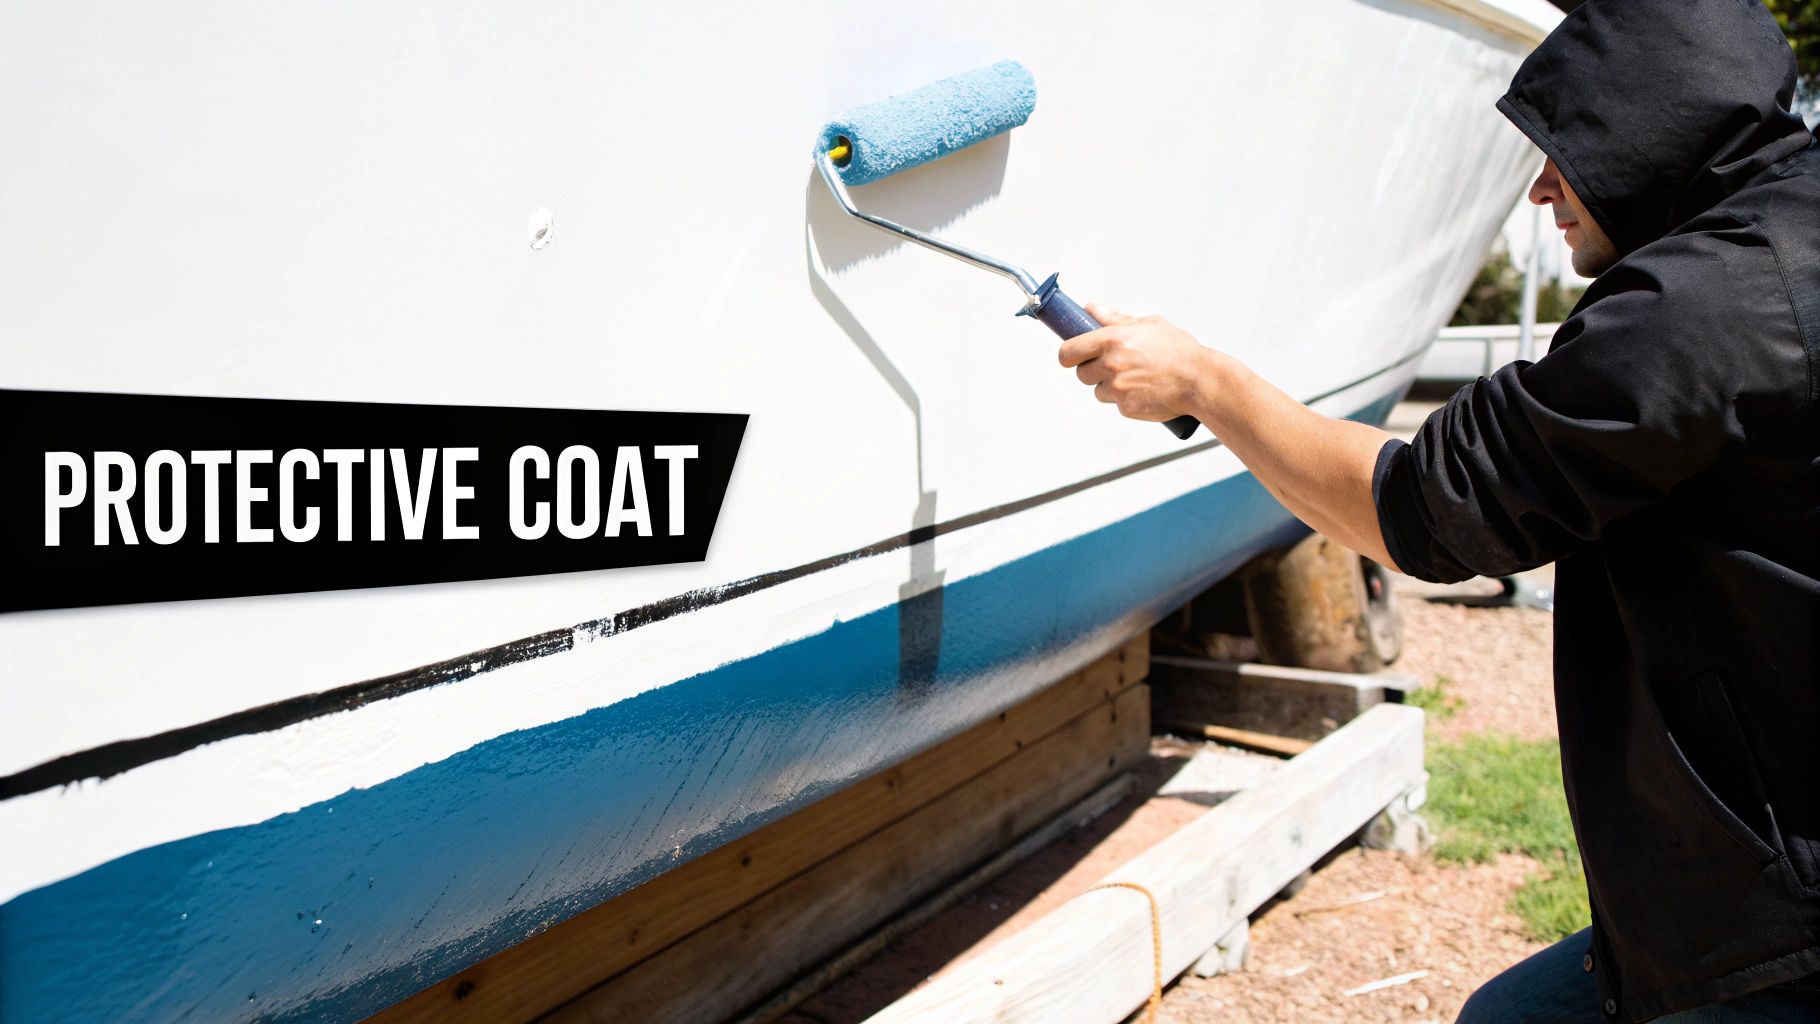
Getting your hull spotlessly clean is a great feeling, but that’s really only half the job. If you stop there, you’re leaving the surface totally exposed, and all that hard work will be undone in just a few weeks. The crucial final step is to apply a tough barrier that shields your hull from the elements, locking in that shine and keeping marine growth at bay.
This isn’t a one-size-fits-all situation, though. The kind of protection you need above the waterline is completely different from what’s required below it. It’s like wearing sunscreen on your face but steel-toed boots on your feet—each is specifically designed for a different environment and a different job.
Waxing for a Brilliant Topsides Shine
Above the waterline, your hull’s worst enemies are the sun’s UV rays and oxidation. They’re what cause that chalky, faded look that makes a boat look old and tired. A high-quality marine wax is your absolute best defense here. This is about so much more than just a pretty shine; you’re actually sealing the microscopic pores in the gelcoat to create a slick, hydrophobic barrier that repels water and grime.
When it comes to applying wax, remember that less is more. Put a thin, even coat on with a foam applicator pad. I find working in small, overlapping circular motions, covering just a few square feet at a time, is the most effective method. Let it haze over based on the product’s directions, then buff it all off with a clean microfiber cloth. The result is a deep, glossy finish that makes your next wash-down incredibly easy.
A classic rookie mistake is letting the wax dry for too long, especially with a heavy-duty paste wax like Collinite 885. If it feels like you’re trying to buff off concrete, you’ve waited too long. Sticking to smaller, more manageable sections completely avoids this problem and will save your arm muscles a world of hurt.
Protecting Your Hull Below the Waterline
Below the waterline, you can forget about UV protection. The real threat down there is biofouling—the non-stop assault from algae, slime, and barnacles trying to make your hull their new home. This is where antifouling paint, or bottom paint, becomes essential. This is a specialized coating loaded with biocides that actively prevent marine life from getting a foothold on your hull.
You’ll generally find two main types of antifouling paint, and your choice really boils down to how you use your boat:
- Ablative Paint: Often called self-polishing paint, this type slowly wears away as you use your boat. This constant, gradual erosion continually exposes fresh layers of biocide. It’s the perfect choice for boats that see frequent use, since the friction from moving through the water helps the paint “shed” and stay effective.
- Hard Bottom Paint: This paint cures into a tough, durable, non-porous finish. Instead of the paint wearing away, the biocides slowly leach out over time. This makes it an excellent option for boats that live on a trailer, are dry-stored, or sit at the dock for long periods. Racers also love it because the hard finish can be burnished to create a super-smooth, fast surface.
Choosing and applying the right bottom paint is a significant project in its own right, demanding meticulous prep work. For a full walkthrough of that process, be sure to check out our detailed guide on how to bottom paint your boat. Taking the time to apply the correct protective finish is what truly completes the job, setting you up for a faster, more efficient, and much more enjoyable season on the water.
Hull Cleaning FAQs: Your Top Questions Answered
Even after laying out the whole process, a few questions always seem to surface. It’s totally normal. Let’s dive into some of the most common things boaters ask me, so you can feel completely confident when tackling your own hull.
How Often Do I Really Need to Clean My Hull?
This is probably the number one question I get, and the honest answer is: it depends. There’s no magic number. If you’re boating in the warm, fertile waters of Florida or the Gulf Coast, marine life grows fast. You might be looking at a scrub every 4-6 weeks.
Up north in colder, clearer lakes? You might get away with a deep clean just once a season. The best advice is to get in the habit of checking. As soon as you see that first layer of slime starting to build up, it’s time to get to work. Don’t wait for it to turn into a bigger problem.
Can I Just Clean the Hull While It’s in the Water?
You sure can, but there are some big “ifs” to consider. In-water cleaning is perfect for tackling soft growth—that initial slime and algae—before it really takes hold. Professional divers do this all the time with soft brushes to avoid a full haul-out.
However, this method is basically useless for serious hard growth like barnacles, and you obviously can’t apply fresh bottom paint with the boat in the water.
Keep in mind, most marinas and local environmental agencies have very strict rules about in-water cleaning. You absolutely have to use eco-friendly products and get the green light on local regulations before you even think about scrubbing in the slip.
The demand for professional services is a testament to how vital this is. The underwater hull cleaning market was valued at around USD 1.88 billion in 2024. That number shows just how much regular cleaning impacts the performance of boats worldwide. If you’re curious, you can explore more market data on underwater hull cleaning services to see the bigger picture.
What’s the Best Way to Get Rid of Tough Barnacles?
Getting those stubborn barnacles off without scratching your gelcoat is a classic challenge. The trick is to work smart, not just hard.
First, always use a plastic scraper. A metal one is just asking for deep gouges.
Here’s the process that works for me:
- Apply a good-quality, acid-based hull cleaner and let it sit for the recommended time. This does most of the work for you by dissolving the “glue” that holds them on.
- Once the chemical has worked its magic, use the plastic scraper to gently pry them off.
- For a really stubborn patch, give the back of the scraper a light tap with a rubber mallet. The shockwave often pops the barnacle right off without damaging the hull.
After you’ve got the hull spotless, the next step is crucial for making your hard work last: applying a solid coat of wax. For a detailed guide on getting it right, don’t miss our article on how to wax a boat for a lasting shine.
At Boating Articles, we’re here to give you the experienced advice you need to keep your boat in prime condition. Find more expert guides and reviews over at https://boating-articles.com.