Installing marine electronics correctly is about planning before you begin. Think of it as creating a blueprint for your boat's nervous system. This initial step decides where gear goes for best performance and access.
Good planning prevents headaches like signal interference or overloaded circuits.
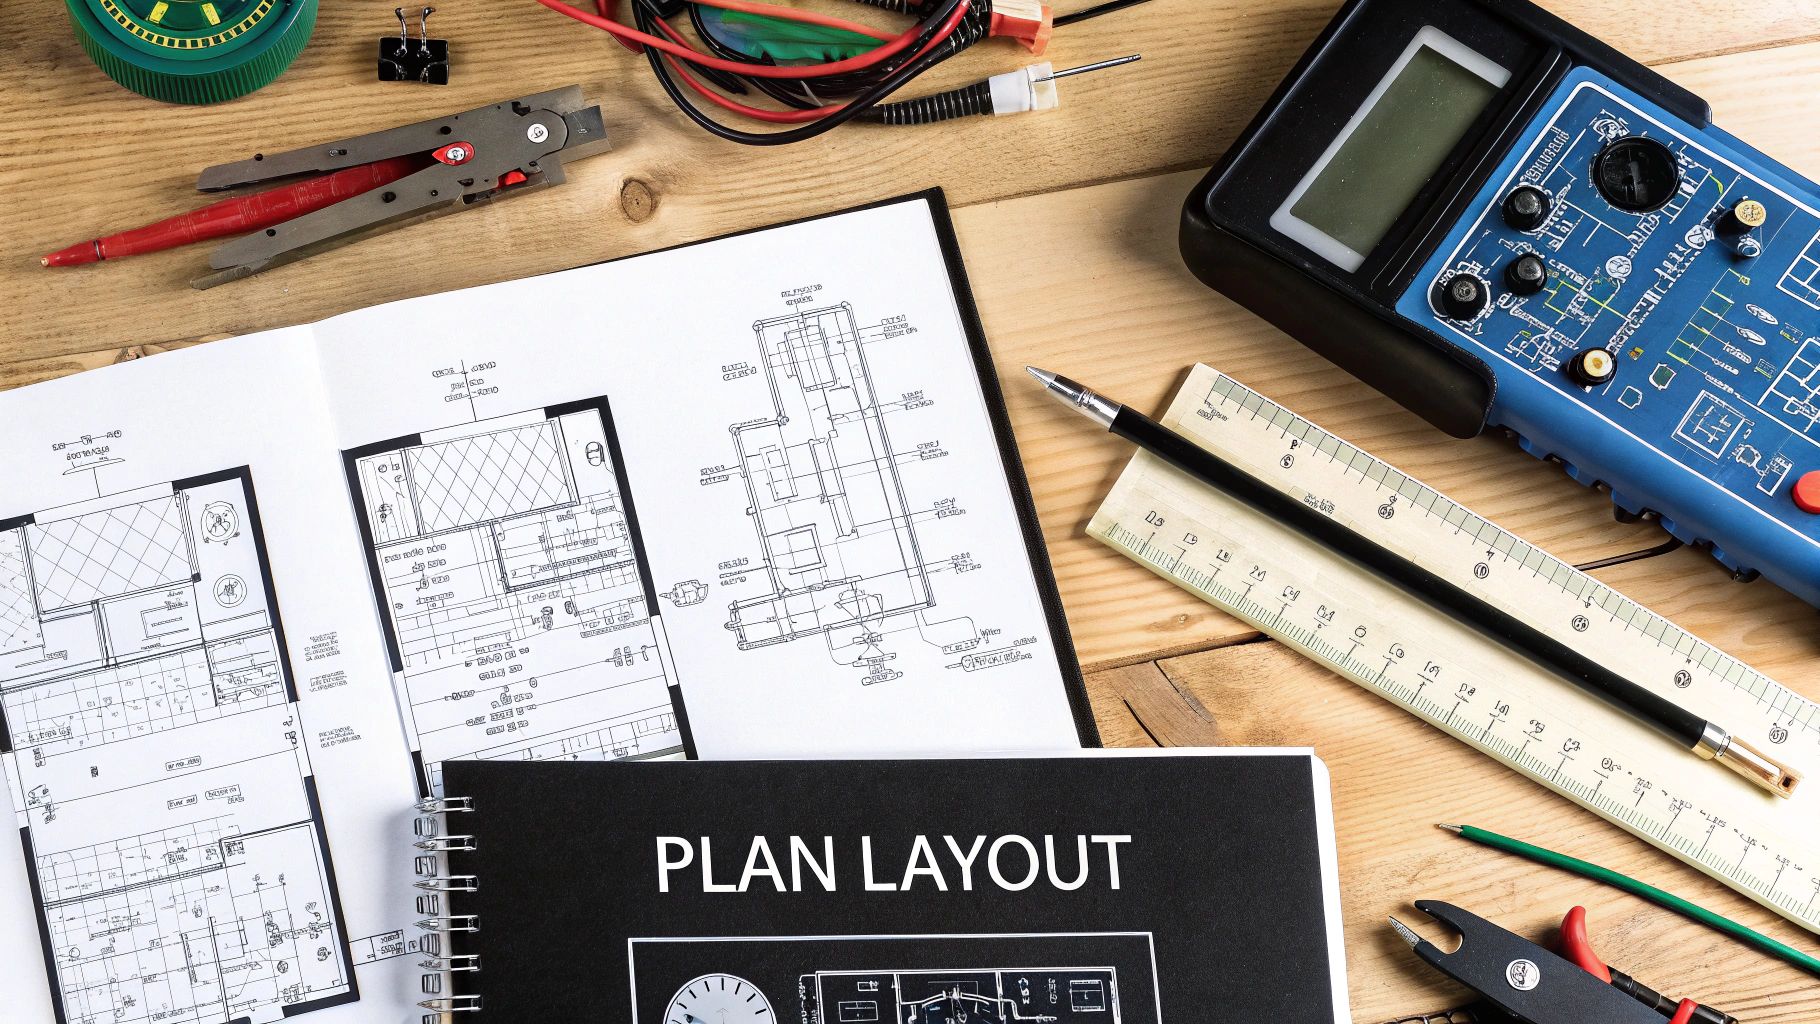
Your Blueprint for a Flawless Installation
A solid plan is your most critical tool for this project. Before you pick up a drill, map everything out. Decide where displays will go at the helm, considering sun glare and reach.
You must also check your boat's electrical system. Can it support the power draw from all the new equipment? A power audit now can save you from major electrical failures later.
Planning for Performance and Safety
Component placement is as important as the wiring. Your VHF and GPS antennas need a clear, unobstructed view of the sky. Mounting them near metal structures will kill their signal.
Transducers also need a spot with a clean, smooth flow of water. Placing one behind a hull strake or near the propeller makes a fishfinder useless. Turbulence is the enemy.
The goal is to build an integrated network where every device communicates perfectly. A great plan considers how all gadgets function together as a complete system.
Here are the core components you'll likely be working with.
Core Components in a Marine Electronics Setup
This table shows the essential devices in a typical marine electronics system. It also covers their role on your boat.
| Component | Primary Function | Key Installation Tip |
|---|---|---|
| Chartplotter/MFD | Central hub for navigation, radar, sonar, and system data. | Mount at the helm with clear visibility and within reach. Avoid direct, prolonged sun exposure if possible. |
| VHF Radio | Essential for communication with other vessels and shore stations. | Ensure the antenna has a clear 360-degree view, mounted as high as practical. |
| GPS Antenna | Provides precise location data to your navigation system. | Mount away from metal obstructions and other antennas to prevent signal blockage or interference. |
| Transducer | Sends and receives sonar signals for depth and fish finding. | Place in an area with clean, non-turbulent water flow, away from the engine and propellers. |
| Radar | Detects other vessels, land, and weather in low visibility. | Mount the radome or open array as high as possible to maximize range and clear obstructions. |
Understanding these pieces is the foundation of a successful installation.
Strategic thinking for a boat is universal for any complex wiring job. The same steps are in this excellent DIY home security system installation guide. It also emphasizes planning before you start.
Getting these systems right is more important than ever. The global marine electronics market was valued at USD 6.77 billion in 2024. It is expected to surge to USD 13.10 billion by 2034.
Choosing the Right Tools and Materials
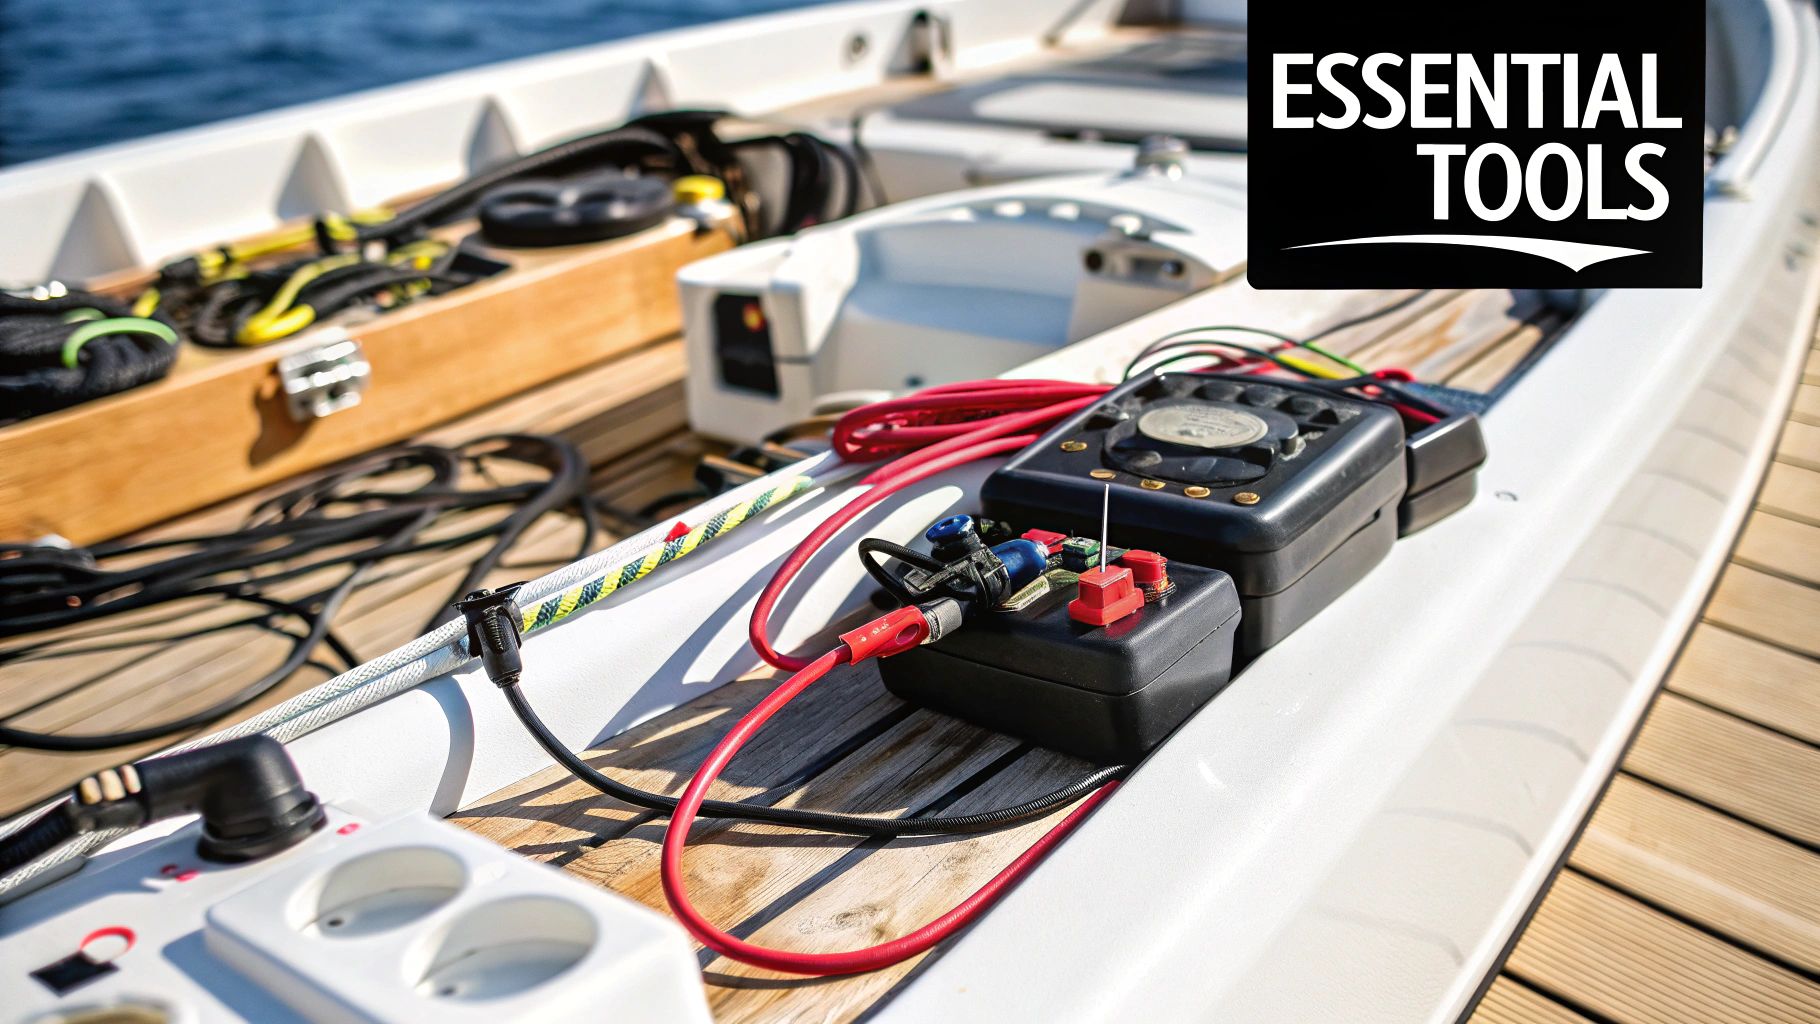
A successful install requires gear that can survive on the water. You'll need basic hand tools and some specialized equipment. If you're new, get familiar with the essential mounting tools.
For wiring, there’s only one real option: tinned marine-grade wire. Standard automotive wire invites electrical gremlins. The tin coating defends against saltwater corrosion, the top cause of electrical failures.
Selecting Wires and Connectors
Getting the wire gauge right is critical for performance and safety. You must match the wire size to the device's amperage draw and run length. A wire that is too thin risks voltage drop or overheating.
For beefier electronics, you'll also need to consider your boat's power system. If you're running a lot of gear, our guide on how to pick a marine generator offers great insights.
A professional-grade ratcheting crimper and heat-shrink connectors are your best friends. This combo creates a rock-solid, waterproof connection. It locks out moisture and stops corrosion before it starts.
Getting Your Devices Mounted Securely
This is where the real work begins. Securing your gear is not just about looks; it is a critical safety measure. Display placement at the helm directly impacts usability in rough conditions.
Before drilling, do a "dry run" by sitting in the captain's chair. Think about sun glare and which controls you need to reach quickly. This test saves a world of frustration.
When mounting on fiberglass, a backing plate is essential. This plate spreads the load from mounting bolts across a wider area. It prevents stress cracks and ensures the unit doesn't rip loose.
Creating a Watertight, Rock-Solid Installation
Once you've marked your spots, it's time to drill. Apply a generous bead of high-quality marine-grade sealant. Use a product like 3M 5200 inside the drill holes and on hardware threads.
This step creates a waterproof barrier, stopping water from seeping into your boat's core.
These core principles apply to almost any heavy equipment you mount. For securing other gear, our guide on how to mount a trolling motor has similar techniques.
Pro Tip: A secure mount is a sealed mount. Every hole you drill is a potential leak. Use quality sealants and cable grommets for a dry and reliable installation.
The demand for these professional-grade installations is skyrocketing. In 2023, the North American marine electronics market was the largest in the world. It pulled in around USD 2.24 billion. You can dig into the trends in the marine electronics market for more details.
Mastering Your Marine Wiring Connections
Your boat’s wiring is its central nervous system. If not done right, nothing else matters. This is about safety, not just performance.
Every connection must handle moisture, salt, and vibration. A shoddy connection far from the dock is a serious problem.
First, always run a dedicated power line for each new electronic device. Start from a distribution panel or busbar. Every device needs its own correctly sized fuse or circuit breaker.
Making Connections That Last
A professional-grade crimp is the only way to go for marine wiring. Use a quality ratcheting crimper with heat-shrink connectors. This creates a permanent, waterproof seal that locks out moisture.
Once connections are solid, organize the wires into neat bundles. Use chafe protection where wires pass through bulkheads. This prevents damage from the boat's constant vibration.
This image shows the entire process, from mounting to final configuration.
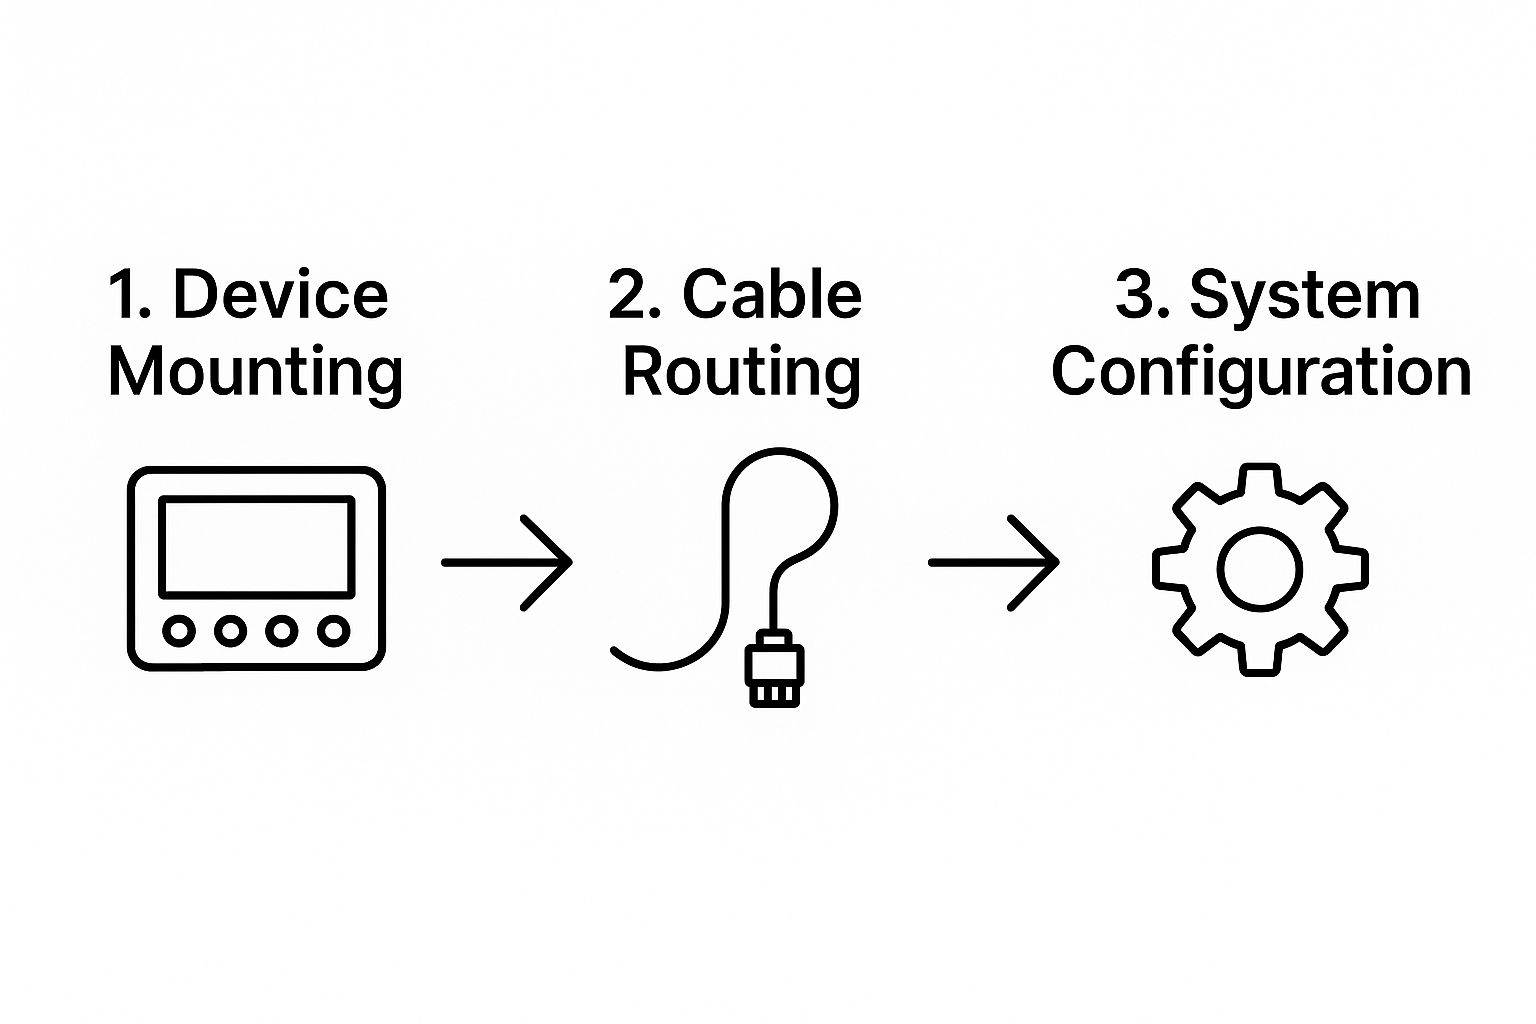
It's a logical flow from physical install to electrical work. Following these steps helps ensure you don't miss anything.
Modern electronics use the NMEA 2000 network standard. This plug-and-play setup lets devices talk to each other over a single "backbone" cable. It simplifies installations dramatically.
For simpler circuits, like hooking up a pump, we have a guide. Find detailed instructions in our bilge pump wiring article.
The marine electronics market is booming. Valued at USD 6.34 billion in 2023, it's projected to climb to USD 9.73 billion by 2030. You can discover more insights about the marine electronics market.
Final System Checks and Calibration
The physical work is done, but the job isn't finished. Now you must ensure everything talks to each other and tells you the truth. This turns hardware into a reliable navigation system.
https://www.youtube.com/embed/p39Tfdb9XwQ
Start with a controlled power-up. Flip your main battery switch, then bring each new device online one at a time. This methodical approach is your best friend for troubleshooting.
If a fuse blows, you'll know exactly which device is the culprit.
Calibrating for Accuracy
Once everything is powered up, check the network. Go to your chartplotter's device list. Confirm it recognizes the new GPS, radar, and sounder.
With communication confirmed, you can dive into calibration. These tweaks are essential for getting accurate, trustworthy data.
Here are mission-critical calibrations you cannot skip:
- Depth Sounder Offset: Adjust settings to compensate for the transducer's depth below the waterline. This ensures the reading on your screen is the actual depth under your keel.
- Autopilot Compass Swing: This calibration corrects for your boat's magnetic deviation. The process involves putting the boat into a slow, tight circle. It allows the autopilot to learn your vessel's unique magnetic signature.
Skipping calibration is a common mistake. An uncalibrated system can feed you dangerously wrong information. Take the time to dial it in perfectly.
Common Questions About Marine Electronics Installation

Even with a great plan, you may have questions during an install. Getting straight answers separates a frustrating weekend from a successful upgrade. Let's tackle some common questions.
Costly blunders almost always come from using the wrong materials. A classic error is using standard automotive wire. That choice invites corrosion and electrical gremlins.
Another slip-up is failing to make waterproof connections. On a boat, wire nuts or electrical tape are asking for trouble. Invest in heat-shrink crimp connectors to ensure your system stays reliable.
Can My Boat's Electrical System Handle This?
You need to know if your system can support the new gear. The only way to know for sure is to create a power budget. It's simpler than it sounds.
Add up the amperage draw of every piece of electronics running at the same time. If the total is past 80% of your alternator's output, you're in the upgrade zone. This gives you a critical safety margin.
Yes, every new device needs its own dedicated fuse or circuit breaker. This is non-negotiable. It's a critical safety measure that protects your gear and isolates problems.
Networking All Your Gear Together
Modern installations are about more than just power and ground. NMEA 2000 is a communication standard that has changed boat wiring. It simplifies how you connect your marine electronics.
Think of an NMEA 2000 network as your boat's central nervous system. A single "backbone" cable lets devices from different brands talk to each other. This is how your MFD can show engine data from a different manufacturer.
This creates a fully integrated helm where everything works together:
- Chartplotters: Become the central hub, displaying data from every connected sensor.
- Engine Gateways: Act as translators, putting engine data onto the network for all to see.
- GPS & Antennas: Share precise location and heading data with every device that needs it.
This approach simplifies wiring and builds a more powerful system.
Boating is filled with these kinds of details. Here at Boating Articles, our goal is to give you expert-backed guides and practical advice. We want you to tackle any project with confidence.
You can find your next project or get a question answered over at https://boating-articles.com.