When dealing with smaller trailers, a 4-wire trailer light system is almost always what you'll find. It's the go-to standard for a simple reason. This setup handles all your basic lighting needs—running lights, turn signals, and brake lights—with just four color-coded wires.
If you're towing a utility trailer, a small boat, or an ATV, this is the system you need to know. Getting a handle on this basic layout is the first step to a safe and hassle-free installation.
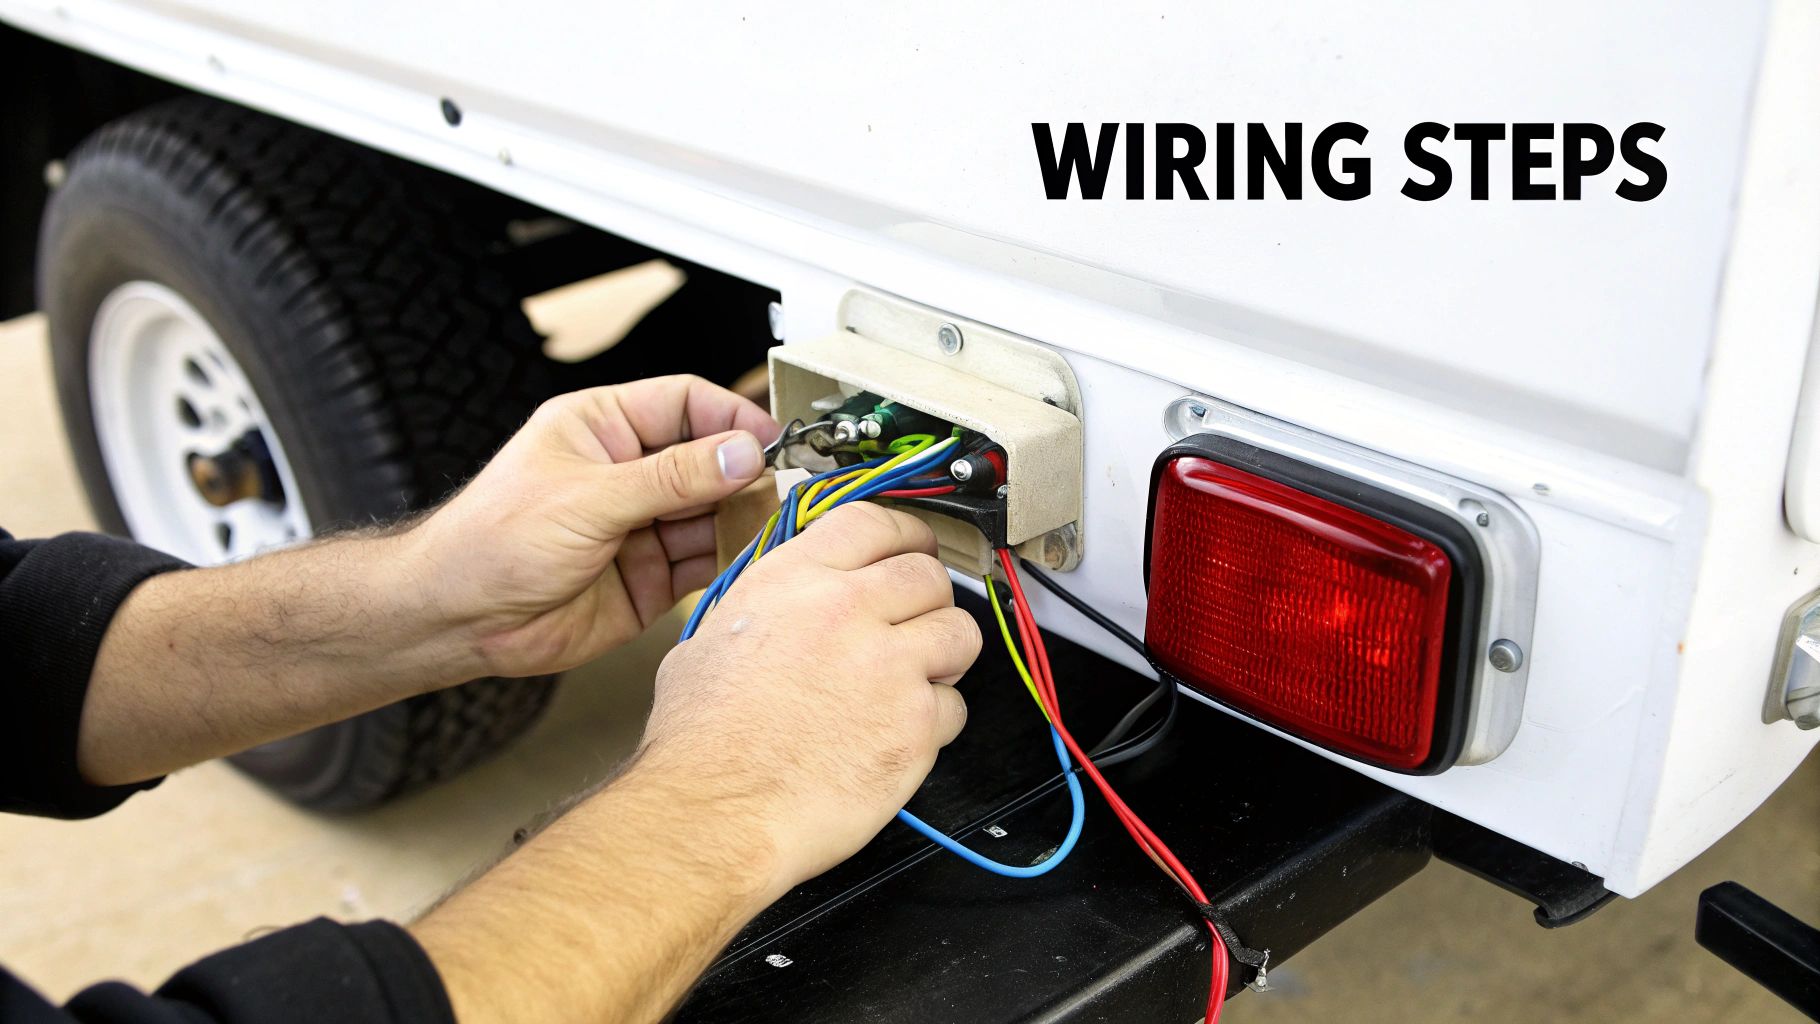
Getting to Know the 4-Wire Trailer Light System

Before you pick up a tool, it helps to understand why this 4-wire setup is so common. The design is incredibly straightforward, covering all legally required lights without extra complexity. It's the perfect match for most personal and recreational towing.
What Each of the 4 Wires Does
The 4-wire system is a workhorse for smaller trailers because it’s both effective and uncomplicated. Each of the four wires has a specific job: running lights, left turn/brake, right turn/brake, and the ground wire.
The magic here is how the brake light function is integrated. Instead of a separate wire, the system cleverly uses the turn signal wires on each side.
This is the key takeaway: a single wire on each side (yellow for left, green for right) does double duty. A steady current tells the brake light to turn on, while a pulsing current makes the turn signal flash. Understanding this is a game-changer when you're troubleshooting later on.
Getting your wiring right is a non-negotiable part of safe towing. For anyone pulling a boat, our guide on boat trailer maintenance tips is a great resource. With this foundational knowledge, you'll be able to tackle the job with confidence.
Your Toolkit and the Essential Color Code
Before you touch a wire, let’s talk about setting yourself up for success. Any wiring job comes down to having the right tools and knowing what each wire does. You don’t need a huge toolbox; a few key items will make all the difference.
A good kit for this project should have:
- Wire Strippers: Essential for cleanly removing insulation without damaging the copper.
- Wire Crimpers: This is how you'll get connectors to grab onto the wire for a solid connection.
- Circuit Tester: A simple 12V test light is your best friend for confirming wire functions.
- Connectors: I recommend quality butt connectors, especially the heat-shrink kind, to keep moisture out.
Cracking the 4-Wire Color Code
The core of any trailer light wiring diagram 4 wire setup is the color code. Luckily, the industry has standardized this, which removes most of the guesswork. Think of it as a universal language for trailer wiring that helps ensure everything works safely.
You can find more details on these standards on the Nassau National Cable blog.
A Word of Caution: Always test your wires to confirm their function, even if the colors match. You never know if a previous owner did some "creative" repairs. Trust, but verify.
To make things easy, here’s a quick reference table that breaks down the standard 4-wire flat connector system.
4-Wire Trailer Wiring Color Code Guide
| Wire Color | Function | Connector Pin Location |
|---|---|---|
| White | Ground (-) | Exposed Male Pin (Vehicle Side) |
| Brown | Tail & Running Lights | Pin Next to Ground |
| Yellow | Left Turn & Brake | Center Pin |
| Green | Right Turn & Brake | End Pin |
This simple chart is your map. White is always your ground, the foundation of the entire circuit. Brown powers your running lights, while yellow and green handle turn and brake functions for the left and right sides.
Getting Down to the Nitty-Gritty: The Wiring Process
You have your tools and you know your color codes. Now for the fun part—making it all work. The goal is to create connections that are solid, weatherproof, and ready for the road.
First, let's run the new wiring harness. Trace the path of the old wiring along the trailer frame. Use zip ties to secure the harness every 12-18 inches.
This step is crucial. It keeps wires from dangling where they can get snagged on road debris or pinched by the suspension. A tidy wiring job is a safe wiring job.
This diagram gives you a great visual of how the connections flow.
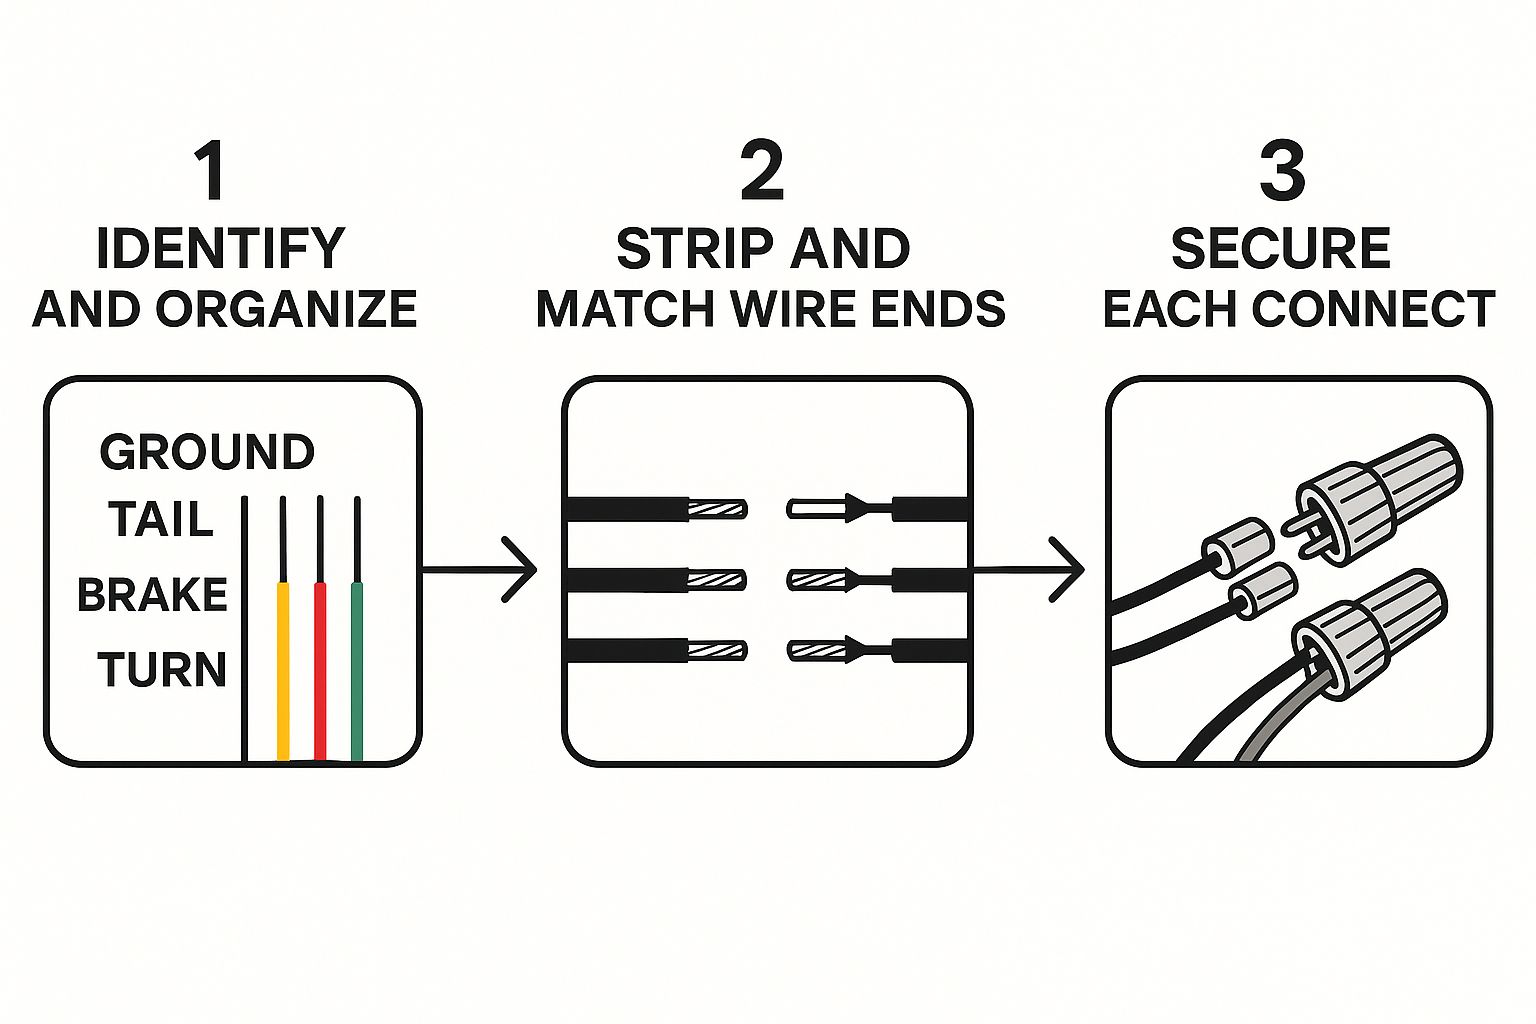
As you can see, it's a straightforward process of matching colors, prepping the wire ends, and making a solid join.
Making Connections That Last
If you take away one thing, let it be this: a good ground connection is everything. I can't tell you how many times I've seen complex issues that were just a bad ground. In fact, a poor ground is the culprit in an estimated 90% of all trailer light problems.
Your white ground wire needs a clean, direct, metal-to-metal connection to the trailer frame.
Here's a pro tip: Find a clean spot on the frame and use sandpaper to scuff off any paint or rust. Drive a self-tapping screw with a star washer right into that spot. The washer bites into the metal, giving you a rock-solid ground that won't let you down.
For the other wires, use quality butt connectors. I personally swear by the heat-shrink type. Once crimped, a heat gun shrinks the tubing and creates a waterproof seal.
This protects the connection from moisture and corrosion. If you're wiring a boat trailer, consider this step mandatory. Speaking of trailers, our guide on how to mount a trolling motor might have some other useful DIY tips.
How Brake Lights and Turn Signals Share a Wire
It's a common question: How can one wire do two different jobs? It seems like magic, but the way a trailer light wiring diagram 4 wire setup handles this is clever engineering.
The real work happens inside your tow vehicle before power reaches the trailer plug. A component, often called a taillight converter, is the brain behind the operation. It's responsible for combining signals and sending the right command.
Understanding the Combined Signal
On your trailer's 4-wire plug, the yellow (left) and green (right) wires pull double duty.
-
Braking: When you press the brake pedal, the vehicle sends a steady current down both the yellow and green wires. This powers the filaments in both tail lights, making them glow brightly as brake lights.
-
Turning: Activating a turn signal overrides the brake signal on one side. If you signal right, the steady current on the green wire is replaced by a pulsing one. This makes the light flash while the other side remains solidly lit if you're braking.
This is a key difference from 5-wire systems, which have separate wires for braking and turning. You can see a great visual breakdown of how these signals work together in action.
This is your secret weapon for troubleshooting. If a brake light works but the turn signal doesn't, the problem isn't your trailer wiring. The issue is likely upstream in the tow vehicle's converter or flasher relay.
Testing Your Handiwork and Tackling Common Glitches
https://www.youtube.com/embed/EI9jgewA6Rg
You've made all the connections, and everything looks solid. But the job isn't done until you've tested it. This final step is critical—you want to find issues in the driveway, not on the highway.
The easiest way is with a buddy. Have them sit in the driver's seat while you stand behind the trailer. Use a 12V circuit tester or multimeter.
Go through the checklist: running lights, left turn, right turn, and brakes. This quick run-through confirms your connections are right and your ground is solid.
Of course, things don't always go perfectly. Learning to troubleshoot is as fundamental a skill as knowing how to anchor a boat if you're on the water. It saves time, money, and frustration.
Here's a pro tip from years of experience: If your lights are dim or flickering, 9 times out of 10, it's a bad ground. Before checking fuses or bulbs, double-check that white wire connection.
Chasing Down Lighting Problems
If a test fails, don't sweat it. Most trailer lighting problems come from a handful of common issues. The fixes are usually straightforward if you are systematic.
I've seen it all, from new trailers with faulty wiring to old rigs with corrosion. Here’s a quick guide to help you diagnose what's going on.
Common 4-Wire Trailer Light Problems and Solutions
| Symptom | Likely Cause | How to Fix |
|---|---|---|
| No lights at all | Bad ground connection or a blown fuse in your vehicle. | Clean and tighten the white ground wire. Check the tow vehicle's fuse box for the trailer circuit and replace the fuse if needed. |
| One side is out | A burnt-out bulb or a loose connection on that specific color wire. | Swap the bulb with the one from the working side to quickly test it. If the bulb is good, re-check and re-crimp the yellow or green wire connection. |
| Lights are dim or flicker | A weak ground connection or corrosion in the bulb socket. | Sand the grounding point on the trailer frame to get to clean, bare metal. Use a small wire brush to clean the bulb's contacts and the inside of the socket. |
Working through these scenarios will solve most problems you'll encounter. Be patient and check the simplest things first. It's usually a loose wire or rust, not a major failure.
Common Questions About Trailer Wiring
Even with the best instructions, you might run into some head-scratchers. This is normal when dealing with the nuances of a trailer light wiring diagram 4 wire setup. Let's tackle some of the most common questions.
Can I Hook Up My 4-Wire Trailer to a 7-Wire Truck Plug?
Absolutely. This is a very common scenario, and the fix is incredibly simple. All you need is a 7-to-4-pin adapter.
These gadgets plug into the 7-way socket on your truck and give you a 4-way flat plug. It's a true plug-and-play solution with no cutting or splicing required. The adapter automatically routes the correct signals to your trailer.
What’s the Number One Cause of Trailer Lights Not Working?
Nine times out of ten, it’s a bad ground. The white ground wire is the foundation of the circuit. If it doesn't have a clean, solid connection to the metal frame, nothing will work right.
I'd estimate that a staggering 90% of flickering or dead light issues trace back to a faulty ground.
Before checking bulbs or tracing wires, always check your ground connection first. Make sure the terminal is tight and free of rust or paint that could block contact.
Do I Actually Need a Taillight Converter for a 4-Wire System?
This is a great question, and the answer depends on your tow vehicle. You'll need a converter if your vehicle has separate amber turn signals. Many modern cars and SUVs use this system where the brake and turn signal are different bulbs.
A 4-wire trailer expects the brake and turn signal to come through the same wire. A converter is a small box that combines these separate signals into the single signal the trailer needs. If your vehicle has a factory tow package, this converter is likely built-in.
Once your lights are working, it's a good idea to stay proactive. Running through an ultimate trailer maintenance checklist can help you catch other issues before they become problems.