Thinking about rebuilding your outboard motor is a big decision. It's a major job, but it can be incredibly rewarding. A rebuild means tearing the engine down, inspecting everything, and swapping worn parts.
When done right, a rebuild can bring an old motor back to life. This saves you a lot of money compared to buying new. It's perfect for an engine with good "bones" but failing internals.
Success depends on the right tools, a clean workspace, and a commitment to detail.
Deciding If an Outboard Rebuild Is Right for You
You face a classic dilemma: rebuild the old faithful or buy a new motor? This decision boils down to cost, your mechanical comfort, and your engine's condition. A rebuild can save you thousands, but only if major components are still good.
Before buying parts, you need to diagnose your motor's health. A compression test is your most important first step. Low or uneven readings are a tell-tale sign of internal problems.
You should also listen for deep knocking sounds while the engine is running. That dreaded noise often points to major rod or bearing issues. This could make a rebuild too expensive to be worthwhile.
This flowchart gives you a great visual guide to help you decide if your outboard is a prime candidate for a rebuild based on its age, how it's running, and what you're willing to spend.
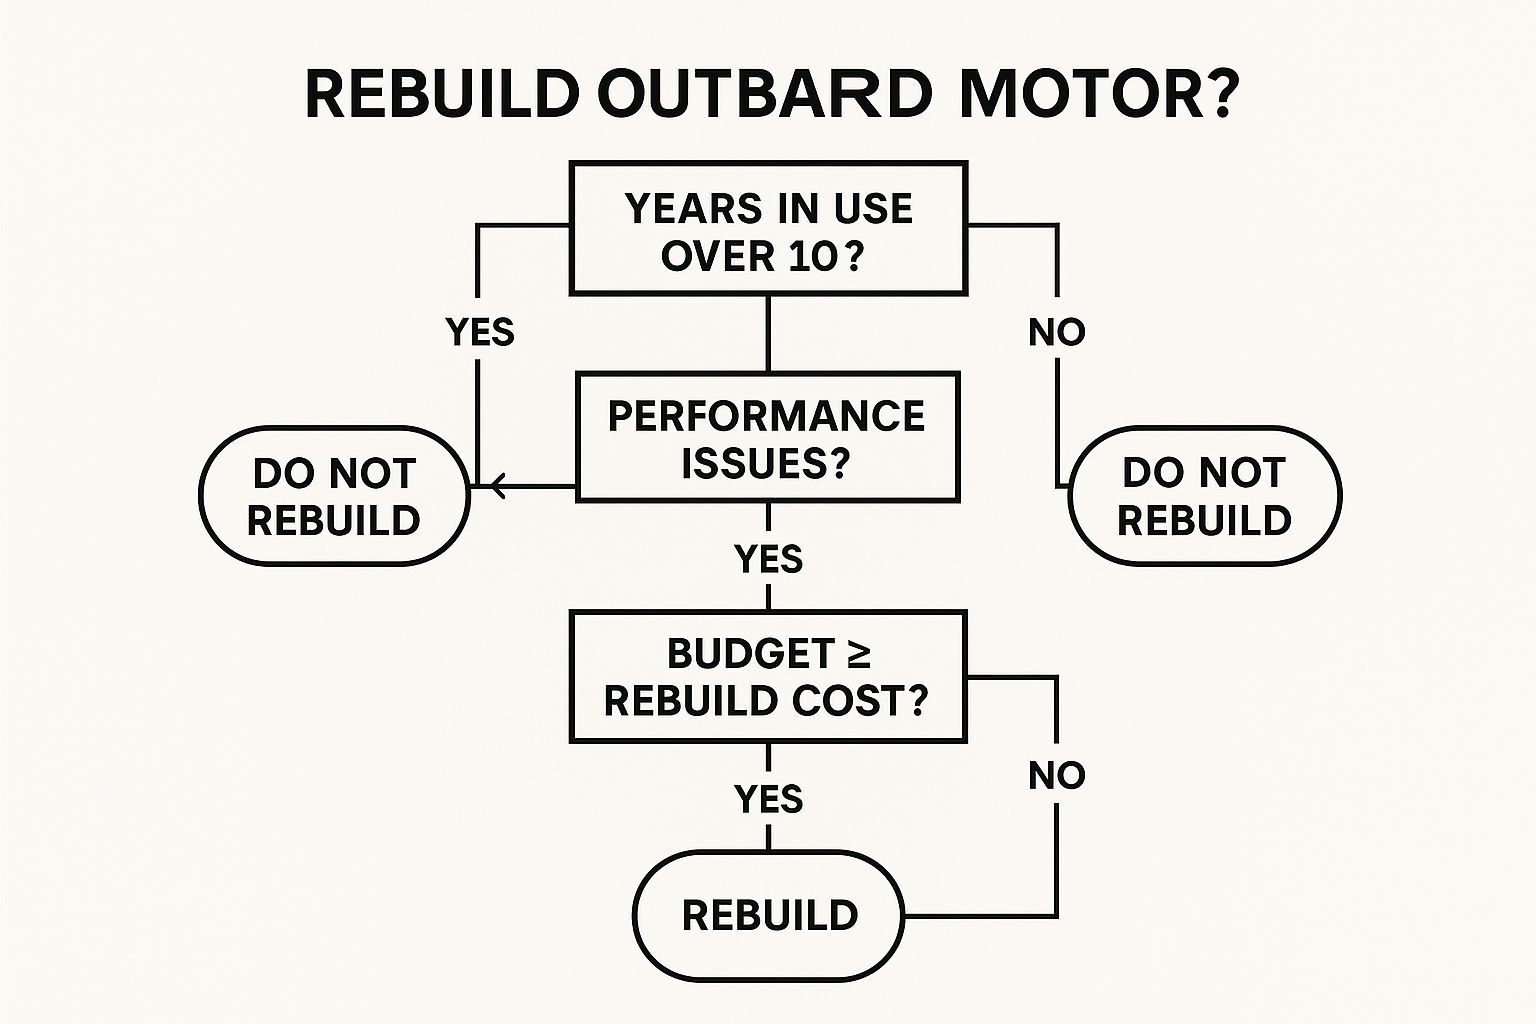
As you can see, a newer motor with fixable problems is the sweet spot. A reasonable budget makes it an even better candidate. It's not just about saving money either; it's also about sustainability.
This trend is so significant that the global market for outboard motor repair and maintenance services was valued at USD 0.15 billion in 2023 and is on track to nearly double by 2032. You can learn more about the outboard motor rebuild market growth on Business Research Insights.
Rebuild vs Replace Quick Decision Matrix
Sometimes you just need a quick, at-a-glance comparison. This table breaks down common situations. It helps you make a faster, more confident decision between rebuilding and replacing.
| Factor | Best for Rebuild | Consider Replacement |
|---|---|---|
| Engine Condition | Solid block, good compression, minor internal wear (e.g., rings, gaskets). | Cracked block, catastrophic internal failure (e.g., thrown rod), severe corrosion. |
| Your Skill Level | You're comfortable with mechanics, have the right tools, and enjoy a project. | You're new to engine work or prefer a turn-key solution. |
| Budget | Limited funds, but enough for parts and machine shop work. | You have the budget for a new or reliable used motor and value a warranty. |
| Timeframe | You're not in a rush and can have the boat out of commission for a while. | You need to get back on the water quickly and can't afford downtime. |
| Parts Availability | Parts for your specific model are easy to find and affordable. | Parts are obsolete, rare, or prohibitively expensive. |
Ultimately, this matrix is a guide. If you see a combination of factors in the "Consider Replacement" column, buying a different motor is likely the smarter path.
Getting Your Tools and Parts in Order
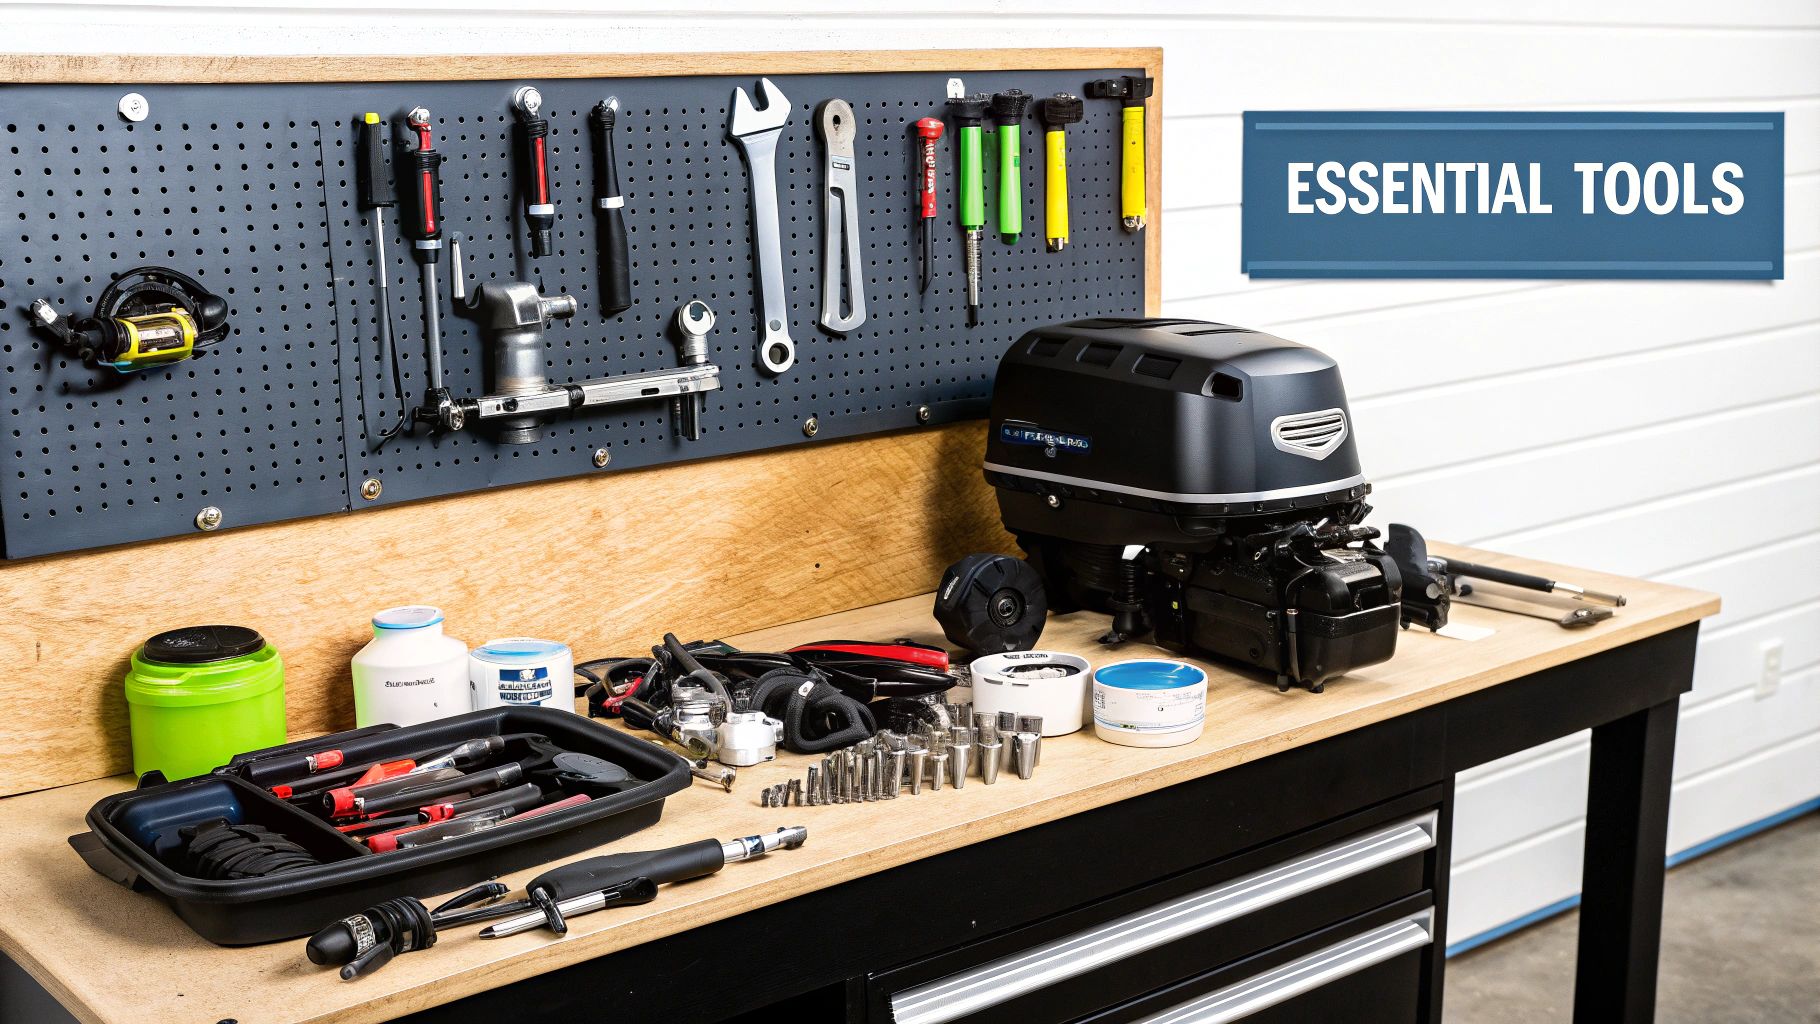
Before you turn a wrench, a successful rebuild begins with organization. Many projects stall because of a missing tool or a backordered part. Lay everything out first to ensure a smooth process.
This job requires more than a basic socket set. You need specialized equipment that is non-negotiable for doing the job right. This includes a good torque wrench, a flywheel puller, and a piston ring compressor.
Trying to get by without them is a surefire way to break something expensive.
Your Must-Have Rebuild Kit
Think of this as your pre-flight checklist. Having these items ready before you start will save you from major headaches.
- Factory Service Manual: This is your bible. Don't start without the official manual for your exact make, model, and year. It has every torque spec and sequence you'll need.
- Torque Wrench: This is critical for correctly tightening head bolts and connecting rods. Getting this wrong can lead to leaks or catastrophic failure.
- Flywheel Puller & Piston Ring Compressor: These aren't optional. The right puller removes the flywheel without damaging the crankshaft. The compressor is the only way to install new pistons safely.
Once your tools are ready, it’s time for parts. The big decision is choosing between OEM parts or a quality aftermarket kit. OEM guarantees a perfect fit, but a reputable aftermarket brand can be a fantastic value.
Your single most important purchase will be the factory service manual for your engine. Seriously. Attempting a rebuild without it is like trying to navigate open water in a thick fog—you're just asking for trouble.
Getting your tools and parts lined up is as crucial as regular maintenance. For more on that, take a look at these 8 tips for maintaining your outboard motor.
A Methodical Guide to Disassembly and Inspection
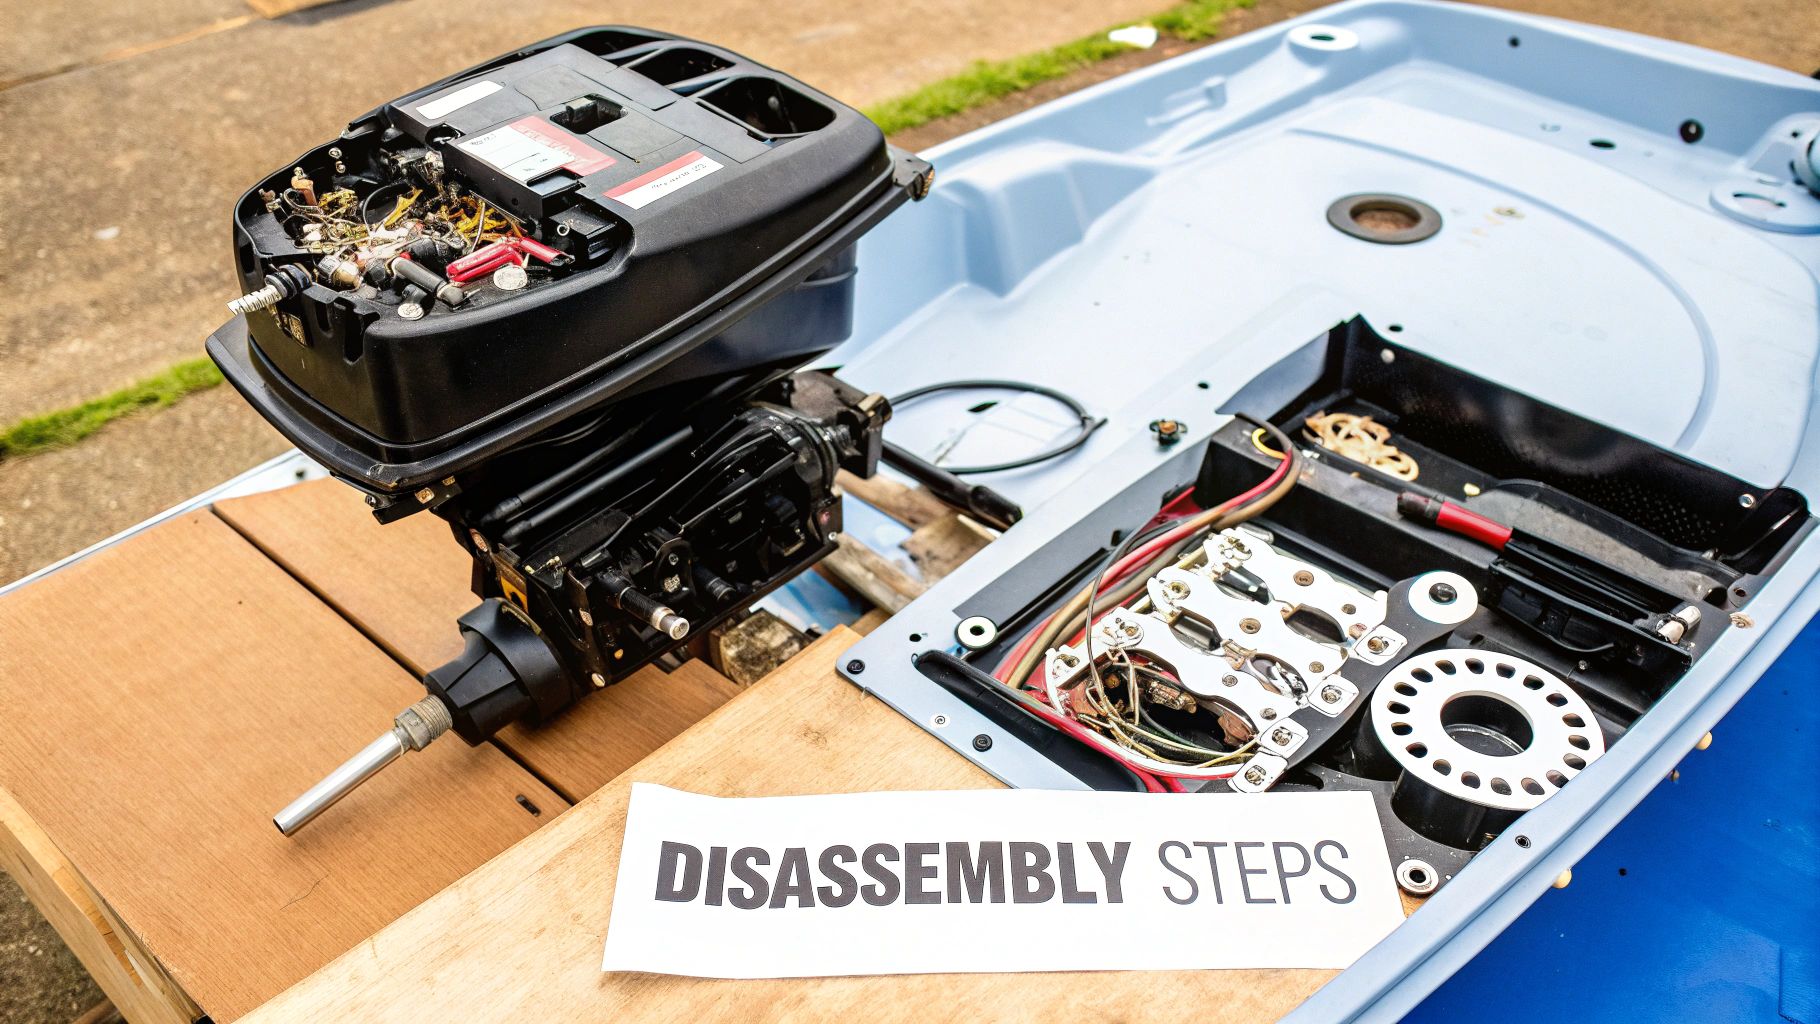
This is where your careful prep work really starts to matter. It's time to tear down the motor, and the key is to be methodical. I always start with the big, easy stuff on the outside and work my way in.
Here’s a pro tip: get some plastic Ziploc bags and a permanent marker. Every bolt, nut, and small part goes into a labeled bag. Seriously, don't skip this step.
Your smartphone is your best friend during this stage. Snap photos and short videos as you take things apart. That visual reference will be invaluable when you're putting it all back together.
Pinpointing Wear and Damage
Once the motor is in pieces, you're switching hats from mechanic to detective. This inspection is the most critical part of the entire outboard motor rebuild. You're looking for the reason a part failed and what else might be worn out.
A detailed inspection is non-negotiable. I've seen it happen: someone slaps in a new piston but ignores the scored cylinder wall it came out of. That engine is doomed to fail again, and quickly.
To do this right, meticulously check these key components:
- Pistons and Rings: Examine piston skirts for scoring and the crown for pitting. Also check for heavy carbon buildup and ensure rings move freely.
- Cylinders: Gently run your fingernail up and down the cylinder walls. If your nail catches on a scratch, that cylinder will likely need to be bored oversize.
- Bearings and Seals: Spin every bearing by hand, looking for smooth, silent rotation. Every seal should be soft and pliable; if not, they are junk.
The recreational boating world is booming, with the outboard market projected to be worth $13.5 billion by 2029. This means more motors will need this kind of work. These inspection skills are becoming more valuable than ever.
A thorough inspection helps you create an accurate parts list. If you run into something that has you scratching your head, our guide on advanced boat motor troubleshooting can offer some deeper diagnostic insights.
With the teardown complete, your workbench is likely covered in greasy parts. Don't rush this next phase. Getting every component surgically clean is the bedrock of a successful rebuild.
Think of it this way: any leftover gunk is a potential point of failure. This isn't just about looks; it's about ensuring perfect mating surfaces. It also prevents contamination in your fresh engine.
For stubborn carbon deposits, patience is key. Soaking parts in carburetor cleaner or a parts-washing solvent works well. Then use a soft-bristled brush or plastic scraper to remove the softened gunk.
Reconditioning Critical Surfaces
Once every part is spotless, your focus shifts to preparing critical surfaces. The cylinder walls, in particular, need special treatment. This is where honing comes in.
Honing isn't just polishing; it's etching a specific crosshatch pattern into the wall. This pattern is essential for helping new piston rings seat properly. It also holds a thin film of oil.
A proper cylinder hone doesn't just clean the surface; it creates the ideal texture for oil retention and ring break-in. Skipping this step or doing it incorrectly is a primary cause of low compression and oil consumption in a freshly rebuilt engine.
You can tackle this yourself with a ball-hone in a variable-speed drill. Use plenty of honing oil and keep the drill moving to create a 45-degree crosshatch pattern. Afterwards, wash the cylinders thoroughly with hot, soapy water to remove all grit.
As you begin the final assembly, be generous with assembly lube. Every bearing surface, piston skirt, and honed cylinder wall needs a good coat. This protects your engine during its first few seconds of life.
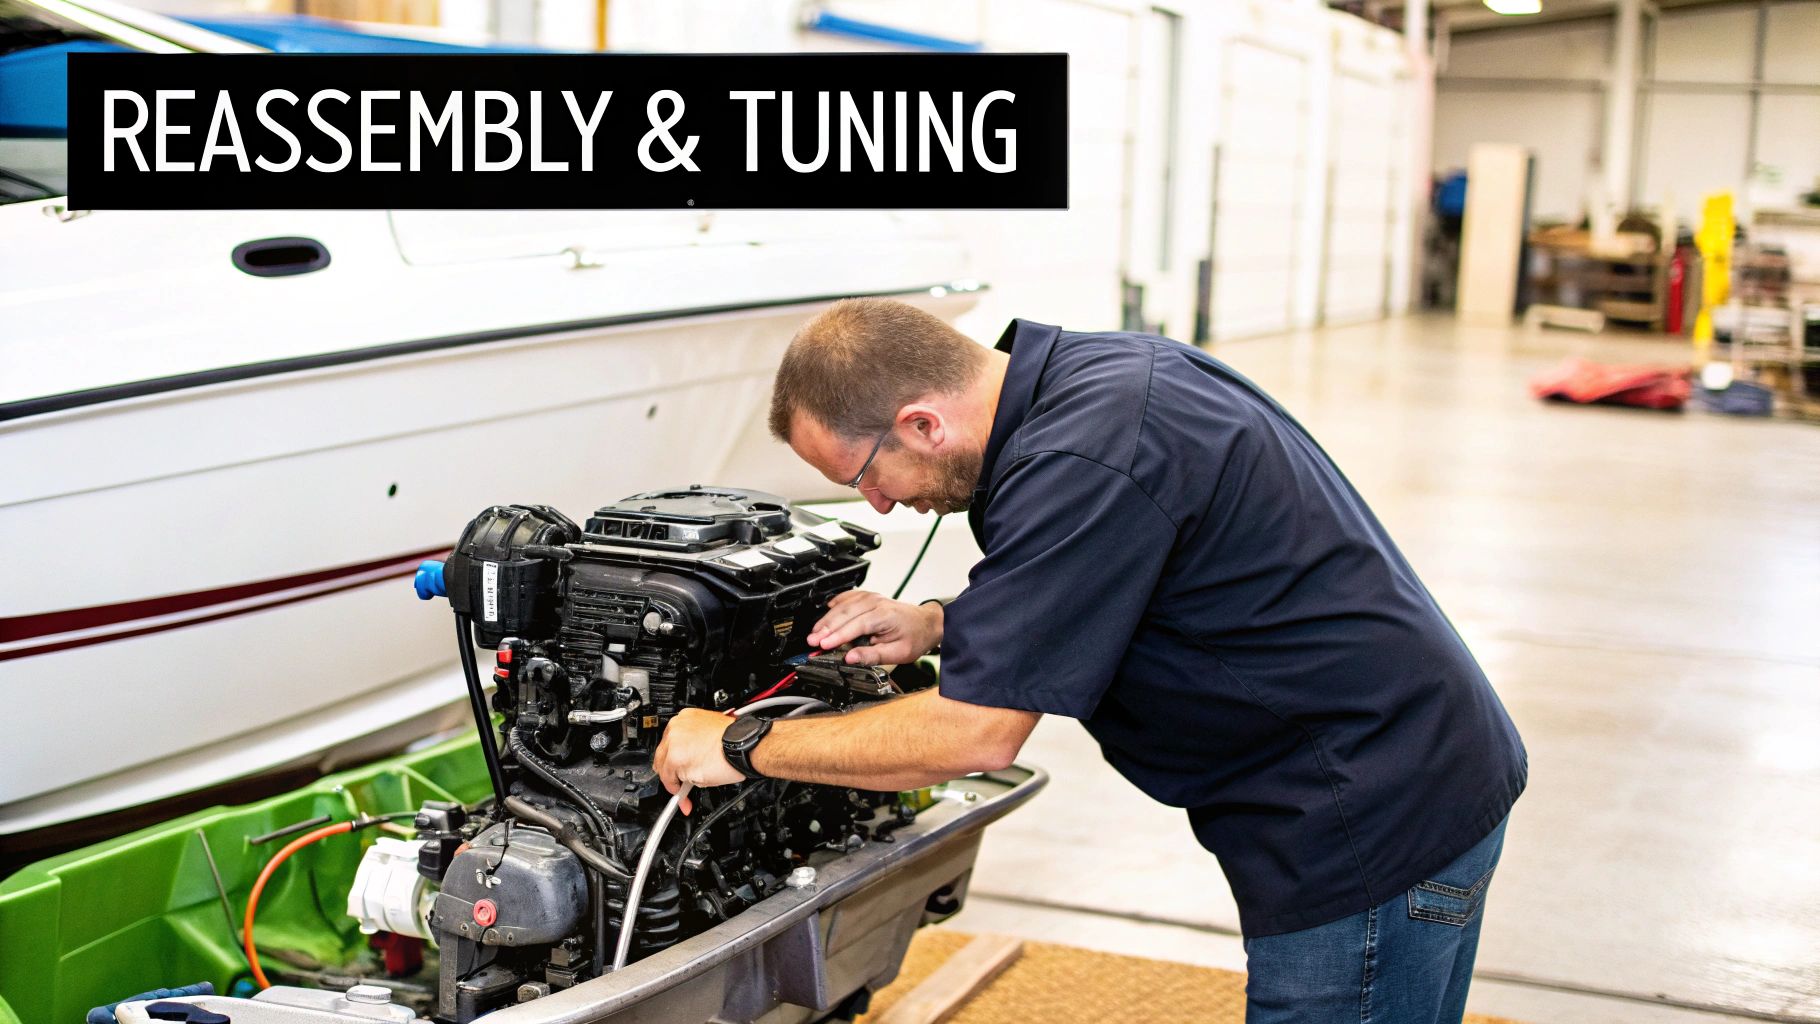
This is where all your hard work and meticulous cleaning really pay off. Reassembling the powerhead isn't a race; it’s a game of precision. Think of it as building a new engine from perfectly prepped parts.
Start with the heart of the engine, seating the main bearings and crankshaft. Next, carefully install the pistons and connecting rods. Use a quality ring compressor and plenty of assembly lube on the cylinder walls.
A classic mistake is using too much sealant on the crankcase halves. A thin, even bead of the manufacturer-recommended sealant is all you need. Excess can squeeze out, break off, and clog a critical oil passage.
Nailing the Torque Sequence
Throughout reassembly, your factory service manual is your bible. It has the exact torque specs and tightening sequences for every critical fastener. Guessing is how you turn a rebuild into a do-over.
Pro Tip: The tightening sequence is there for a reason. It’s engineered to apply even, consistent clamping pressure across a surface, like a cylinder head. If you just tighten the bolts in a circle, you'll almost certainly warp the part.
Cylinder head bolts, for example, always follow a specific crisscross pattern. You tighten them in several stages, increasing the torque with each pass. This is the only way to guarantee the head seats perfectly flat against the block.
Taking your time and getting these details right ensures your outboard motor rebuild will last. The global outboard market was valued around USD 5.75 billion in 2024. More owners are opting to rebuild, underscoring the value of a proper reassembly. You can read more about the growing outboard motor industry on GlobeNewswire to see just how popular these motors have become.
Answering Your Top Outboard Rebuild Questions
Even with the best guide, taking on an outboard motor rebuild can stir up questions. Let's tackle some of the most common ones I hear. Getting these answers sorted out first will help you set realistic expectations.
Knowing what you’re getting into, financially and technically, is key. It helps ensure the project ends with a smooth-running motor.
How Much Does an Outboard Motor Rebuild Cost?
The cost can vary widely and hinges on your specific engine. For a small two-stroke, a DIY rebuild kit might cost just a few hundred dollars. For a big V6 four-stroke, parts could easily push you past $1,500.
Don't forget potential machine shop services. If your cylinders need boring, that's an extra expense. Get firm quotes for any machine work before you commit to the rebuild.
First Signs Your Outboard Needs a Rebuild
The classic sign is a compression test with low or uneven numbers. That's your engine telling you something is seriously wrong internally.
Other tell-tale symptoms include:
- A major, noticeable loss of power.
- Excessive blue smoke (burning oil) or white smoke (often steam from a head gasket leak).
- Constant overheating that isn't a water pump or thermostat issue.
Any metallic sound from the powerhead—like a deep knock or a sharp tick—is a serious warning. Shut it down immediately. If you later find glittery metal shavings in the gear oil during a change, you're almost certainly looking at a full teardown.
Is a Four-Stroke Harder to Rebuild Than a Two-Stroke?
In my experience, yes, they generally are more complex. A four-stroke motor has more internal components. You’re dealing with a valvetrain, camshafts, and oil pumps.
Timing procedures are also far more critical on a four-stroke. Getting the timing wrong can lead to catastrophic failure on startup. The sheer number of parts and tighter tolerances demand more patience and detail.
Of course, consistent boat motor maintenance can help you avoid a rebuild for longer, no matter which type of engine you have.