Painting your boat is about more than just a cosmetic touch-up. It’s essential maintenance—a protective shield against saltwater, sun, and wear. A professional finish comes down to a few key stages.
You must master thorough surface preparation and use a compatible marine primer. Finish with a tough, durable topcoat. Nail these steps to protect your investment and get a professional-grade look.
Why a Fresh Coat of Paint Matters
A new paint job does more than make your boat look sharp at the dock. It’s your vessel’s first line of defense against the marine environment. A high-quality finish protects the hull from UV degradation, which can make fiberglass brittle.
It also creates a barrier to stop water from seeping in. This prevents osmosis blisters and potential structural damage. The demand for these coatings shows their importance.
The leisure boat marine coating market was valued at roughly $2 billion in 2021 and is projected to nearly double by 2031. This shows how many boaters value protecting their vessels. When you’re ready to start, checking out top-tier painting solutions from a trusted supplier is a great first step.
A great paint job isn’t just for show; it’s about preservation. It actively extends the life of your boat by creating a resilient barrier against the elements. This guide provides practical steps for a finish that’s both beautiful and incredibly functional.
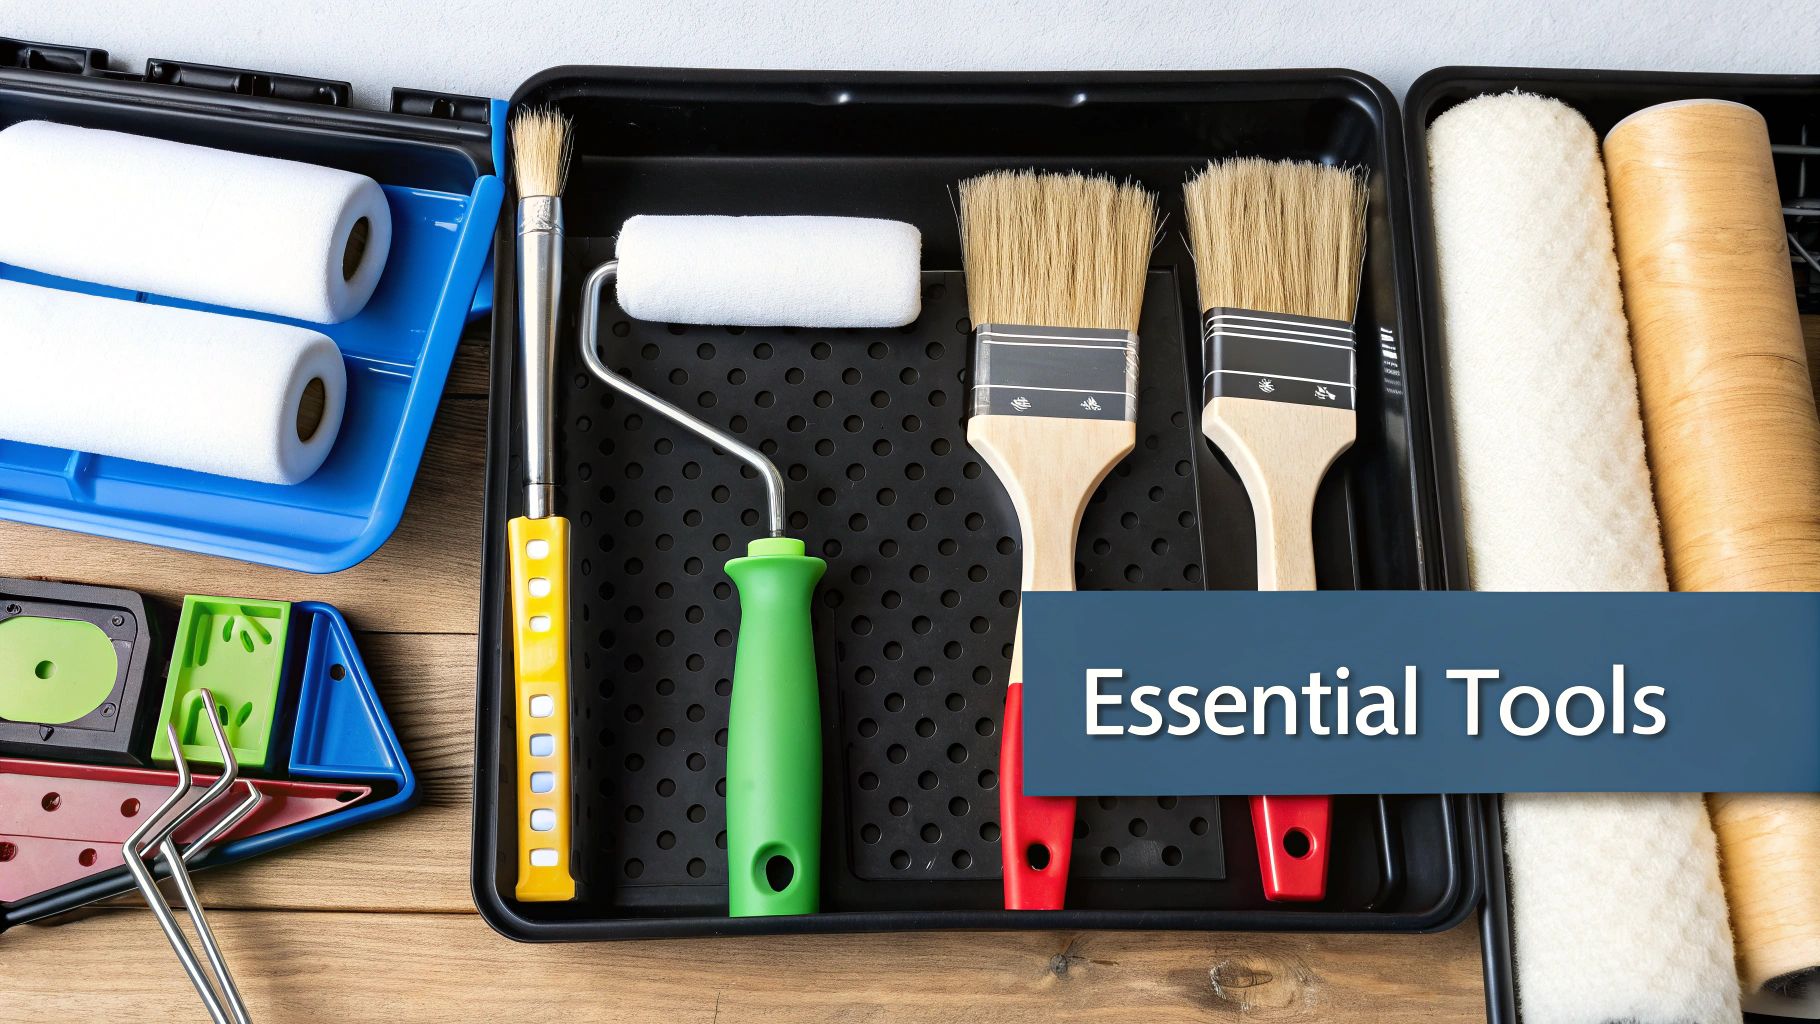
Assembling Your Tools and Materials
Before you touch a brush to the hull, you need to get your gear in order. A great paint job depends as much on the right tools as it does on technique. Gathering everything first leads to a smooth, professional project.
The real work is in the prep, so start there. A good random orbital sander is your best friend for stripping and smoothing large hull sections. You’ll also need sandpaper ranging from coarse 40-grit for stripping old paint to fine 220-grit for a smooth pre-primer surface.
Applicators and Safety Gear
Your application tools will make or break the final finish. For a glass-smooth look, high-density foam rollers are unbeatable. Pair them with a high-quality, fine-bristled “tipping” brush to smooth out roller stipple for a flawless surface.
Don’t ever skimp on safety. Marine paints and solvents contain harsh chemicals. Your essential personal protective equipment (PPE) must include a respirator with organic vapor cartridges, safety glasses, and chemical-resistant gloves.
Finally, gather the smaller items for detail work and cleanup. These details matter immensely.
- High-quality painter’s tape is crucial for razor-sharp, clean lines.
- Tack cloths are essential for wiping away dust right before you paint.
- Acetone or a specific solvent recommended by your paint manufacturer is a must for cleanup.
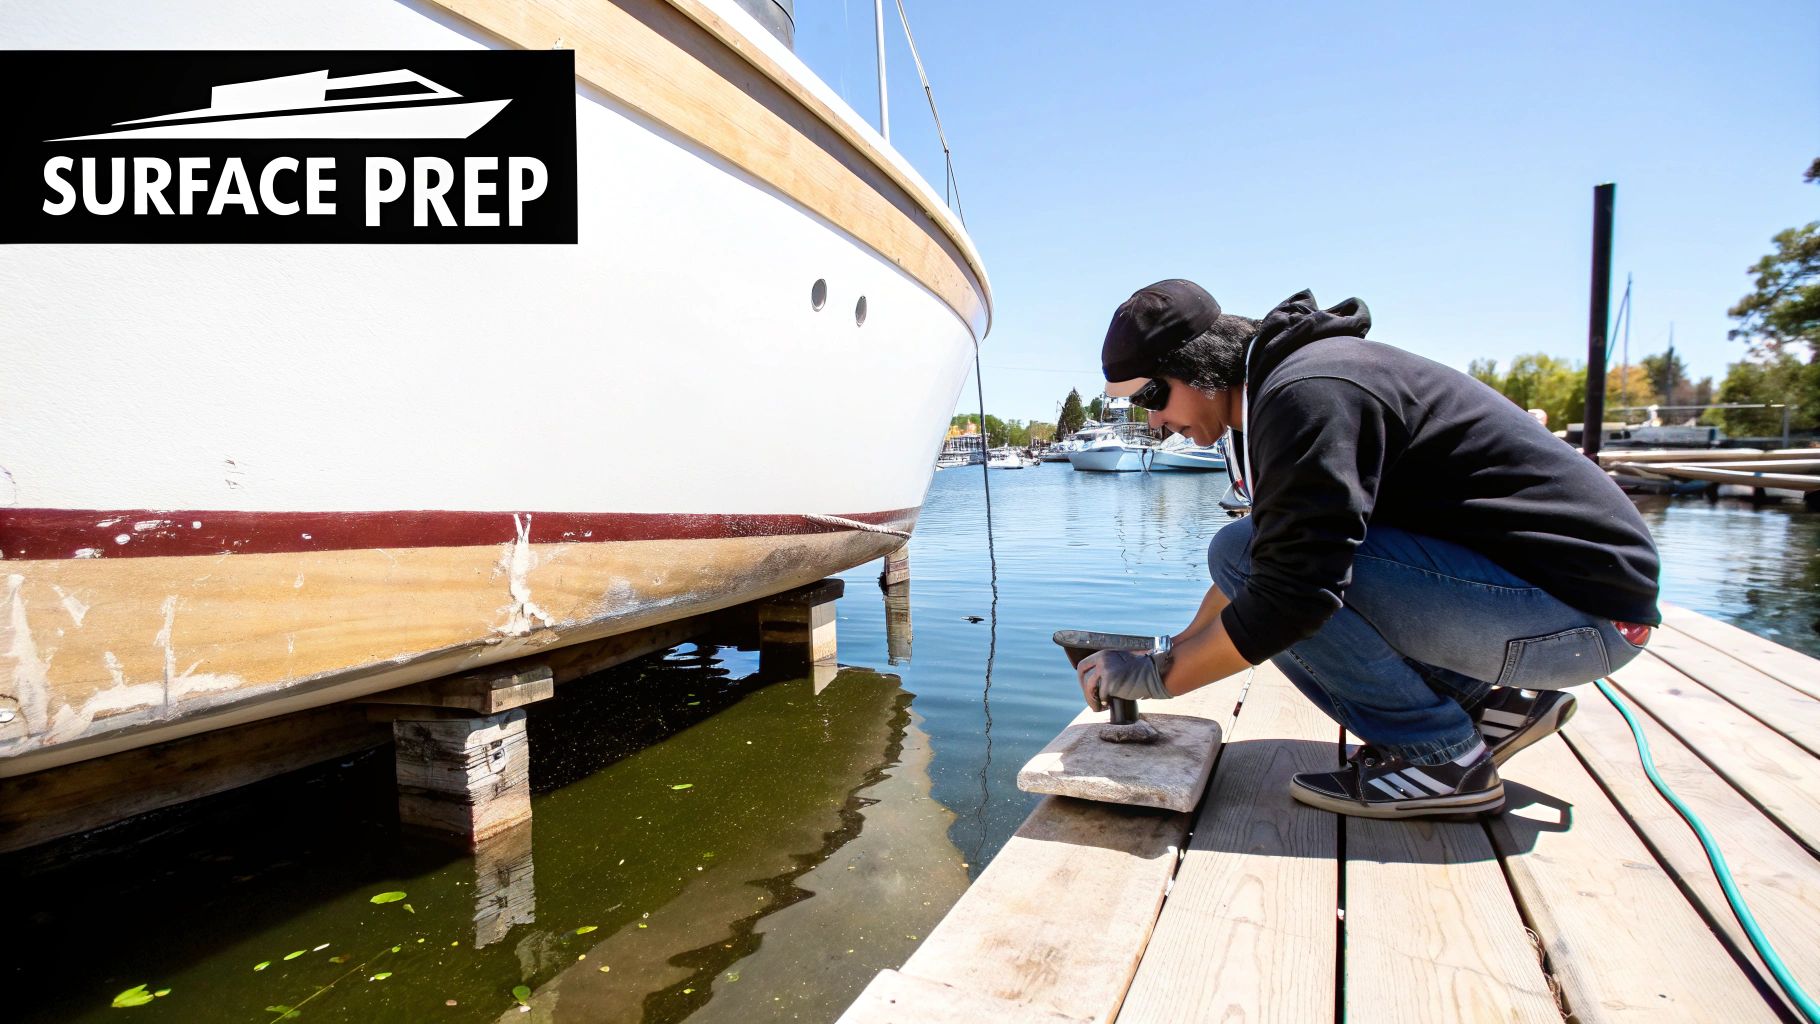
Executing the Critical Surface Prep
Any seasoned boater will tell you that a paint job is only as good as the prep work. This is where you put in the real effort. Cutting corners here will show in the final product.
Your first step is a deep clean. Remove all salt, grime, and marine growth from the hull. Don’t stop until it’s spotless.
Once the hull is clean and dry, it’s time to sand. The goal is to remove any loose or flaking paint. Feather the edges where old paint meets the bare hull to create a smooth transition.
This step prevents old paint lines from showing through your new topcoat. This is also the time for minor repairs. Fill small dings, scratches, or gouges with a quality marine-grade epoxy filler for a uniform surface.
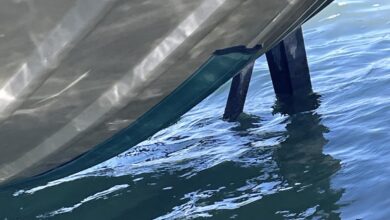
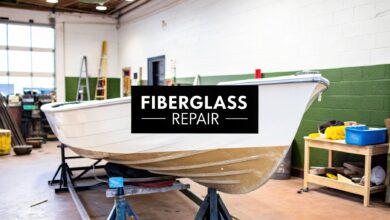
Dealing with Blisters and Imperfections
On older fiberglass boats, you will likely find gelcoat blisters. You cannot just paint over them. Each one must be ground out, cleaned thoroughly, and then filled.
Skipping this step traps moisture and will cause bigger problems later. Getting this part right is essential for paint adhesion and durability. If you want to learn more, this pro-level guide to surface preparation is a fantastic resource.
Laying Down the Primer for a Flawless Finish
Think of primer as the bridge between your sanded hull and the new topcoat. This step is non-negotiable. It guarantees the paint will stick and adds a crucial layer of protection.
Make sure the primer you choose is compatible with your hull material and the topcoat. When rolling on the primer, aim for a smooth, even layer without sags or drips. A high-density foam roller works well for large areas, while a quality brush is best for edges.
Getting the Primer to Stick
Your technique is only half the battle; the environment also matters. Work on a day with moderate temperatures and low humidity. Stay out of direct sunlight, which can make the primer dry too quickly and weaken the bond.
Priming isn’t just about covering the surface. You’re creating the perfect canvas for your topcoat. A well-primed hull is the secret to a professional paint job that won’t peel.
Once the primer has cured, give it a light sanding with fine-grit sandpaper, like 220-grit. This scuffs the surface just enough for the topcoat to grip. After sanding, wipe the entire hull with a tack cloth to remove all dust.
This process is fundamental, whether you’re learning how to bottom paint your boat for the first time or refinishing the topsides.
Mastering the Topcoat Application
This is the moment all your prep work has led to. Achieving a smooth, “sprayed-on” look without professional gear is possible. The “roll and tip” method is a classic technique for boat owners.
It is best performed by two people. One person uses a roller to apply a thin, even coat of paint to a small area. The second person follows immediately with a brush, using just the tip to smooth the surface. This action eliminates bubbles and roller texture, leaving a beautiful finish.
Achieving a Smooth and Durable Finish
The biggest enemy of a great paint job is the lap mark, an ugly line where painted sections overlap. To avoid this, you must maintain a wet edge. This means you never let the applied paint start drying before blending the next section into it.
Working in a team helps you move quickly and keep the finish consistent. For your final coats, use dedicated wood and metal paints for a deep gloss and durability. Most paints require two to three thin coats for proper coverage.
Pro Tip: Start with the trickiest spots first, like the transom and chines. These areas have awkward curves and are very noticeable. If you nail these, the rest of the job will feel much easier.
Investing in quality paint is a smart move. The global market for pleasure boat paint was valued at roughly USD 1.25 billion in 2024. This market is growing as more owners see the value in protecting their investment.
Answering Your Top Boat Painting Questions
Taking on a full boat painting project is a serious task. It’s normal to have questions before you start. Getting the right answers can prevent having to redo the job.
How Often Do I Really Need to Repaint?
The answer depends on the type of paint and where your boat lives. A high-quality two-part polyurethane can last 5-10 years. A one-part enamel will likely need a refresh every 2-4 years.
Bottom paint is a different story. Antifouling paint is a functional coating that needs regular reapplication. You’ll likely need to reapply it every one to two seasons to prevent marine growth.
Dealing with Old Paint and Fickle Weather
Can you paint over the old paint? The answer is a qualified maybe. You can apply a new one-part paint over an old one, but only if the old layer is in solid shape and well-sanded.
Here’s a critical rule: Never apply a two-part paint over a one-part paint. The strong solvents in the two-part formula will destroy the softer paint underneath, causing it to bubble and wrinkle.
If you have any doubt, the safest option is to remove all the old paint. Sanding down to the gelcoat gives you a clean slate and ensures perfect adhesion. Your success also depends on the weather.
- Temperature: Aim for a range between 50°F and 90°F (10°C to 32°C).
- Humidity: The lower, the better, as high humidity affects how paint cures.
- Wind: A calm day prevents dust from sticking to your wet paint.
- Sunlight: Avoid direct sun, as it makes paint dry too fast and causes brush marks.
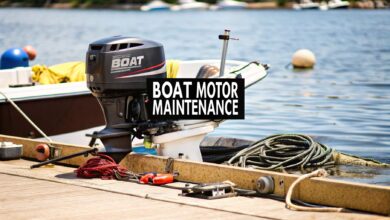
Keeping your boat in prime condition is about more than just a shiny hull. Our guide on boat motor maintenance provides a complete rundown on keeping your engine reliable.
At Boating Articles, our goal is to give you the practical knowledge to handle every part of boat ownership with confidence. Dive into our library of expert guides and real-world reviews at https://boating-articles.com to make every trip safer and more enjoyable.