Painting your boat is a process with three main phases. These are surface preparation, laying down a quality marine primer, and adding a tough topcoat. Get these steps right for a finish that looks great and protects your vessel.
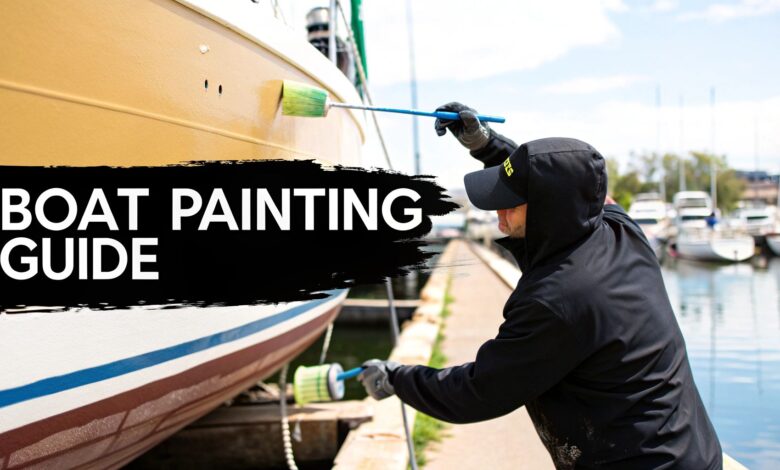
Your Guide to a Flawless Boat Paint Job
Giving your boat a fresh coat of paint is more than a cosmetic upgrade. It’s crucial maintenance. A professional-grade paint job protects your hull from UV rays, saltwater, and marine growth.
This is why you must use specialized marine coatings. With more people boating, the demand for these protective coatings has soared. The global pleasure boat paint market was valued at USD 510.3 million in 2023 and is still growing.
Key Takeaway: A proper paint job is your boat’s primary defense. Rushing prep work or using cheap materials leads to failure. This results in peeling, blistering, and costly repairs down the line.
To give you a clear roadmap, let’s break down the entire workflow. The process moves logically from critical prep work to the final protective finish.
This graphic gives a great visual overview of the key phases.
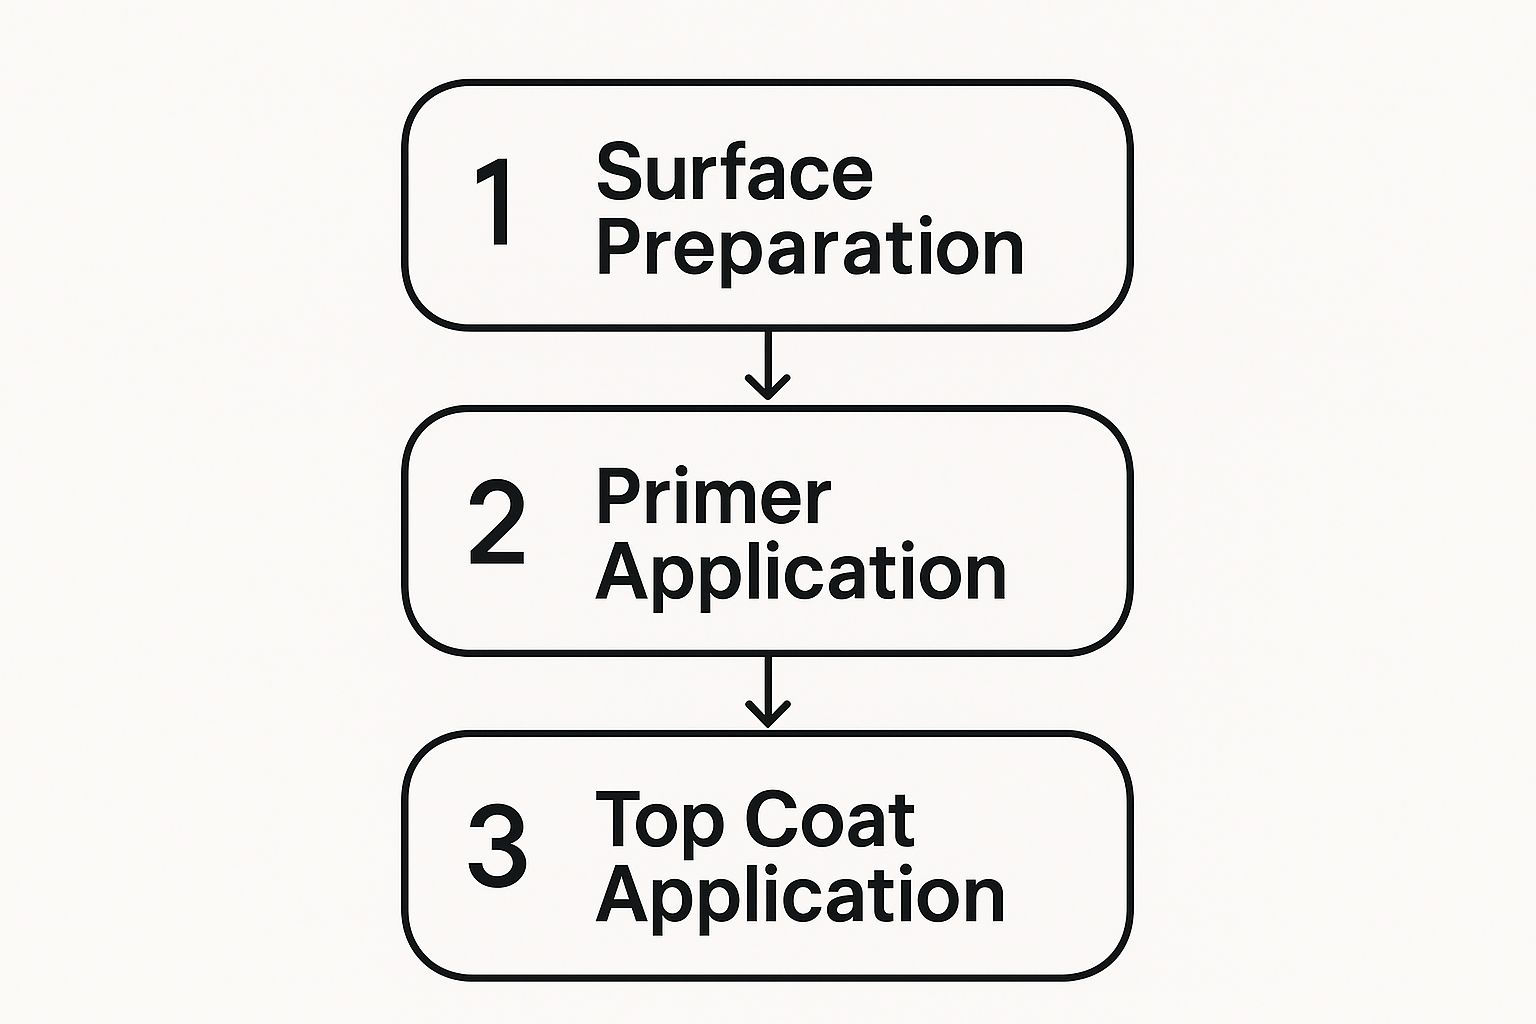
As you can see, each stage builds on the last. Let’s get into the specifics so you can tackle this project with confidence.
Boat Painting Phases at a Glance
This table offers a quick summary of the entire process. Think of it as your high-level project plan. It outlines what you’re doing and why at each milestone.
| Phase | Primary Goal | Key Activities |
|---|---|---|
| Preparation | Create a perfectly clean, smooth, and uniform surface for paint to adhere to. | Cleaning, de-waxing, sanding, filling gouges, and masking off areas. |
| Priming | Seal the prepared surface and provide a strong chemical bond for the topcoat. | Applying one or more coats of a compatible marine primer; sanding between coats. |
| Topcoating | Apply the final color and create a durable, protective, high-gloss finish. | Applying multiple thin coats of marine paint; ensuring proper curing time. |
Understanding these phases is the first step toward a finish you can be proud of. Now, let’s break down exactly what you need to do.
Gathering Your Gear: Tools and Materials for the Job
A first-class paint job starts long before you open a can of paint. The secret is in the prep work, including getting your tools and materials ready. Having everything nearby prevents mid-project scrambles and keeps your workflow smooth.
The right equipment makes all the difference. For sanding, a good random orbital sander is a workhorse for large, flat sections of the hull. For finer work and tricky curves, a simple block sander offers better control.
When it’s time to apply paint, be picky about your rollers and trays. You must use solvent-resistant ones. Cheap plastic trays can melt from the chemicals in marine paint, ruining your finish.
Don’t Skimp on Safety Gear (PPE)
Safety is paramount. The fumes from marine paints and solvents are serious, so personal protective equipment (PPE) is non-negotiable. Do not cut corners here.
- Respirator: Get a dual-cartridge respirator rated for organic vapors to protect your lungs.
- Safety Glasses: A splash of solvent or dust can cause eye damage, so always wear goggles.
- Gloves: Protect your skin with solvent-resistant nitrile or butyl gloves.
A Word From Experience: Treat your PPE like your most critical tool. A high-quality, fitted respirator is essential for protecting your health from volatile organic compounds (VOCs). These are common in marine coatings.
With your safety gear sorted, you’re set up for success. For more tips on boat maintenance, see our guide on how to clean boat seats.
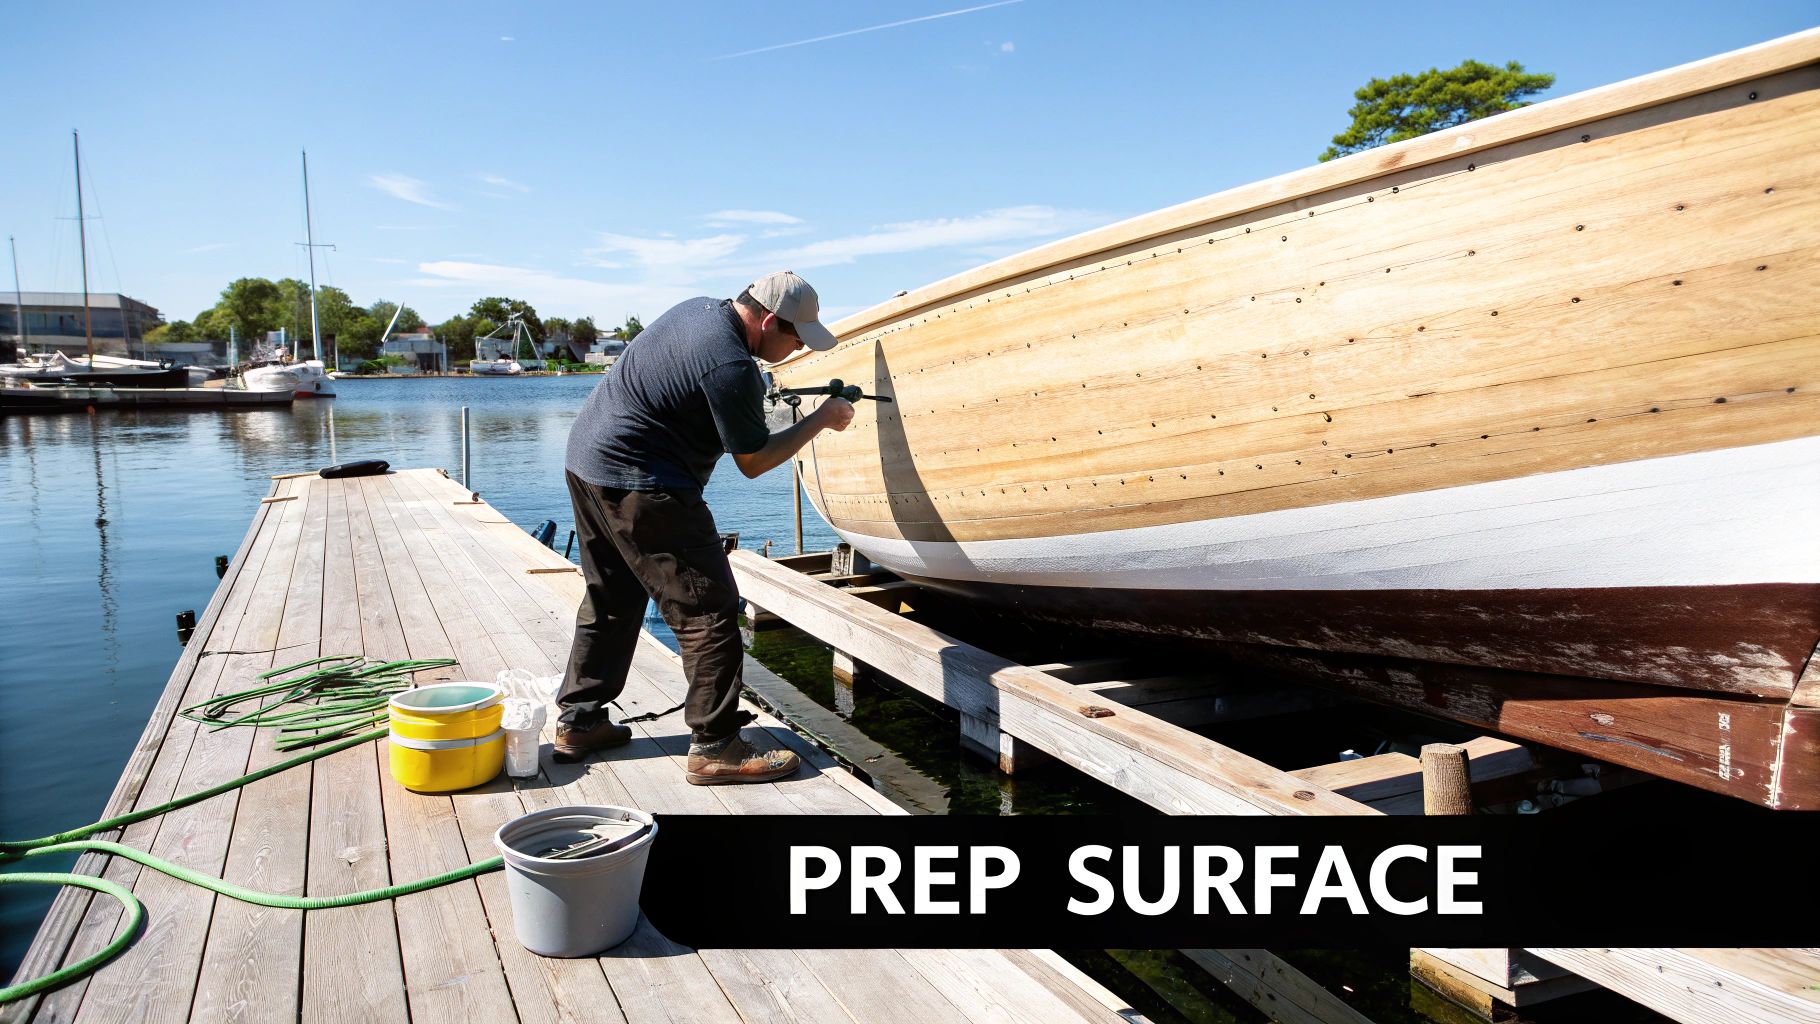
Preparing the Hull for a Perfect Finish
A great paint job is 90% preparation and 10% application. This initial stage is everything. It creates the perfect canvas for your paint to grab onto for a durable finish.
Cutting corners here is the biggest mistake DIYers make. It almost always leads to disappointment.
Your first job is to get the hull spotlessly clean. All the salt, algae, and old wax act as a barrier to paint adhesion. A pressure washer paired with a marine-grade hull cleaner is your best friend here.
We have a comprehensive guide on the best techniques for cleaning a boat hull if you need a refresher.
Sanding Down and Making Repairs
Once the hull is clean and dry, it’s time to sand. Sanding strips away flaking paint and creates a “tooth.” This texture gives the new primer something to grip.
For large areas, an orbital sander with 80-grit paper works well. Then, switch to hand sanding for tricky spots around fittings and curves.
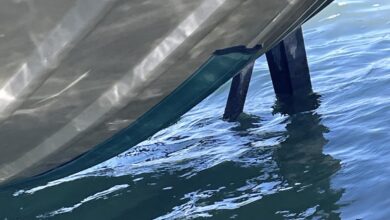
As you work, you will likely find small dings or scratches. Never paint over these. Fix them now with a marine-grade epoxy or polyester fairing compound.
Pro Tip: Apply fairing compound in thin layers, slightly proud of the surface. Let it cure completely. Then, use a sanding block to sand it flush with the hull for an invisible repair.
Choosing and Applying Marine Primer
Primer is the unsung hero of a good boat paint job. It’s the critical link between your prepped hull and the final topcoat. Skipping this step or using the wrong product often leads to failure.
For most projects, a high-build epoxy-based primer is your best bet. These formulas seal the surface, create a strong bond, and protect against corrosion. Always check the can, as different materials like fiberglass or aluminum may need specific primers.
A great primer also fills minor scratches, creating a smooth canvas. This helps you get that professional, mirror-like finish on your topcoat.
Application for Best Results
Getting the application right is vital. You will almost always need two coats to build up enough thickness for total coverage.
Keep an eye on the weather forecast. The sweet spot for priming is low humidity with temperatures between 50°F (10°C) and 90°F (32°C). For more guidance on the project, read our full guide on how to paint a boat.
The demand for high-quality marine coatings is a massive industry. It’s valued at roughly USD 3.11 billion in 2025 and is expected to climb. You can dig into the market data yourself over at giiresearch.com.
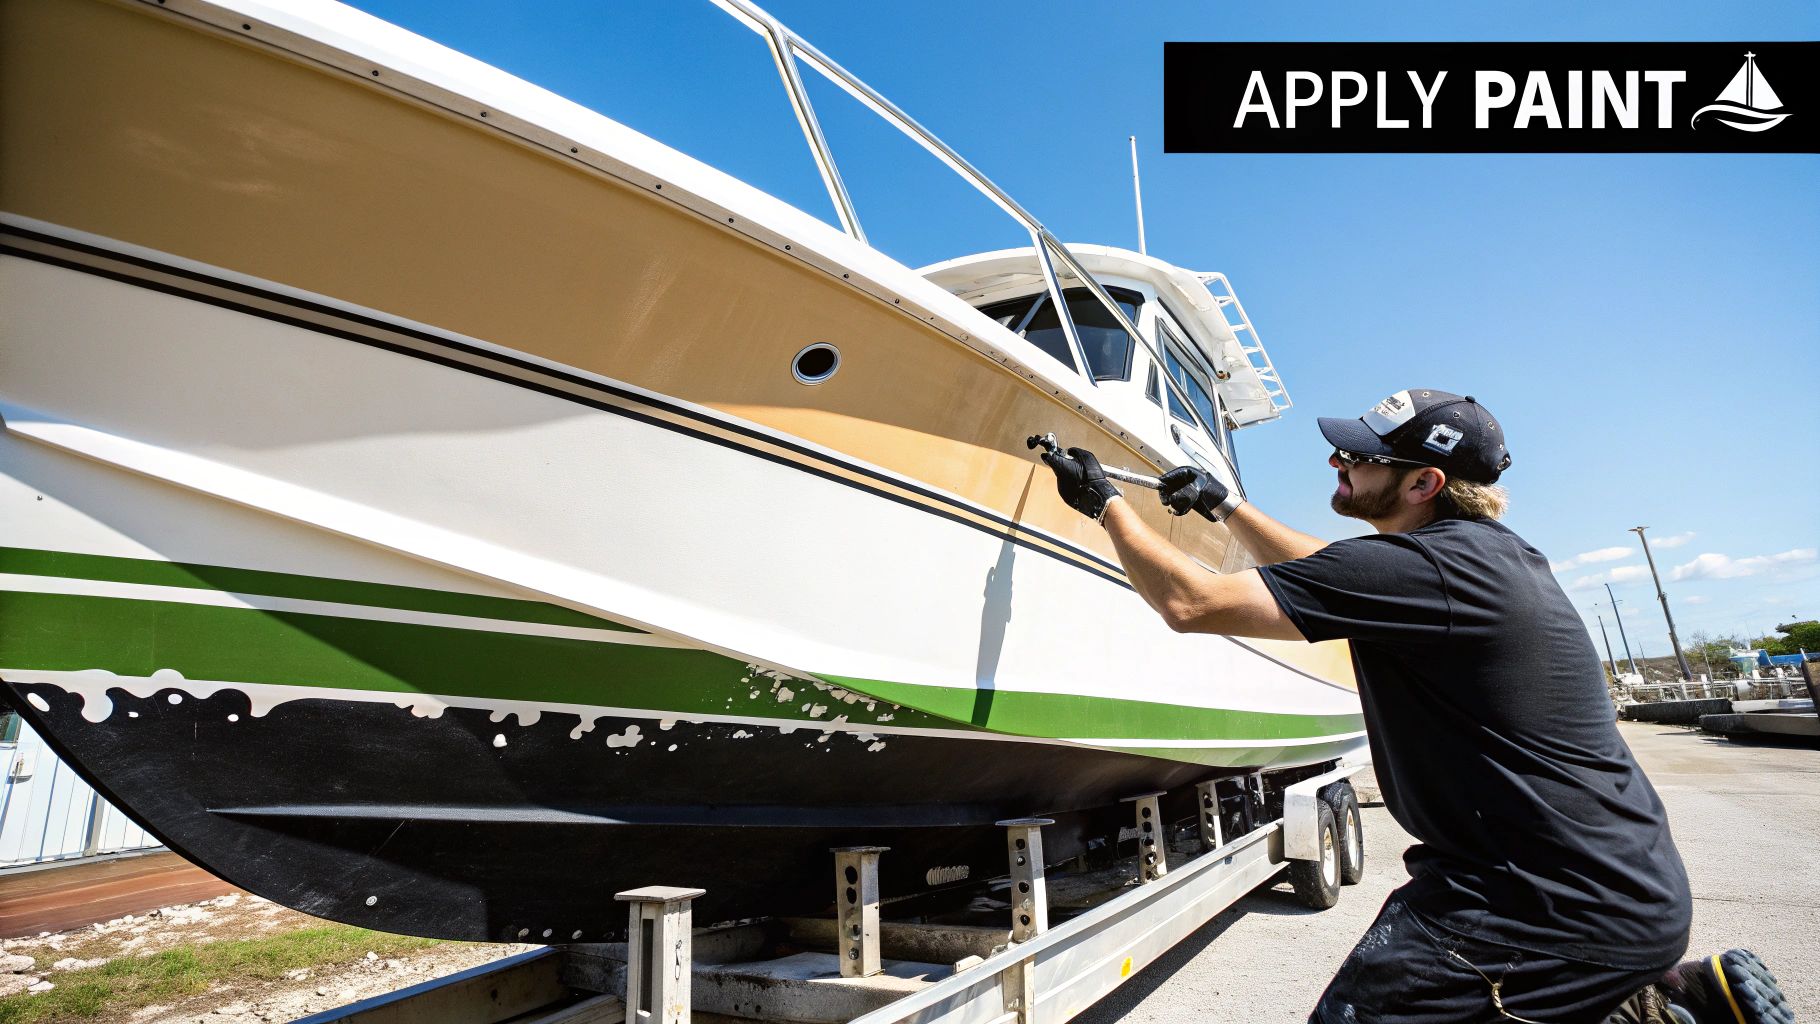
Applying Topcoat with the Roll and Tip Method
This is where your prep work truly shines. We’re going to use the “roll and tip” method. This classic technique can give you a finish so smooth people will swear it was sprayed.
The idea is simple: one person rolls on a thin, consistent layer of paint. A second person follows with a high-quality brush, using light strokes to smooth it out. This erases roller texture and pops bubbles, leaving a flawless surface.
Before you begin, make sure your paint is mixed perfectly. This is crucial for two-part polyurethanes, which have a strict pot life. Once mixed, the clock is ticking before it starts to cure in the can.
Pro Tip: The secret to a seamless finish is maintaining a “wet edge.” Always paint back into the section you just applied. Work in smaller, manageable areas so the paint edge never has a chance to dry.
One-Part vs. Two-Part Polyurethane Paint
A big decision is choosing between one-part and two-part polyurethane paint. There is no single right answer. It depends on your budget, skill level, and how you use your boat.
Here’s a quick breakdown to help you pick the right topcoat.
| Feature | One-Part Polyurethane | Two-Part Polyurethane |
|---|---|---|
| Ease of Use | Very user-friendly. Just open the can and start painting—no mixing required. | More complex. You have to precisely mix a base with a hardener. |
| Durability | Offers solid durability and gloss that’s more than enough for most recreational boats. | The undisputed champion of hardness, chemical resistance, and long-lasting shine. |
| Cost | Less expensive to buy off the shelf. | A higher upfront investment for the paint and all the necessary supplies. |
This choice impacts your wallet and how well your hull is protected. The high cost of quality marine paints helped value the global marine coatings market at USD 6.54 billion in 2025.
Common Questions About Painting Your Boat
Even seasoned boat owners have questions about a big paint job. The small details make the difference between an okay finish and one that turns heads. Let’s dig into some common questions.
One of the first is, “How long will this last?” A high-quality marine paint job can hold up for 5 to 10 years. The key variables are your prep work, paint quality, and how your boat is stored.
Can I Just Paint Over the Old Finish?
This tempting shortcut is a risky move. You can only paint over an old finish if it’s in near-perfect condition. This means no flaking, bubbles, or peeling.
Even then, you must scuff-sand the entire surface for adhesion. You also have to ensure the new and old paints are chemically compatible.
The pros will tell you to take the old paint off. Sanding down to the original gelcoat or primer is the only way to guarantee a solid foundation. It’s more work upfront but prevents headaches later.
What Is the Best Weather for Painting?
The weather is your unpredictable partner in this project. You’re looking for a “Goldilocks” day. It should be warm, dry, and calm, with low humidity and temps between 50°F (10°C) and 90°F (32°C).
Watch out for these project-ruiners:
- High Humidity: It can mess with the curing process, leaving a dull finish.
- Direct Sun: It flash-dries the paint, creating ugly brush marks.
- Windy Days: Wind blows dust and bugs into your wet paint.
Your best bet is to work in a shaded, protected spot. A temporary boat shelter or a well-ventilated workshop gives you control. This helps you get that flawless, glass-like finish.
At Boating Articles, our goal is to give you the practical knowledge to tackle projects with confidence. To get more out of your time on the water, you can explore our full library of expert guides at https://boating-articles.com.