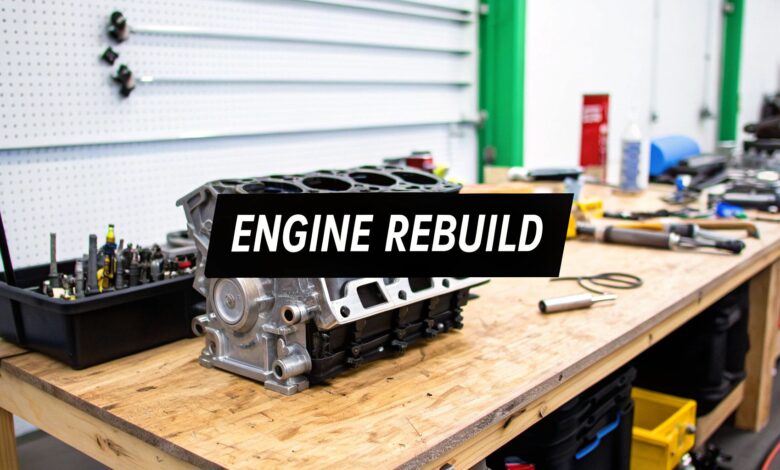
Deciding to rebuild a marine engine is a big job. It’s a path you take after persistent headaches like power loss, strange noises, or excessive exhaust smoke.
The process involves a complete teardown, replacing worn parts, and reconditioning salvageable components. While a major undertaking, it’s often smarter financially than buying a new engine, adding thousands of hours to your boat’s life.
Knowing When to Rebuild Your Marine Engine
That gut-wrenching feeling when your engine sputters miles from shore is a serious warning. Learning to read these signs is the first step in deciding between a simple repair or a full overhaul.
You have to get specific and look at real, tangible symptoms to truly diagnose the engine’s health.
I’ve seen it a hundred times: a charter boat that now struggles to hit cruising speed. Or the weekend cruiser that leaves a tell-tale oil sheen on the water. These are clear signs of serious internal wear that a quick fix won’t touch.
Decoding Your Engine’s Distress Signals
Developing the skill to differentiate minor issues from major failures is crucial. A smoking engine, for instance, tells a story through the color of its smoke. Each symptom points to a different internal failure, helping you make a smart call.
Here are the big red flags that almost always point toward a necessary rebuild:
- Significant Power Loss: The engine struggles to get the boat moving or can’t reach normal top-end RPMs. This usually means poor compression from worn-out piston rings, cylinder liners, or valves.
- Excessive Smoke: The color tells you what’s wrong. Blue smoke means it’s burning oil. White smoke points to coolant in the cylinders. Black smoke indicates unburnt fuel.
- High Oil Consumption: Constantly adding oil is a dead giveaway. Worn rings or valve seals are letting oil sneak into the combustion chamber.
- Loud Knocking or Metallic Sounds: Deep, metallic knocking noises often signal trashed crankshaft bearings or “piston slap.” These are catastrophic failures waiting to happen.
Making the Final Call
Before starting, you must perform a thorough diagnosis. Sometimes, a loss of power is just a clogged fuel filter or a tired turbocharger.
But when you see multiple symptoms at once—like a drop in power with blue smoke and a new knock—the evidence points convincingly to a total overhaul.
A well-timed rebuild can be the difference between a reliable season and a catastrophic failure. It also restores fuel efficiency and extends the life of your boat. Putting it off just lets the damage get worse.
The decision to rebuild balances symptoms against cost and downtime. Understanding what’s really going on inside the engine is key. For more on diagnostics, explore effective maintenance problem-solving strategies.
Setting Up Your Workspace and Tools
A successful marine engine rebuild starts with a quality workspace. A clean, well-lit, and organized shop is a must-have. It helps prevent lost parts, contamination, and frustrating setbacks.
Think of your garage as an operating room for your engine. You need ample room for the engine stand and space to lay out components. Good lighting is critical for spotting tiny cracks or subtle wear patterns.
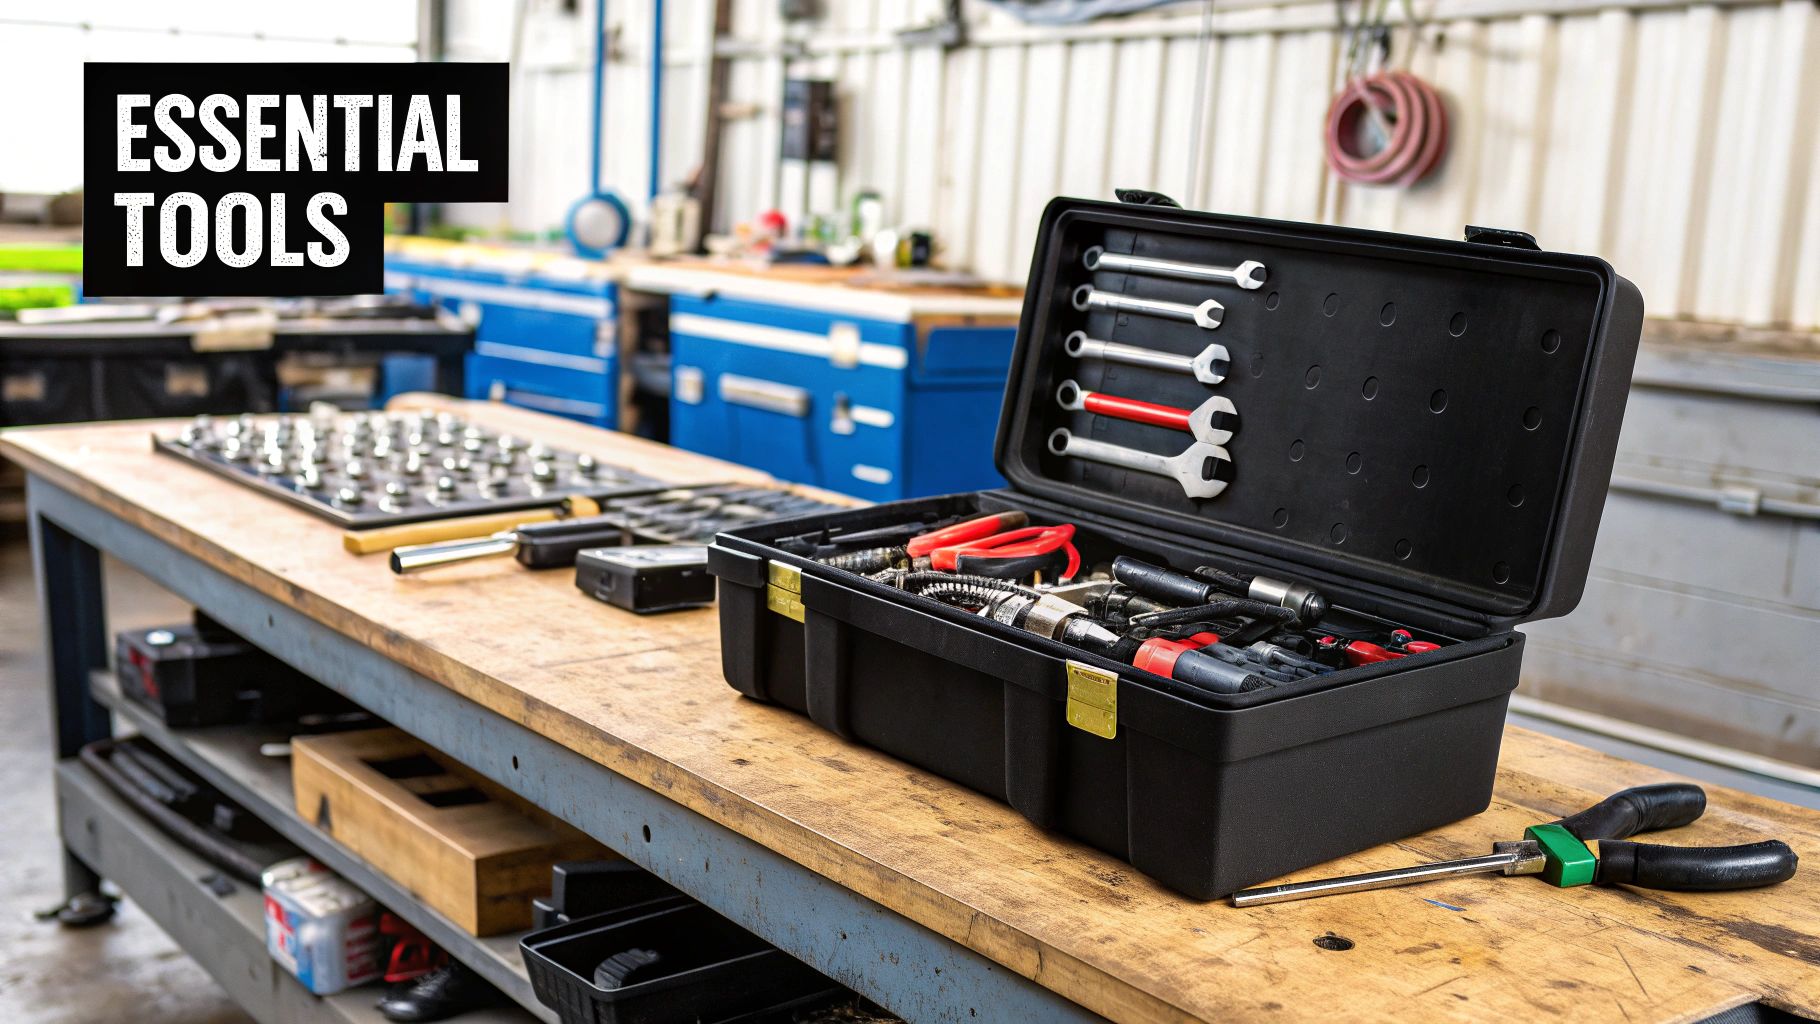
Gathering Your Essential Equipment
Having the right tools is just as crucial as the space itself. A basic socket set won’t cut it for a full rebuild. Lacking proper equipment can lead to stripped bolts, damaged parts, and wrong measurements.
Here’s a rundown of the core tools you’ll need:
- Engine Hoist and Stand: These are non-negotiable items for safely removing and working on the engine.
- Comprehensive Socket and Wrench Set: Ensure you have a full range of metric and standard sizes, including deep sockets.
- Precision Measurement Tools: Invest in a quality torque wrench, feeler gauges, and a dial indicator.
- Specialty Engine Tools: A piston ring compressor, harmonic balancer puller, and valve spring compressor will save you major headaches.
A rule of thumb every pro mechanic lives by: if you can’t measure it, you can’t build it. Good precision tools are an investment in the engine’s future reliability.
Organization: The Key to a Smooth Rebuild
Disorganization is the enemy of a good engine rebuild. With hundreds of bolts and small parts, a methodical system is essential.
Before starting, get plastic zip-top bags and a permanent marker. Every group of fasteners gets its own labeled bag. This simple habit prevents chaos and creates a manageable inventory.
Your smartphone is also a valuable tool. Take photos and videos from every angle as you disassemble. This visual roadmap will be a lifesaver during reassembly.
The market for outboard motor rebuild services, valued around USD 0.15 billion in 2023, is on track to double by 2032.
The Teardown: A Methodical Approach to Disassembly and Inspection
This is where the real detective work begins. Tearing down an engine is a careful process of uncovering its history. Every component tells a story of wear and tear.
Always work from the outside in. Start by stripping away external systems like fuel, exhaust, and cooling. Your organized setup with labeled bags and photos becomes your best friend here.
Patience and a steady hand are key as you strip the engine block.
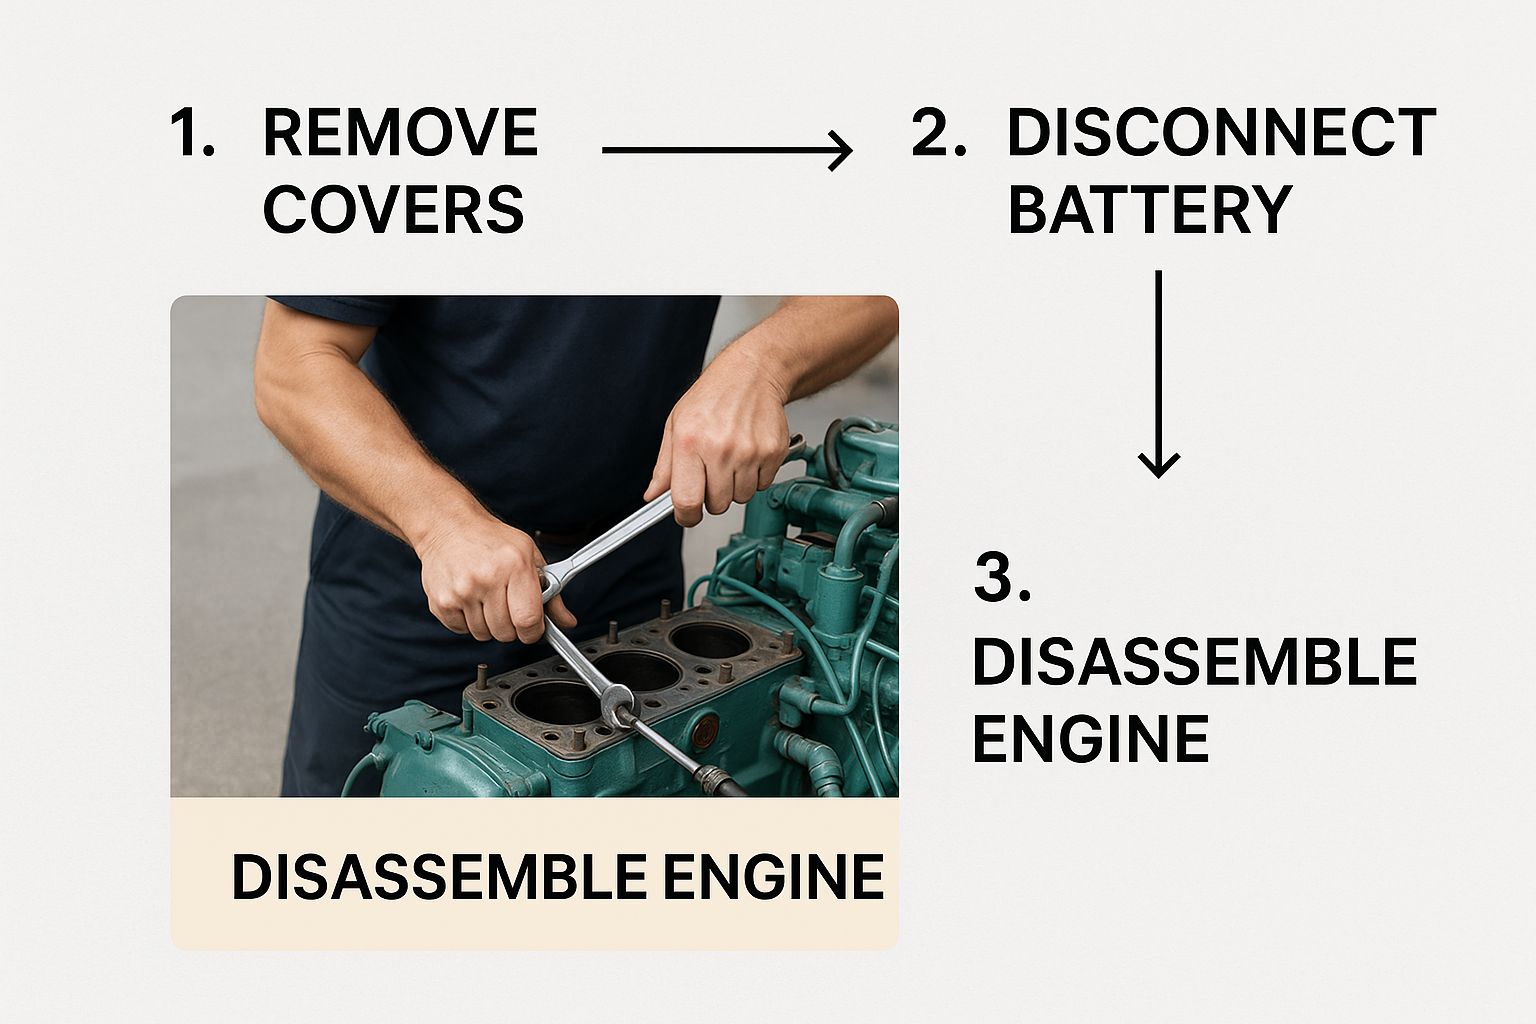
Pulling the cylinder head is a milestone moment. It’s your first real look at the engine’s core components.
The Art of Critical Inspection
With the engine in pieces, the real inspection starts. This requires precise measurements and a trained eye for subtle damage. Cross-reference your findings with the service manual to decide what to save and what to replace.
Here’s a breakdown of what to zero in on:
- Cylinder Walls: Run your fingernail along the cylinder walls. Any vertical scoring means the cylinders will need to be bored or honed.
- Piston Inspection: Check piston skirts for scuffing and tops for pitting, a sign of detonation. Inspect the ring grooves to ensure they’re clean and undamaged.
- Bearing Examination: Inspect main and rod bearings for uneven wear, scoring, or discoloration. Worn-out bearings are a prime suspect for low oil pressure.
I’ve seen too many people only look for obvious breaks. The real story is often in the measurements. A part might look fine but be worn beyond its service limit.
Precision Measurement Techniques
Your eyes only get you so far. To get a true picture of the engine’s condition, you must use precision tools. This separates a professional rebuild from a patch job.
Plastigauge is a fantastic tool for checking bearing oil clearance. A feeler gauge is non-negotiable for piston ring end gaps and valve clearances.
The crankshaft needs a thorough check. Use a dial indicator to check it for straightness. A bent crank will wipe out new bearings in no time.
Connecting Wear Patterns to Root Causes
Finding wear is one thing, but understanding why it happened is key. This diagnostic thinking is what makes a rebuild last. The checklist below helps connect common wear patterns to their root causes.
Engine Component Wear Inspection Checklist
Knowing what to look for can tell you the full story of the engine’s past. This table breaks down common signs of wear on critical components.
| Component | What to Look For | Potential Cause | Rebuild Action |
|---|---|---|---|
| Cylinder Head | Cracks between valve seats | Engine overheating | Professional magnafluxing and repair, or replacement |
| Piston Rings | Stuck or broken rings | Carbon buildup, detonation, or improper installation | Replace pistons and rings; hone or bore cylinders |
| Crankshaft | Scored or discolored journals | Oil starvation or contaminated oil | Regrind crankshaft and install oversized bearings |
| Camshaft Lobes | Pitting or flattened lobes | Poor lubrication or improper break-in | Replace camshaft and lifters |
This diagnostic process is the core of any successful rebuild marine engine project. If you’re tackling a smaller engine, our guide on how to rebuild an outboard motor has useful tips.
The Global Marine Engine Services Market was valued at USD 13.92 billion in 2010 and is forecast to hit USD 39 billion by 2030. With 80% of global trade relying on sea transport, demand for skilled mechanics is rising. Find more on this trend at Virtue Market Research.
Choosing Parts and Reconditioning Components
With your engine disassembled, the real decision-making begins. Your choices now will determine the reliability of your rebuild marine engine.
Big-ticket items like the block, head, and crankshaft are usually worth saving. A reputable machine shop can check for cracks and machine critical surfaces back to factory specs.
A slightly warped cylinder head can often be resurfaced. A crankshaft with light scoring can be ground to accept oversized bearings. These services are the foundation of a cost-effective rebuild.
The Non-Negotiables: What to Always Replace
While you can salvage heavy iron, some parts are one-and-done. Don’t reuse wear items. It’s a false economy that will almost certainly come back to bite you.
These parts are designed to wear out over time to protect more expensive components. Reinstalling old bearings undermines all your hard work.
Here’s my list of parts you should plan on replacing without a second thought:
- Piston Rings: They are the primary seal for combustion and are designed to wear.
- All Bearings: This includes main, rod, and camshaft bearings.
- Gaskets and Seals: Heat and time make them brittle, and they are guaranteed to leak if reused.
- Oil Pump: The oil pump is the heart of your engine. A new one is cheap insurance against catastrophic failure.
Selecting Your Replacement Parts
Once you have your shopping list, you’ll face many parts choices. Understanding the difference is key to balancing your budget with reliability.
The global marine engine market is expected to grow from USD 13.31 billion in 2024 to over USD 17.46 billion by 2032. This explosive growth means there’s a constant demand for quality parts. You can find more detailed market analysis on Fortune Business Insights.
For us, this massive market means we have options.
Expert Tip: Don’t mix and match brands for critical internal parts like pistons or bearings. Buy a complete, matched set from a single reputable manufacturer to ensure proper fitment.
OEM vs. Aftermarket vs. Remanufactured
Choosing where your parts come from is a big deal. You have three main paths.
- OEM (Original Equipment Manufacturer): These parts guarantee a perfect fit but come with the highest price tag.
- High-Quality Aftermarket: A good aftermarket part can be as reliable as OEM, but you must stick with trusted brands.
- Remanufactured: This is a common choice for components like starters or alternators. It’s a great middle-ground for quality and cost.
For tips on post-rebuild care, see our guide on outboard engine maintenance. Your choice comes down to your budget and how you use your boat.
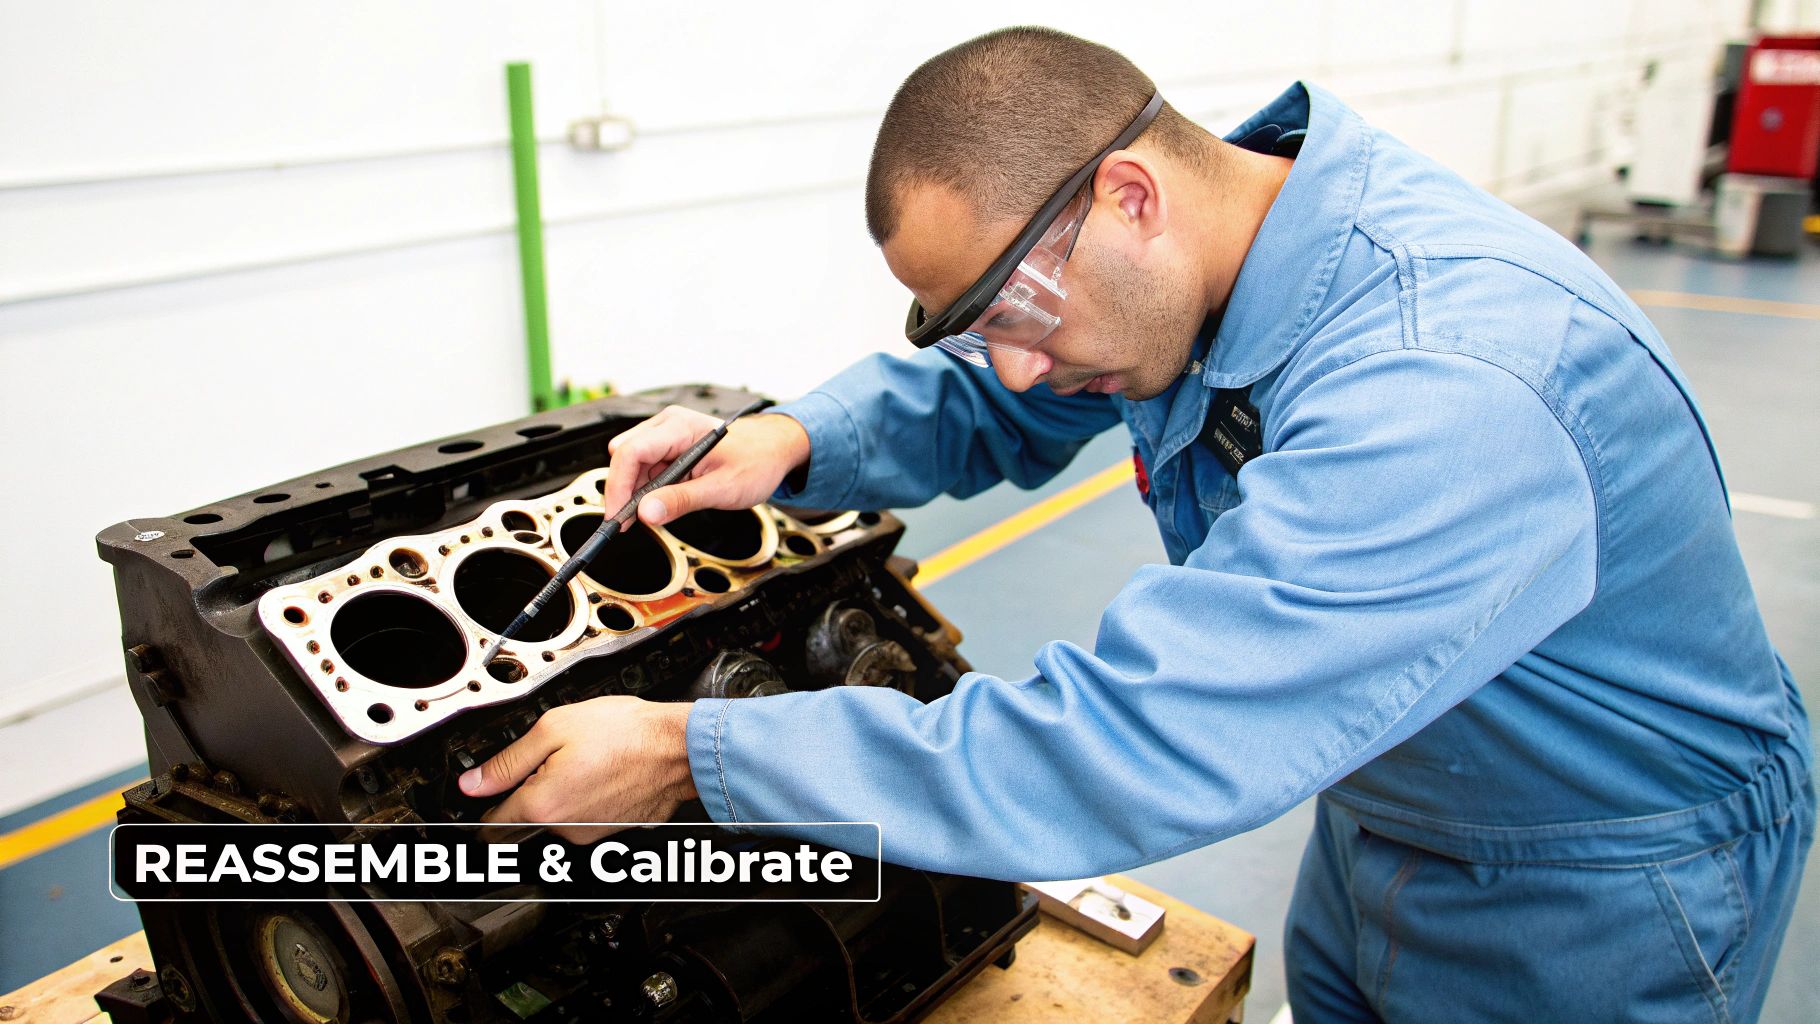
Putting It All Back Together: Reassembly and Testing
This is the moment all that hard work starts to pay off. Assembling the engine is about precision and a methodical approach.
You have a collection of clean, organized parts. Now, you get to turn that bare block back into a reliable powerhouse. This is the most satisfying part of any marine engine rebuild.
Building From the Bottom Up
Reassembly follows a logical sequence, starting from the inside out. Begin with the rotating assembly. The first items in are the new main bearings.
Next, carefully lower the crankshaft into place. Check the end play with a dial indicator. Then, install and torque the main caps following the sequence in your service manual.
Now move on to the pistons and connecting rods. Each piston, with fresh rings, is slipped into its cylinder with a ring compressor. Install the rod bearings and torque the caps to their final values.
The Two Golden Rules: Lube and Torque
During reassembly, assembly lube and a torque wrench are non-negotiable. Apply assembly lube to every moving surface. It’s the only thing protecting new metal surfaces on the very first startup.
Your torque wrench ensures everything is perfectly clamped. Every fastener has a specific torque value and often a tightening sequence.
Don’t guess with torque specs. Cutting corners here is a guaranteed path to failure. An unevenly torqued head will blow a gasket.
Sealing It Up and Adding the Accessories
With the rotating assembly buttoned up, it’s time to seal the block. The camshaft goes in, followed by the timing chain or gears. Bolt in the oil pump and torque down the oil pan.
Next is the cylinder head. Carefully place the new head gasket and lower the head into position. Torque the head bolts in a specific pattern, usually in several stages.
The core engine is now assembled. All that’s left is to bolt on the external systems:
- Fuel System: The fuel pump, injectors or carburetor, and all lines.
- Cooling System: The water pump, thermostat, and all coolant hoses.
- Electrical System: The starter, alternator, and main engine wiring harness.
The Final Pre-Start Ritual
Before turning the key, run through a final pre-flight checklist. These last few checks prevent simple mistakes from becoming catastrophic problems.
Here are a few absolute must-dos:
- Prime the Oil System. This is critical. Use an oil pump priming tool to spin the pump and build pressure before the engine turns over.
- Fill the Fluids. Double-check engine oil, coolant, and transmission fluid levels.
- Hunt for Leaks. Do a thorough visual inspection for any drips from gaskets, seals, or hoses.
- Verify Your Connections. Put your eyes on every electrical plug, hose clamp, and bolt.
Only when this checklist is complete are you ready for the initial startup. This methodical process ensures your boat has a fresh, reliable heart for years.
Got Questions About Your Marine Engine Rebuild?
Even experienced mechanics have questions during a marine engine rebuild. From final cost to wondering if the hard work will pay off, it’s natural to have questions.
Getting answers straight from the start helps you set realistic expectations. It clarifies your budget, timeline, and the life you’ll get from the engine.
How Much Is This Going to Cost Me?
The honest answer is: it depends. A full rebuild typically costs between 40% and 60% of a brand-new crate engine.
The engine’s size and complexity are the biggest factors. The extent of internal damage also affects the price. A light cylinder hone is much cheaper than grinding a crankshaft.
If you handle the labor yourself, you’ll save a ton. A DIY rebuild on a common V8 might run a few thousand dollars. A professional shop could easily present a five-figure invoice.
What are the Biggest Mistakes People Make?
I’ve seen rebuilds go south, usually for a few key reasons. The number one project-killer is poor organization. Bag and tag everything.
The next critical error is not being fanatical about cleaning. A tiny speck of grit can wipe out a new bearing in minutes. Every component must be spotless before reassembly.
Finally, never guess on torque specs. Every bolt has a specific value and sequence for a reason.
Don’t try to save a few bucks on cheap gaskets and seals. A leak after all that work is a soul-crushing setback that is 100% avoidable.
How Long Will My Rebuilt Engine Last?
Will all this effort be worth it? Absolutely. A correctly rebuilt engine should last just as long as a brand-new one.
The longevity comes down to three things: quality machine work, quality parts, and your attention to detail during assembly.
Just as important is the engine break-in procedure. This critical period allows new piston rings to properly seat. With proper care, that rebuilt engine will give you thousands of hours of reliable power. For what comes next, see our guide on essential boat motor maintenance.
At Boating Articles, we’re committed to giving you the expert advice and real-world guides you need to get the job done right. Whether you’re a seasoned pro or new to the DIY world, you’ll find what you need at https://boating-articles.com.