Welcome aboard! Keeping your boat seats looking sharp is one of those small jobs that makes a huge difference. The secret isn't a single, intense cleaning session, but a smart, consistent routine. For most day-to-day upkeep, a simple mix of mild soap and water on a soft cloth does wonders.
But what about the tough stuff? For that stubborn mildew or ground-in grime from a season of fun, you'll need to bring in some specialized marine-grade cleaners. The real key, though, is what comes after: a thorough freshwater rinse to remove any residue, followed by a quality UV protectant. Think of it as sunscreen for your seats—it’s absolutely essential for preventing cracking and fading.
Your Guide to Pristine Boat Seats
Let's be honest, clean seats are about more than just appearances. They're a core part of protecting your investment and making sure your boat is always ready for that next trip out on the water. This guide cuts through the generic advice to give you the real-world strategies that professional detailers swear by.
A well-maintained boat is a source of pride, and your seats are front and center. When upholstery is neglected, it doesn't take long for it to crack, fade, or become a breeding ground for mildew. Not only is that an eyesore, but it can also be unhealthy. A little bit of regular care goes a long way in extending the life of your marine upholstery and saving you from a costly reupholstering bill.
What You Will Learn
Think of this as your complete playbook for boat seat maintenance. We'll get into the nitty-gritty of:
- Picking the right tools and cleaners for different materials like vinyl, leather, and fabric.
- Proven, field-tested methods for knocking out tough stains from sunscreen, fish blood, and dreaded mildew.
- A straightforward maintenance routine you can actually stick to, keeping your seats looking fantastic all season long.
Building a Solid Maintenance Habit
The foundation of great-looking boat seats is simple: consistency. From my experience, a quick weekly rinse with fresh water and a wipe-down with a soft rag and a gentle soap solution is the best defense.
For a more serious clean, I recommend a monthly wash. Let a soapy solution sit for a few minutes to really break down any stubborn dirt before you wipe it clean. This simple schedule is your best bet against the buildup that slowly degrades the material over time. You can find more expert tips on this at DiscoverBoating.com.
I've seen it a hundred times: someone reaches for a bottle of bleach or a stiff-bristled brush thinking it'll get the job done faster. This is one of the biggest mistakes you can make. Harsh chemicals and abrasive tools will strip the protective coating right off your vinyl, causing it to age, crack, and fail much faster. Always stick with marine-specific products and gentle tools.
This approach is just one piece of the puzzle. After all, sparkling seats are best enjoyed on a boat that's clean from bow to stern. For a complete rundown, take a look at our guide on how to clean your boat from top to bottom.
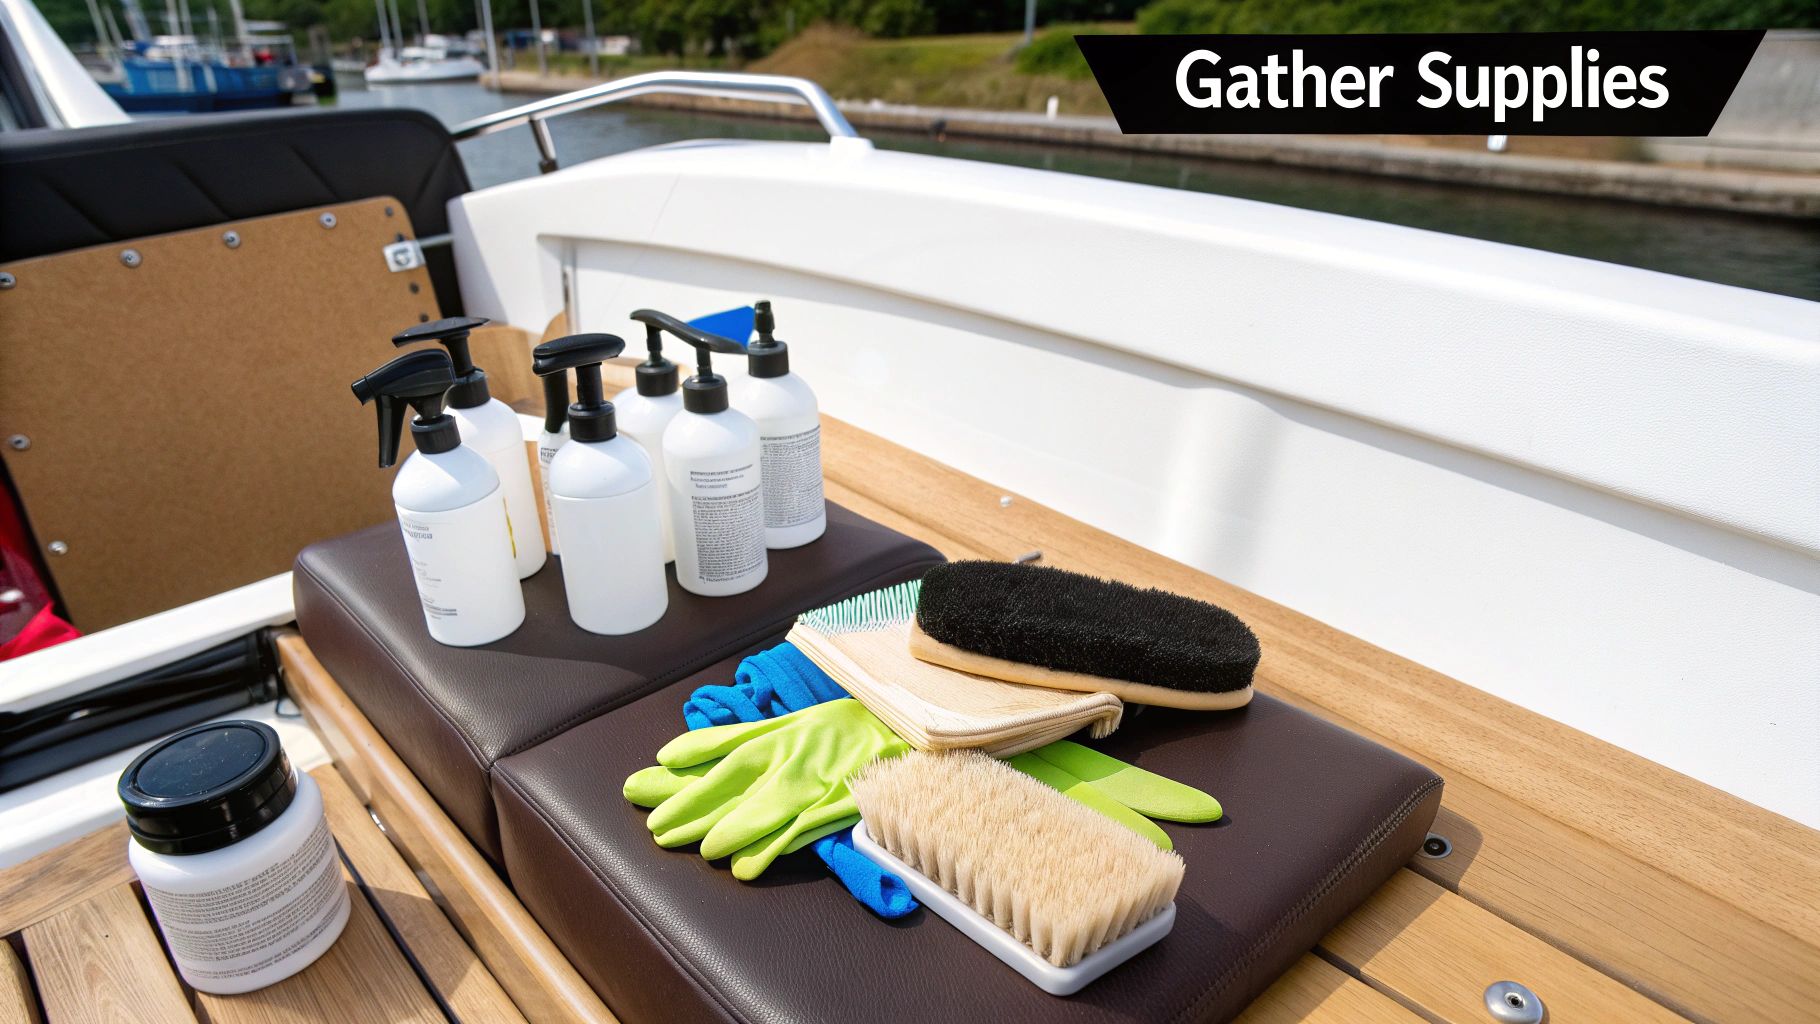
To make things even simpler, here's a quick-reference table to help you grab the right supplies for the job.
Boat Seat Cleaning Essentials by Material
| Seat Material | Recommended Cleaner | Best Tool | Key Precaution |
|---|---|---|---|
| Marine Vinyl | pH-neutral marine vinyl cleaner or 3:1 water/vinegar solution | Soft-bristle brush, microfiber cloth | Avoid bleach-based products, which cause yellowing and brittleness. |
| Fabric/Canvas | Specialized fabric cleaner (e.g., 303 Multi-Surface Cleaner) | Medium-bristle brush, wet/dry vacuum | Test cleaner on an inconspicuous spot first to check for colorfastness. |
| Leather | Gentle leather soap, saddle soap | Microfiber cloths (one for cleaning, one for buffing) | Do not oversaturate. Condition with a marine leather conditioner after cleaning. |
This table should give you a great starting point. Having these items on hand makes it much easier to tackle spills as they happen and stick to a regular cleaning schedule.
Mastering Vinyl Boat Seat Cleaning
There’s a good reason vinyl is the go-to material for marine upholstery. It's built tough to handle sun, salt, and spray. But even the most durable vinyl needs a little TLC to keep it from getting grimy, stiff, and faded. The real secret isn't about power washing or harsh chemicals; it's all about consistent, gentle cleaning.
For your regular, end-of-the-day wipe-downs, you don't need anything fancy. A simple bucket of fresh water with a few drops of mild dish soap is usually all it takes. This simple mix is surprisingly effective at cutting through salt residue, sunscreen smudges, and light dirt without harming the vinyl's protective topcoat.
Grab a soft microfiber cloth, dip it in the soapy water, and wipe down the seats. I like to work in smaller sections to make sure I don't miss anything. If you've got textured vinyl—the kind with all those little nooks and crannies—a soft-bristled brush is your best friend. Use it to gently work the soap into those grooves and lift out the hidden grime.
Tackling Tougher Grime on Vinyl
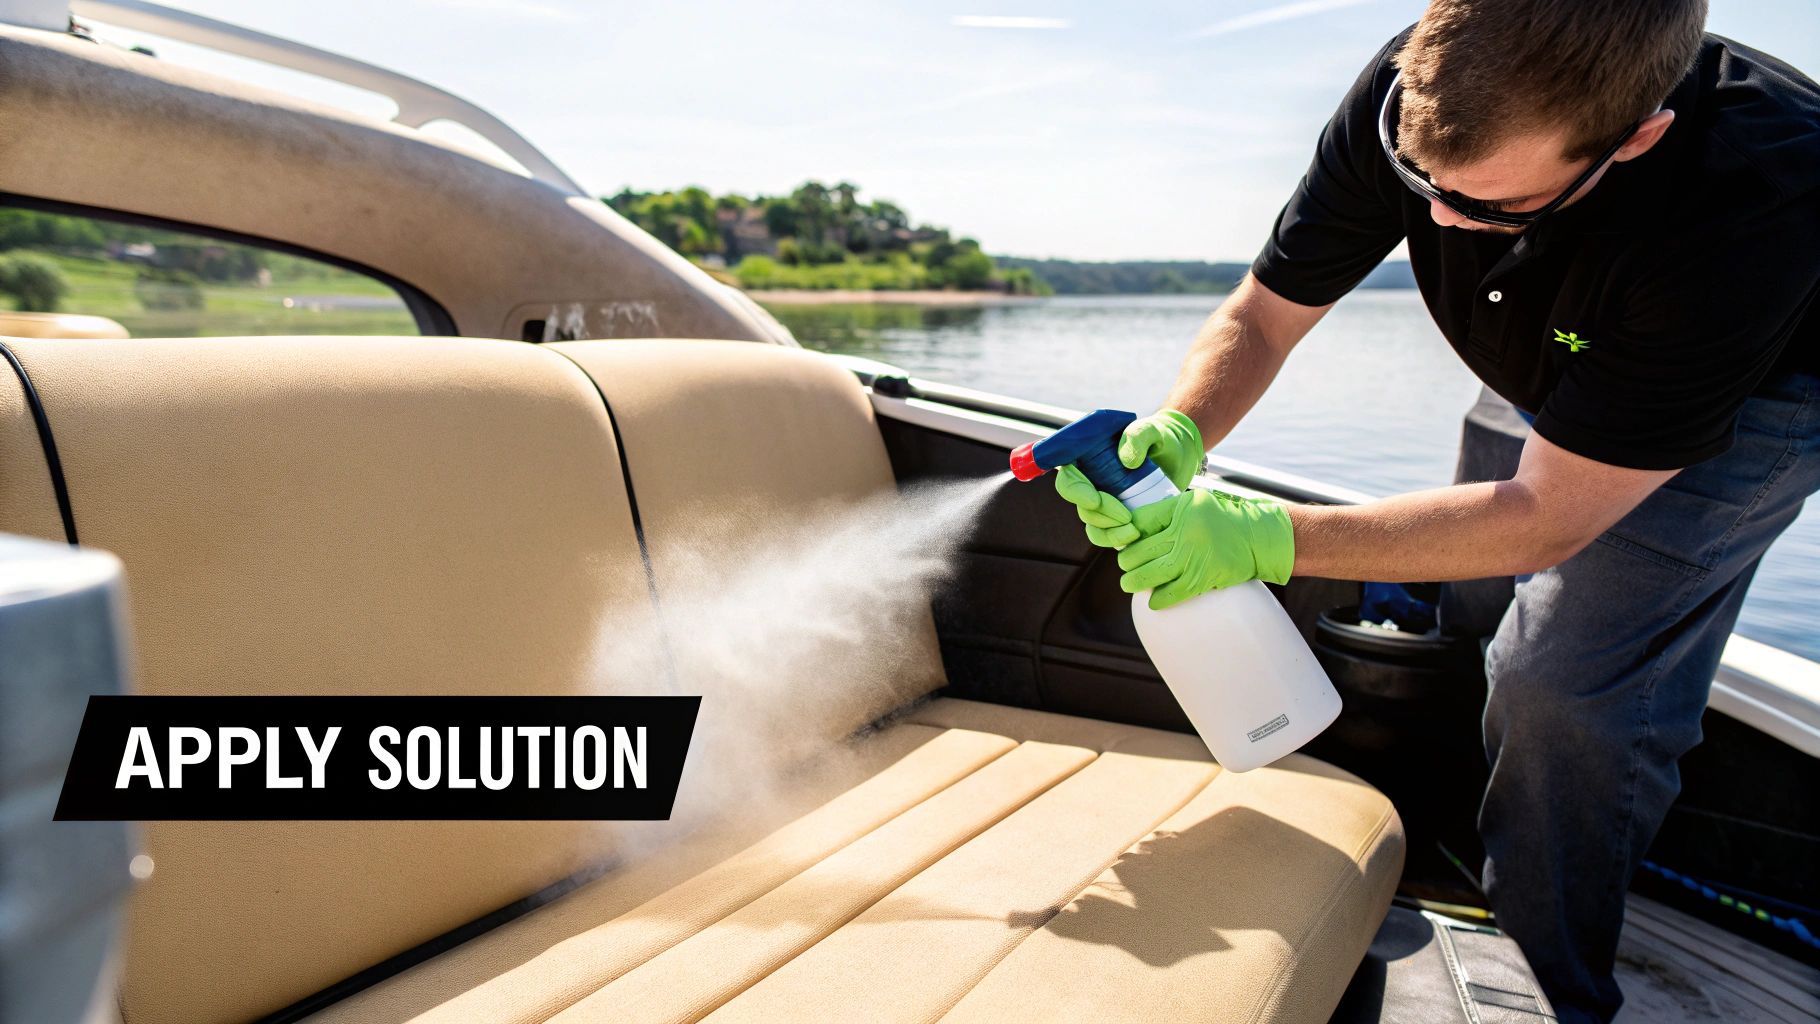
Of course, some messes are tougher than others. When you're dealing with ground-in dirt, stubborn sunscreen stains, or the first signs of mildew, it’s time to reach for a dedicated marine vinyl cleaner. These products are designed specifically to deep clean without stripping the vinyl of its plasticizers, which are crucial for keeping the material soft and preventing cracks.
Always read the directions on the bottle, but the process is usually straightforward. You’ll spray the cleaner on, let it sit for a minute or two to work its magic, and then give it a gentle scrub with that soft brush. Don't skip that dwell time! It lets the cleaner do the hard work so you don’t have to.
Here's a pro tip that so many people miss: rinse, rinse, rinse! Leaving any soap or cleaner residue behind creates a sticky film that becomes a magnet for new dirt. Worse yet, that chemical residue can bake in the sun and actually damage the vinyl over time.
Once you’re done scrubbing, rinse everything thoroughly. A hose with a gentle spray setting is ideal, but a few buckets of fresh, clean water will also do the trick. Just make sure every last sud is gone before you call it a day.
The Final Steps: Drying and Protection
Whatever you do, don't just let the seats air-dry. Sitting water leads to ugly water spots and creates the perfect damp environment for mildew to take hold. Use a clean, dry microfiber towel to wipe down every surface. I always pay extra attention to the seams and piping, as those areas tend to trap moisture.
Taking these steps is the best way to extend the life of your boat's upholstery and avoid the massive headache and expense of getting everything reupholstered. If you want to dive deeper, you can learn more about effective techniques for vinyl seats from the experts at Cushion Doctor.
Now for the final, crucial step. With your seats perfectly clean and dry, apply a quality UV protectant spray. Think of it as sunscreen for your vinyl. It creates a barrier against the sun's damaging rays, which are the primary cause of fading, brittleness, and cracking. A light, even application after each deep clean will keep your seats looking sharp for many seasons to come.
Tackling Mold, Mildew, and Tough Stains
Nothing ruins the look of pristine boat seats faster than those dreaded black spots of mold and mildew. If you own a boat, you know this is a constant battle. These fungi are the number one enemy of marine upholstery, and they absolutely love the damp, humid conditions on the water. Catching an outbreak early is your best bet, but don't worry—even stubborn, set-in stains can be handled with the right game plan.
Of course, it’s not just organic growth you have to worry about. Life on a boat means spills. You'll eventually face everything from food and drink mishaps to greasy sunscreen smudges and maybe even an accidental ink mark. Each stain has its own personality, and you’ll need a specific approach to get rid of it without damaging the material. The real trick is to act fast and use the right tool for the job.
Identifying and Treating Mold and Mildew
When you see those frustrating black or greenish spots cropping up, your first move doesn't have to be a harsh chemical. I've found that a simple DIY solution works wonders, especially if you catch it early. Just mix up a 50/50 solution of plain white vinegar and water in a spray bottle. It's a fantastic first line of defense.
Give the affected areas a good soaking with the spray and let it sit for at least 10-15 minutes. This is the most important part—you have to give the vinegar time to work its magic and kill the spores. Once it has dwelled, grab a soft-bristled brush and gently scrub in small circles. Rinse it all off with clean, fresh water and then dry the seat completely with a microfiber towel.
Now, for those older, more stubborn spots that just won't budge, you’ll probably need to bring in the big guns. I’ve had a lot of success with specialized marine-grade mildew removers. Products like Mary Kate Mold & Mildew Stain Remover are great because they have a thicker consistency that clings to the vinyl instead of just running off. This also helps protect the seat's stitching, which can become brittle from harsher chemicals.
Handling Other Common Tough Stains
Even if you’ve mastered mildew prevention, other stains are just a part of boating life. Here’s a quick rundown on how I handle some of the most common culprits:
- Sunscreen: Those greasy, yellowish stains can be a real pain. Your best bet is to start with a quality marine vinyl cleaner. If the stain persists, try making a paste of baking soda and water. Apply it, let it sit for a bit, and then gently scrub it off. It's surprisingly effective at lifting oily residue.
- Ink and Dye: Speed is everything here. The moment it happens, blot the stain with a clean, dry cloth to soak up as much as you can. A little isopropyl alcohol on a cotton ball can often dissolve the rest, but always test it on a hidden spot first to make sure it won’t discolor or damage your vinyl.
- Food and Drink: For most fresh spills—coffee, soda, ketchup, you name it—a simple mix of mild dish soap and warm water will do the trick.
Let me give you my best piece of advice: an ounce of prevention is worth a pound of cure. The single most effective thing you can do to stop mold is to keep your seats as dry as possible. After a day out or a rain shower, wipe everything down. I always prop my cushions up to get air circulating underneath before putting the boat cover on. It makes a world of difference.
Before you start treating any stain, a little prep work goes a long way. Think of it as clearing the way for your cleaning solution to do its job properly.
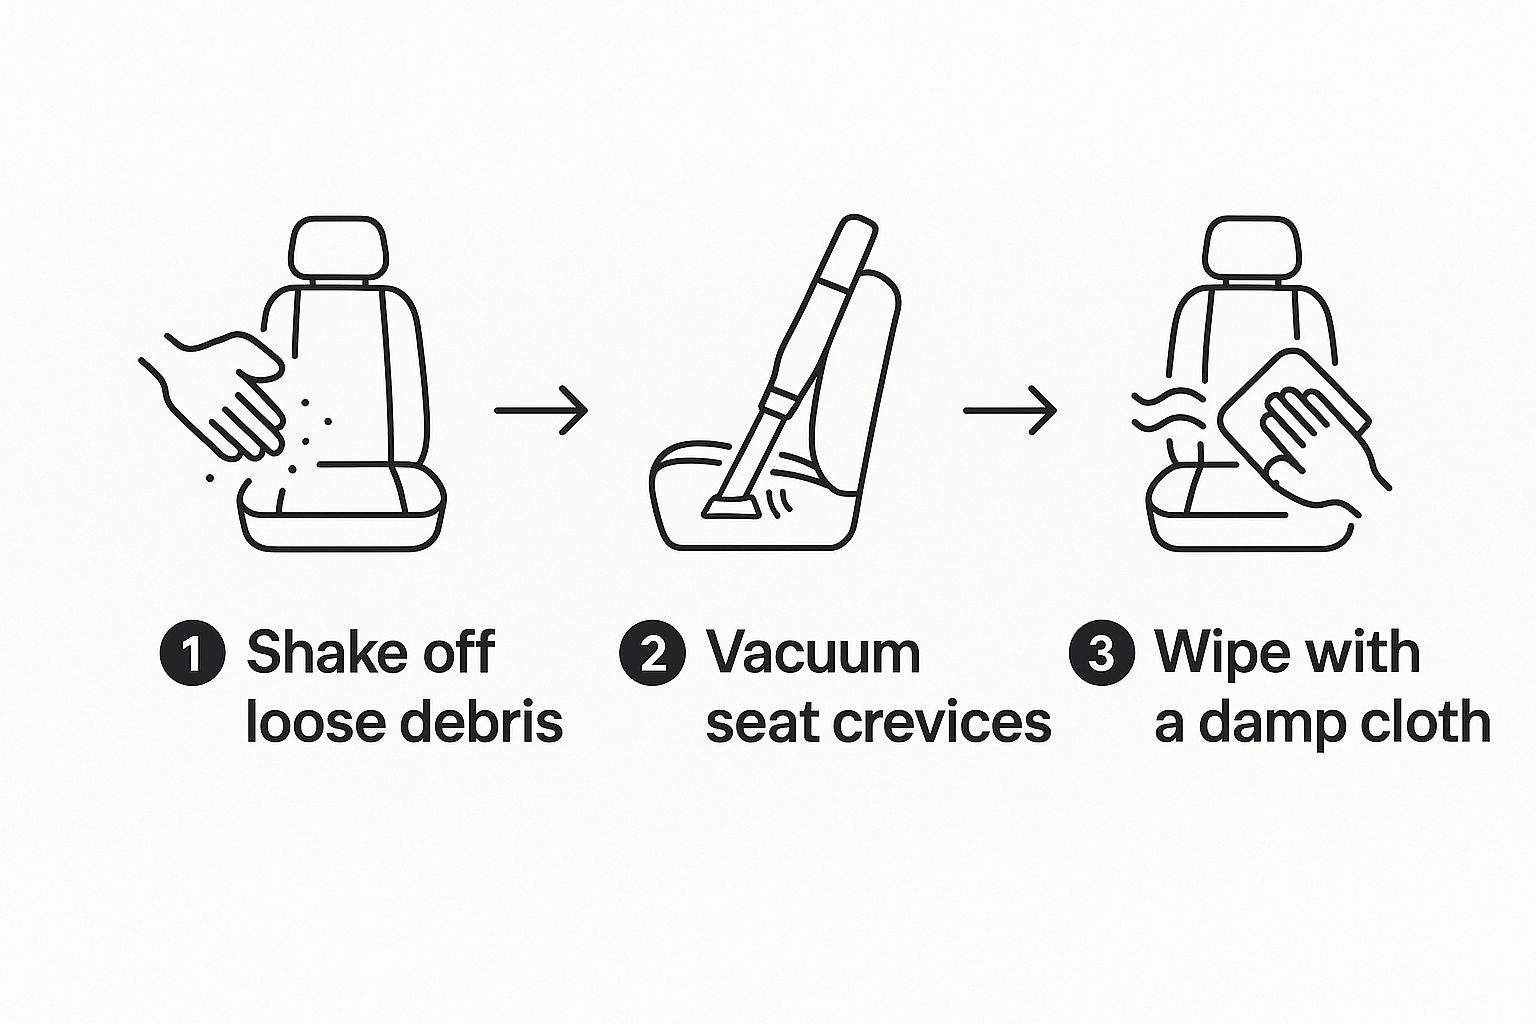
Taking a minute to do this initial wipe-down removes all the loose dirt and grime, allowing your cleaner to attack the stain directly.
Specialized Cleaning For Different Boat Types
When it comes to cleaning boat seats, there’s no such thing as a one-size-fits-all method. I’ve seen firsthand how a cleaning routine that works wonders for a family pontoon can wreak havoc on a high-end cruiser. The key to keeping your seats looking great for years is tailoring your approach to your specific boat.
Take a pontoon, for instance. Those big, sprawling vinyl seats are a magnet for fun, but they're also completely exposed to the elements. You're constantly battling sun, rain, and dirty footprints. For these boats, the game plan is all about frequent wipe-downs and applying a quality UV protectant religiously. You also have to think about what's around the seats. Any cleaner that drips off the vinyl can easily stain the carpeted deck or mar the aluminum fencing, so be mindful of runoff.
Cruisers And Yachts
Now, let's talk about larger vessels like cruisers and yachts. Here, the cleaning challenge gets a little more complex. The exterior cockpit seats face the same sun and salt spray, but once you step inside the cabin, you’re dealing with an entirely different world of materials. You’ll often find yourself working with premium leather or delicate fabrics that demand a much gentler touch.
For these interior spaces, I always reach for pH-balanced cleaners made specifically for fine leather or upholstery. The goal is preservation, not just a surface-level clean. After wiping down leather, it's crucial to follow up with a high-quality marine leather conditioner. This step restores essential moisture and is your best defense against cracking. For fabric seats tucked away in a cabin, they can get dusty and stale, so a good vacuuming should be part of your regular routine.
Expert Tip: Whatever you do, don't use the same heavy-duty vinyl cleaner from your cockpit on the leather seats in the cabin. I've seen it happen, and it's a fast-track to drying out and ruining some very expensive upholstery. My advice? Keep two separate, clearly labeled cleaning kits—one for the outside, one for the inside.
Personal Watercraft And Specialty Boats
What about the smaller, sportier boats? Personal watercraft (PWC) like jet skis have their own unique set of problems. Their seats are constantly getting baked in the sun and drenched in saltwater. UV degradation is the number one enemy here. A thorough freshwater rinse after every single ride is absolutely non-negotiable, and a heavy-duty UV protectant is your best friend for making the seat last.
Other types of boats have their own quirks to consider:
- Sailboats: The cockpit cushions are prime real estate for mold and mildew, especially if you store them in a damp sail locker. Check them often.
- Inflatable Boats: On these, the tubes are the seats, and they are incredibly sensitive to harsh chemicals. Stick with mild soap, water, and a very soft cloth.
Ultimately, the best cleaning routine is one designed for your boat and the way you use it. Choosing the right materials from the get-go can also save you a lot of headaches down the line. If you're in the market, you might want to read our guide on how to pick the right boat seats for your needs.
Long-Term Protection and Maintenance Routines
Getting your boat seats clean is a great feeling, but the job isn't truly done until you lock in that freshness. The real secret to keeping them looking brand-new isn't just cleaning—it's proactive protection. Think of it this way: cleaning wipes the slate clean, but applying a protectant is the shield that keeps it that way.
This is where a high-quality UV protectant becomes your best friend. The sun is absolutely relentless, and its rays are constantly working to fade, crack, and dry out your vinyl. A good protectant is like sunscreen for your upholstery; it creates a barrier against that constant UV assault.
In my experience, you can't go wrong with a product like 303 Aerospace Protectant. It's fantastic because it blocks UV rays without leaving that greasy, slippery residue that nobody likes. The trick to a perfect application is a light touch. You really don't need to slather it on.
Here’s the right way to do it: just mist the product onto a clean microfiber applicator pad or cloth, not directly onto the seat. This gives you way more control and prevents overspray. Wipe it on in an even, overlapping pattern. Then, grab a second, dry microfiber cloth and give the surface a light buff. This final step is crucial for getting that clean, matte finish and avoiding any oily feel.
Developing a Consistent Routine
Long-term care is all about simple, repeatable habits. You don't need to block out an entire day for seat maintenance if you just stay ahead of the game. A little effort on a regular basis makes a world of difference.
Here’s a straightforward schedule that has always worked for me:
- The Weekly Wipe-Down: After you wrap up for the day, or at least once a week, give all the seats a quick pass with a damp microfiber cloth. This whisks away fresh salt, dirt, and spills before they have a chance to set in. It takes maybe five minutes.
- Monthly Protection: About once a month, after giving the seats a proper cleaning, reapply your UV protectant. This keeps that protective barrier strong and effective all season long.
Don't underestimate the power of a good boat cover. It is your single best defense against the elements. A quality cover shields your seats not only from rain and sun but also from bird droppings, dirt, and other airborne contaminants that can stain and degrade the vinyl.
The Role of Storage and Off-Season Care
How you store your boat is just as important as how you clean it. Whenever your boat is docked or sitting on the trailer, using that cover should be non-negotiable. It drastically cuts down on the daily abuse from the sun and keeps your seats looking clean between trips.
Thinking about the off-season is just as critical. As part of your winter prep, give the seats one last, thorough cleaning and apply a fresh coat of protectant. If you have removable cushions, propping them up a bit to allow for air circulation is a great move—it's your best defense against mildew setting up shop over the winter. For a full rundown, our guide on how to winterize your boat covers everything you need to do to protect your entire vessel.
By turning these small actions into a regular routine, you stop thinking of boat seat care as a huge chore and start seeing it as just another simple part of owning a boat. This proactive mindset is what will truly protect your investment and keep your boat looking sharp for years to come.
Got Questions About Cleaning Your Boat Seats? We’ve Got Answers.
Even after years of cleaning boats, specific situations pop up that can leave even seasoned owners scratching their heads. Getting a handle on these tricky cleaning problems will save you a ton of frustration—and probably some money, too. Let's dive into some of the questions I hear all the time from fellow boaters.
"Can I Just Use a Magic Eraser on These Scuffs?"
I see this question a lot, and my honest answer is a firm but cautious "no." It's tempting, I get it. A Magic Eraser seems like a silver bullet for stubborn marks, but it's the wrong tool for vinyl boat seats.
Think of it less like a sponge and more like an extremely fine-grit sandpaper. Every time you scrub with one, you're literally sanding away a tiny layer of your vinyl's protective coating. Do this enough, and you'll permanently dull the finish, making the vinyl porous and way more vulnerable to future stains, sun damage, and cracking.
If you're facing a one-time, really stubborn mark, you might try one with the lightest possible touch. But you absolutely must follow it up immediately with a high-quality UV vinyl protectant to try and restore some of that barrier.
Frankly, I tell people to keep Magic Erasers off the boat altogether. The risk of ruining your upholstery just isn't worth it. There are safer, purpose-built cleaners that can handle almost any stain you'll encounter.
"How in the World Do I Get Sunscreen Stains Out?"
Ah, the dreaded sunscreen stain. This is hands-down one of the most frustrating things to deal with, especially from aerosol sunscreens. The culprit is usually a chemical called avobenzone, which can chemically react with the vinyl, leaving a nasty orange or yellowish stain that feels almost baked in.
Your best shot is to act fast. The moment you see a sunscreen smudge, hit it with a dedicated marine-grade vinyl cleaner and a soft brush.
If the stain has already set, you can try a gentle, non-abrasive paste made from baking soda and a little water. Apply it to the spot, let it sit for about 20-30 minutes, and then gently work it in with your brush before rinsing. It's not a guaranteed fix, but it's your safest bet for a set-in stain.
Of course, prevention is the real key here.
- Make it a boat rule: towels go down before people sit down with freshly applied sunscreen.
- Encourage your guests to use mineral-based sunscreens (look for zinc oxide or titanium dioxide). They're far less likely to stain your beautiful seats.
"What’s the Secret to Preventing Mold and Mildew?"
The battle against mold and mildew isn't won with scrubbing—it's won with prevention. And the root cause is always the same: trapped moisture. If you can keep things dry, you’ll keep the mildew away.
This is the most important habit you can develop: make sure your boat seats are 100% dry before you snap on that cover. Seriously. After a day out or a quick rain shower, take five extra minutes to wipe everything down with a clean, dry microfiber towel. It makes all the difference.
A few other pro-active tricks will keep you ahead of the game:
- Let It Breathe: Airflow is your best friend. Prop up cushions when you can or look into installing small vents in your boat cover to let moisture escape. Mildew thrives in stagnant, damp air.
- A Little Vinegar Goes a Long Way: For a quick, preventative wipe-down, a 50/50 mix of plain white vinegar and water is fantastic. Vinegar is a natural disinfectant that stops mold spores from getting a foothold.
- Use a Protectant with Inhibitors: When you're applying a vinyl protectant, choose one that specifically mentions mildew inhibitors in its formula. This gives you an added layer of chemical defense.
Making these simple steps part of your routine means you'll spend less time dealing with those ugly black spots and more time enjoying why you bought the boat in the first place.
At Boating Articles, our goal is to give you the practical, expert advice you need to keep your vessel in prime condition. For more detailed guides and our top product picks, feel free to explore our complete library at https://boating-articles.com.