Before you even think about picking up a drill, let’s talk strategy. Getting your trolling motor mounted correctly the first time comes down to solid prep work. This isn't just about bolting something to your boat; it's about making sure it's secure, water-tight, and positioned for peak performance.
A little planning now will save you from headaches and extra trips to the hardware store later.
Your Pre-Installation Game Plan
The success of your trolling motor installation is really decided before you ever drill that first hole. Think of this as the foundation—get it right, and everything else falls into place. Rushing this part is a surefire way to end up with a leaky mount or, worse, a damaged boat.
First, you need to decide where this motor is going to live: on the bow or the transom? This choice completely changes how your boat handles. Bow-mounted motors pull the boat, giving you incredible control and precision, which is why most serious anglers swear by them. The market reflects this, with bow mounts representing a global market of roughly USD 359.6 million. You can discover more insights into motor market trends by reading the full report.
Choosing the Right Shaft Length
Once you've settled on a mount style, the next critical piece of the puzzle is shaft length. If your shaft is too short, the prop will pop out of the water in any kind of chop, making the motor useless. Too long, and you'll be dredging the bottom in the shallows. Neither is a good time.
Here’s a quick guide to get it right for a bow-mount motor:
- Measure from the spot on the bow where the motor will sit straight down to the waterline.
- Take that measurement and add the recommended offset:
- 0-10 inches from bow to waterline: Add 16 inches.
- 11-20 inches from bow to waterline: Add 20 inches.
- 21-30 inches from bow to waterline: Add 22 inches.
For a transom-mount, the process is simpler. Just measure from the top of the transom down to the waterline and add 20 inches. Always round up to the next available size.
Expert Tip: If you're ever on the fence, go with the longer shaft. You can always raise a motor that's too long, but you can't stretch one that's too short. This little bit of insurance is priceless when the wind picks up.
Now's a good time to gather everything you'll need. Nothing kills momentum like having to stop and run out for a specific drill bit or sealant.
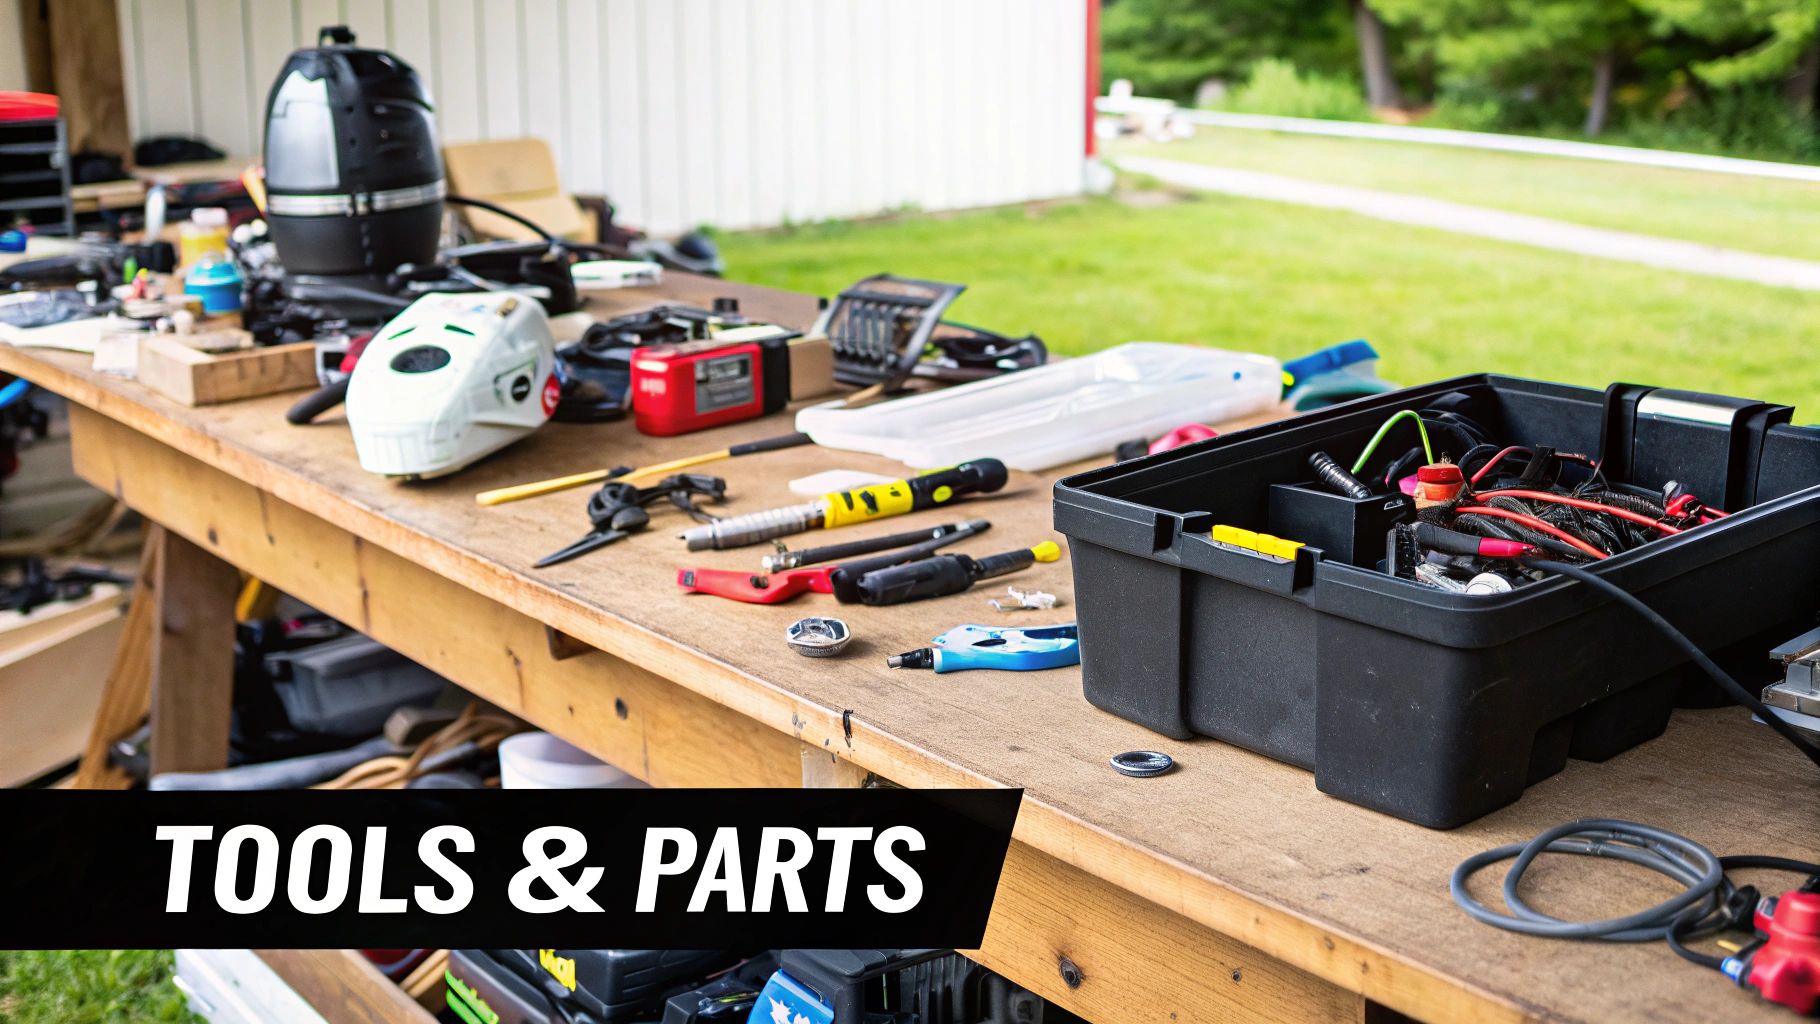
Essential Tools and Materials Checklist
Gather these items before you start to ensure a smooth and successful trolling motor installation without interruption.
| Category | Item | Expert Tip |
|---|---|---|
| Tools | Power Drill & Drill Bits | Use sharp, high-quality bits. A titanium or cobalt set prevents "walking" and makes clean holes. |
| Tools | Socket Wrench Set | A set with an extension bar is a lifesaver for reaching bolts under the bow deck. |
| Tools | Screwdrivers (Phillips & Flathead) | Magnetic tips will save you from dropping screws into the bilge. Trust me on this. |
| Hardware | Stainless Steel Bolts, Nuts, & Washers | Always use stainless steel to prevent rust. Nylon locking nuts (nyloc) are a must. |
| Materials | Marine-Grade Sealant (e.g., 3M 5200) | This creates a permanent, waterproof bond. For something less permanent, use 3M 4200. |
| Safety | Safety Glasses | Non-negotiable. Drilling fiberglass or metal can send sharp fragments flying. |
Having this kit ready to go makes the entire process feel less like a chore and more like a professional upgrade.
Inspecting Your Mounting Surface
With your gear in hand, it's time to scout the perfect location. You need a flat, solid surface on the bow or transom that can handle the stress and torque from the motor.
Get up there and press down hard on your chosen spot. Does it flex or feel spongy? If it gives way, you’ll need to reinforce it, maybe with a backing plate made of aluminum or marine-grade starboard. Ignore this, and you risk the motor ripping itself free under load.
Finally, take a look underneath the deck or inside the transom. Are there any wires, foam flotation, or structural braces in the way of where your bolts need to go? A quick five-minute check with a flashlight now can prevent you from drilling into something critical later. A solid, clear mounting point is the key to an installation that will last as long as your boat.
Finding the Sweet Spot for Your Motor
With all your tools and hardware laid out, it's time to figure out exactly where this motor is going to live. This isn't a decision to rush. Getting the placement right is just as important as the bolts you use, because it impacts your boat’s balance and how easily you can deploy and stow the motor. A poorly placed motor is a constant headache on the water.
Your main goal is to mount the motor as close to the boat's centerline as you can. If it's too far off to one side, the boat will pull unevenly through the water and might even develop a noticeable lean. It makes holding a straight line a real fight, especially in wind or current.
Centering and Clearance Checks
First, you need to find the true centerline of your bow. Grab a tape measure and find the center point at the very front of the boat, then find another center point a few feet back. Snap a chalk line between those two marks. This simple line becomes your guide for a balanced, professional-looking installation.
With your line marked, set the motor's mounting bracket (or the paper template that came with it) right on the deck, aligning it with your chalk line. Now for the real-world test. Run the motor through its full range of motion:
- Deploy it: Lower the motor. Does it clear the gunwale and drop cleanly into the water?
- Stow it: Bring it back up and lock it into its cradle. Does anything get in the way?
- Check for conflicts: When it's stowed, look carefully. Does the motor head or shaft block your bow navigation lights, get in the way of a cleat, or prevent you from opening the anchor locker?
A little tip from experience: I always aim for at least one inch of clearance between the stowed motor shaft and the boat's rub rail. This small gap prevents the shaft from slapping against the hull and leaving scuff marks when the boat rocks in choppy water.
The "perfect" spot is often a compromise. If shifting the motor an inch or two off the centerline gives you much better clearance for stowing or accessing a cleat, that's a trade-off worth making.
Positioning for Different Boat Types
Every hull is different. Bass boats, for instance, usually have a flat, reinforced mounting pad built right into the bow, making life easy. On a pontoon boat, however, you’ll likely have to mount the motor slightly off-center to avoid blocking the front gate.
This whole process has gotten more attention as recreational fishing and boating have exploded in popularity. In the United States alone, nearly 15% of the population participates in water sports, driving huge demand for better boating gear. The market has answered with mounts for all kinds of boats, including kayaks, which are the fastest-growing part of the market. You can read more about it in the full kayak trolling motor market report.
Mark Twice, Drill Once
Once you've settled on the ideal position, it's time to commit. Use the manufacturer’s template—or a cardboard tracing of the bracket—and mark your drill holes with a permanent marker.
Before you touch that drill, do one last thing: peek underneath the mounting surface. Double-check and then triple-check that you won't be drilling into any hidden wires, fuel lines, or structural supports. This quick, five-second look can save you from a very expensive and dangerous mistake. Accurate motor placement is also a big factor in getting the most power, a principle that's directly related to how you pick the right boat propeller for optimal performance.
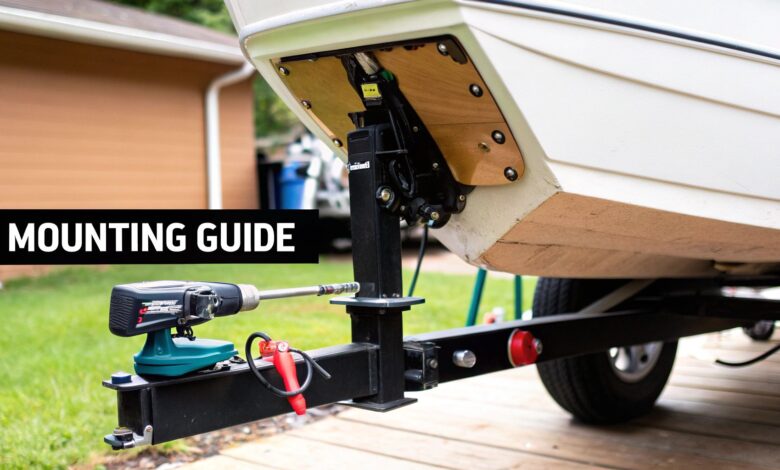
Drilling and Securing for a Rock-Solid Mount
Alright, you've picked your spot and checked it twice. Now it's time to make it permanent. This is where a little patience goes a long way toward a mount that won’t ever leak or work itself loose. The goal isn’t just to attach the motor; we're creating a bond so solid that the motor and boat feel like they came from the factory that way.
The first move is drilling pilot holes. This is a classic spot where people accidentally damage their boat's finish. A full-sized drill bit can easily grab and chip the gelcoat, leaving you with ugly spider cracks radiating from the hole. You don't want that.
To get it right, start small. Grab a 1/8-inch bit and drill a clean pilot hole right through the center of each mark. Next, switch to a countersink bit or even a much larger drill bit and gently spin it by hand—just enough to put a slight bevel on the edge of the hole. This little step, called chamfering, removes the brittle top layer of gelcoat and gives your final drill bit a clean entry point without any risk of chipping.
This graphic really breaks down the prep work for getting that perfect, secure surface.
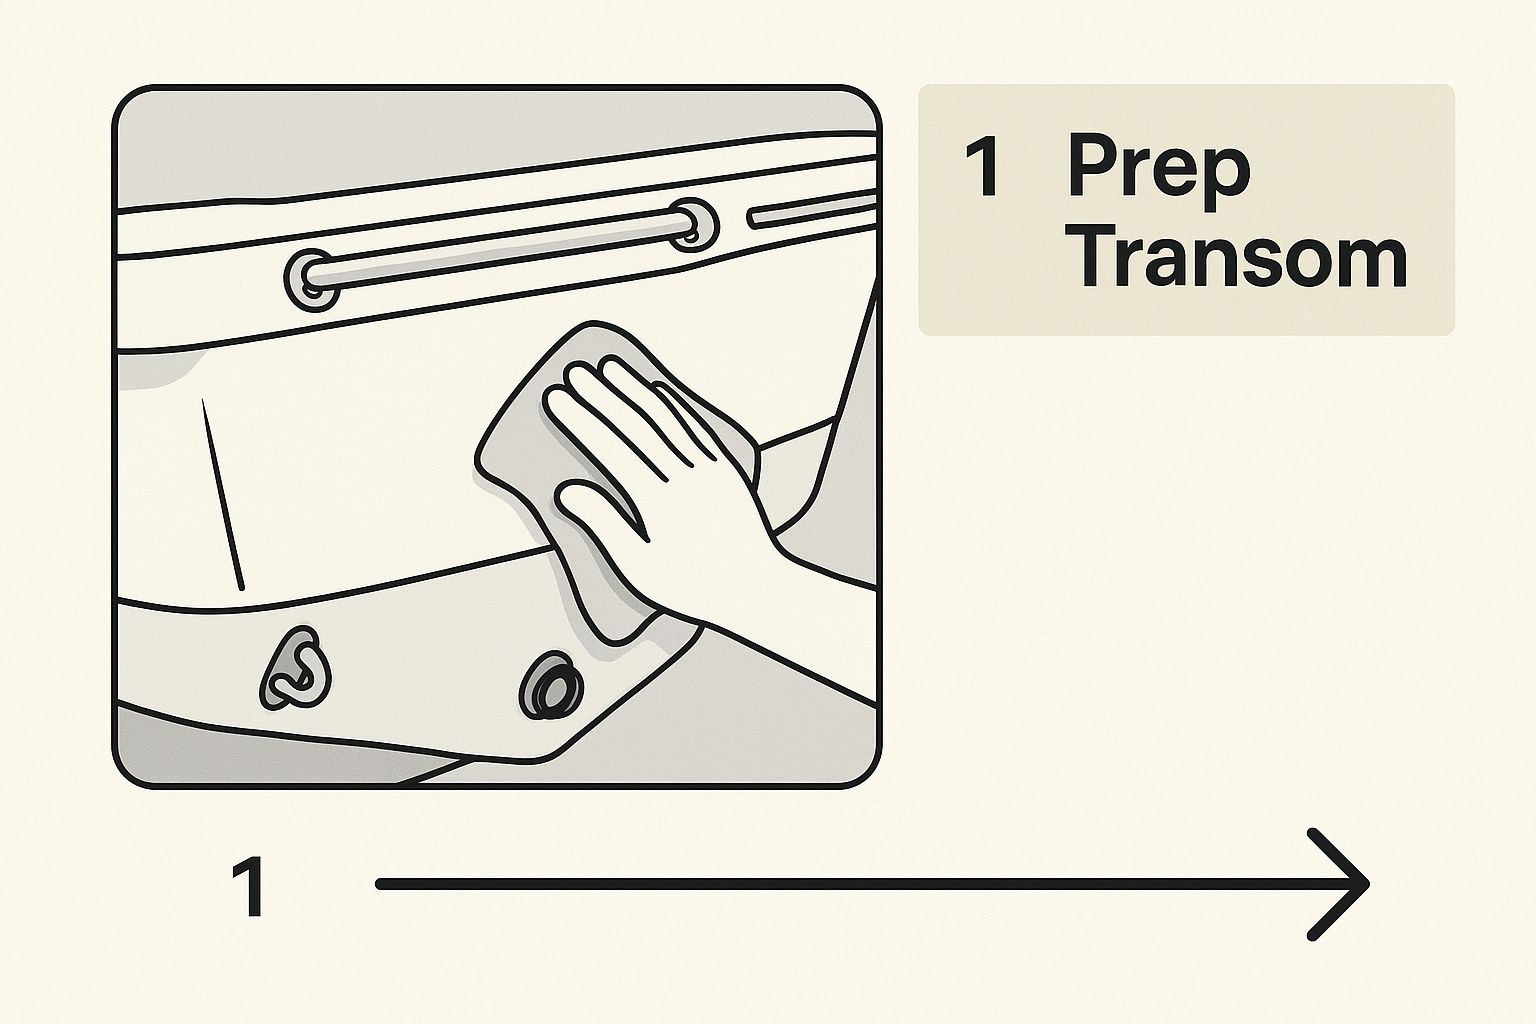
As you can see, a clean, well-prepped surface is the foundation for the waterproof seal we're about to create.
Creating a Waterproof Seal
With your pilot holes prepped, you can now switch to the final bit size called for in your motor’s instructions. Drill straight down through all your marked spots. Once all the holes are drilled, grab a shop vac and get every last bit of fiberglass dust off the deck and out of the holes. A clean surface is critical for a good seal.
Now, it's time for the sealant. This is what keeps water from seeping into your boat’s deck and causing rot or delamination down the road. Apply a generous ring of high-quality marine-grade sealant (I swear by 3M 5200 for a permanent, bomb-proof bond) around the top of each hole. It’s also a good idea to lay a thin bead around the entire perimeter of the motor’s mounting bracket. Don't be shy here; any excess sealant that squeezes out is easy to clean up, but trying to fix a leak from using too little is a major headache.
The Critical Role of a Backing Plate
Before you drop the bolts in, we need to talk about what’s happening on the underside of the deck. If you just bolt the motor directly through the fiberglass, all the twisting force and vibration from the motor gets concentrated on four small points. Over time, that stress will lead to gelcoat cracks or even structural failure.
This is why a backing plate isn't just a good idea—it's essential. A simple piece of marine-grade plywood (make sure it's sealed with epoxy), starboard, or an aluminum plate placed under the deck distributes that load across a much wider area. Honestly, it’s the single best thing you can do to guarantee your mount is rock-solid for the life of the boat.
A lesson learned the hard way: On one of my first installs, I skipped the backing plate to save a bit of time. Big mistake. Within a single season, I had spider cracks forming around every single bolt. It was a tough lesson, but it taught me never to cut that corner again. A backing plate turns a potential weak point into a fortress.
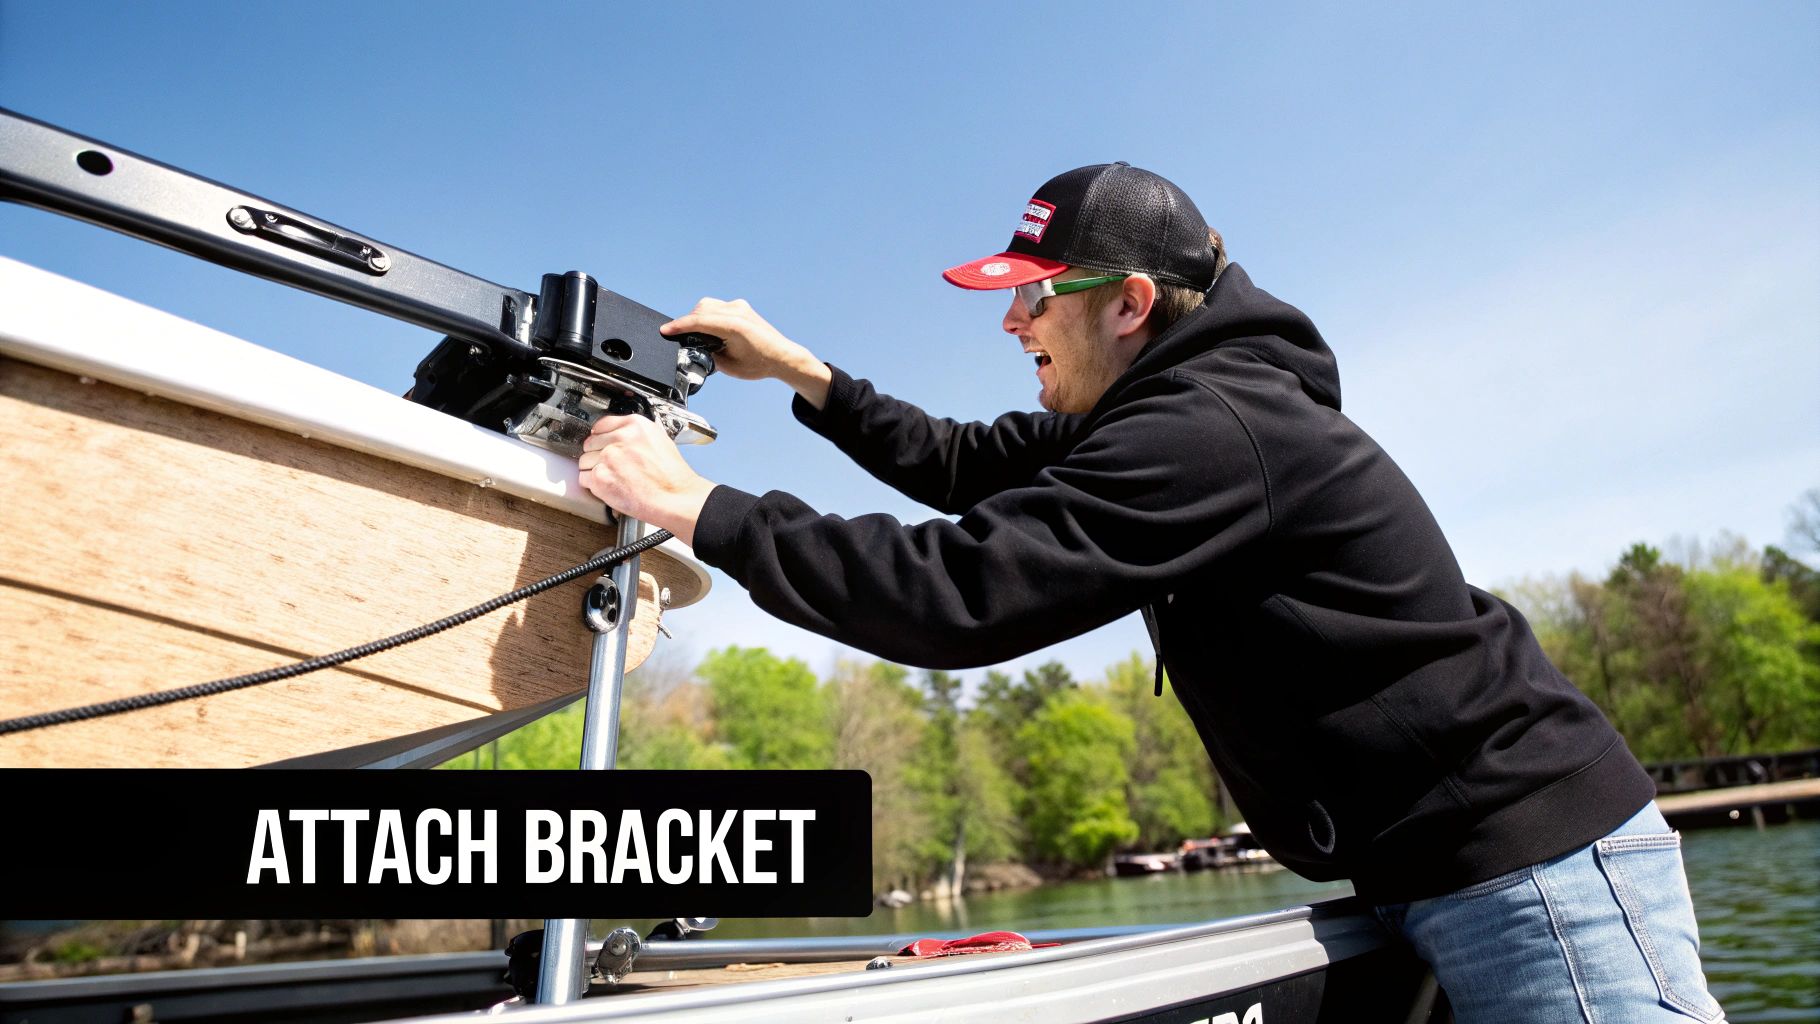
Position the backing plate under the deck, then push the stainless steel bolts down through the motor bracket, the deck, and finally, the backing plate. From below, secure each bolt with a large fender washer, a lock washer, and a nyloc nut.
Now, for the final tightening sequence. Don't just crank them down.
- Start by tightening the bolts in a crisscross pattern, just like you would with lug nuts on a car tire.
- Go around and tighten each one a little at a time, ensuring you get uniform pressure across the whole mount.
- Watch for the "squeeze-out." You want to see a consistent bead of sealant squeezing out from around the bracket and bolts. That’s how you know you have a good seal.
- Once everything is snug, take a rag with some mineral spirits and wipe away all the excess sealant. It leaves a clean, professional-looking finish.
The key is to avoid over-torquing the bolts. Your goal is to compress the sealant and make the mount firm, not to crush the fiberglass deck. A good, snug fit is all you need.
Wiring Your Motor for Reliable Power
A perfectly mounted motor is just a piece of deck art without a solid electrical system to feed it. Honestly, this is where a lot of DIY installations go wrong. A weak wiring job will starve your motor of the power it needs and can even become a serious safety hazard.
Let's walk through how to do it right so you get reliable, clean power every single time you hit the water.
Choosing the Right Wire and Circuit Breaker
The first and most critical decision is selecting the right wire. Using wire that's too thin is like trying to drink a thick milkshake through a coffee stirrer—it just won't work efficiently. The wire gauge you need depends on two things: your motor's maximum amperage draw and the total length of the wire run from the batteries to the motor.
Every trolling motor manufacturer provides a chart for this—find it and follow it. A longer run or a more powerful motor demands thicker wire (which means a lower gauge number) to prevent what's known as voltage drop. Voltage drop kills performance and will fry your motor's electronics over time.
Do yourself a favor and get marine-grade (tinned copper) wire. It resists corrosion far better than the standard automotive wire you might be tempted to grab.
Equally important is installing a circuit breaker or fuse on the positive wire, as close to the battery as you can get it. This isn't optional; it's a critical safety device required by the U.S. Coast Guard and the American Boat & Yacht Council (ABYC). It protects both your expensive new motor and your boat's entire electrical system from a dangerous short circuit.
A correctly sized circuit breaker is your system's bodyguard. If the motor ever stalls or something shorts out, the breaker will trip, instantly cutting power and preventing a potential fire. Never, ever connect a trolling motor directly to the battery without one.
Creating Bomb-Proof Connections
With the right wire and breaker in hand, your next mission is to make every connection watertight and corrosion-proof. The marine environment is absolutely relentless, and a sloppy connection is guaranteed to fail, usually at the worst possible time.
Here’s my field-tested method for connections that last:
- Use a quality ratcheting crimper. A cheap pair of pliers just won't cut it and will give you a weak connection.
- Crimp the wire inside a heat-shrink ring terminal to create a solid, cold-welded mechanical bond.
- Once it's crimped tight, grab a heat gun and shrink the terminal's built-in sealant until you see a small amount of adhesive ooze out the end. That’s how you know you have a fully waterproof seal.
The performance and durability of your setup are directly tied to your power source and wiring. It's shocking, but something like 70-80% of trolling motor "failures" I see are actually traced back to electrical issues, not the motor itself. That really drives home how critical this part of the installation is.
Finally, think about how you route the wiring. Secure the wires every 18 inches with rubber-cushioned clamps or zip ties. This stops them from chafing against sharp edges or vibrating loose over time. When you have to pass wires through a bulkhead, always use a rubber grommet to protect the insulation.
Of course, the wiring is only half the power equation. Be sure to check out our guide on picking the right batteries for your boat to complete your setup.
Final Checks and Your First On-Water Test
Alright, the motor is mounted and the wiring is done. You’re on the home stretch, and I know the temptation to race to the boat ramp is strong. But hold on for just a bit longer.
This final check is what separates a weekend-ruining headache from a flawless day on the water. It’s all about making sure everything is 100% solid before you leave the driveway.
Let's start right where you are with a simple "driveway test." Double-check that all your electrical connections are snug and then flip on the circuit breaker. Now, let’s see how that deployment mechanism feels.
Run the motor through its full deployment and stowing cycle a few times. Does it drop into the water smoothly? Does it lock securely back onto the cradle without snagging on cleats, navigation lights, or the rub rail? This is your last, best chance to catch any mechanical interference before it becomes a major annoyance out on the lake.
The Driveway Power-Up
With the motor still in its deployed position—and making absolutely certain the prop can’t hit anything—it's time to give it some juice. Power it on and cycle through the different speed settings with your remote or foot pedal. The prop should spin up immediately and respond without any lag.
Listen closely. A clean, consistent whir is what you want to hear. If you hear any grinding, clicking, or stuttering, that's your cue to stop immediately and troubleshoot. It could be a loose wire or a problem inside the motor itself.
A crucial part of this driveway check is verifying your steering. Whether you're using a foot pedal or a remote, make sure "right" actually turns the motor right, and "left" turns it left. It sounds painfully obvious, but discovering your steering is reversed while you're trying to navigate a tight channel is a special kind of panic you can easily avoid.
First On-Water Trial Checklist
Once you’re finally at the lake, the real test begins. Get the boat in the water, lower the motor, and start it on a low power setting. Now, you need to use your eyes and ears.
- Vibration Check: Do you feel any major vibration through the boat or see it in the motor's shaft? A little hum is perfectly normal, but significant shaking could point to an unbalanced prop or, worse, mounting bolts that have already started to loosen.
- Shaft Alignment: With the motor pointed straight ahead, watch how the boat tracks. It should push you forward in a straight line. If the boat wants to "crab" or pull to one side, you may need to adjust the motor's alignment on the bow.
- Listen for Unusual Noises: Keep an ear out for any new sounds that weren't there in the driveway. Humming, grinding, or a loud rumbling (which is often cavitation, meaning the prop is sucking in air) are all signs to investigate.
- Leak Inspection: After you've run the motor for about 15-20 minutes, do a quick visual check inside the hull where the bolts come through. Look for any sign of water weeping around the sealant. Even a single drop means you need to pull the boat and re-seal that bolt.
Taking the time for these checks ensures your installation is truly ready for action. This kind of attention to detail is a huge part of staying safe on the water. For more on this, check out our guide on the top causes of boating accidents and how to avoid them.
Frequently Asked Questions About Trolling Motor Installation
Let's face it, no two boat installations are ever exactly the same. You can follow instructions to the letter, but your boat's unique quirks will always throw a curveball or two. I get a lot of questions from folks in the middle of a project, so I've put together answers to some of the most common ones that pop up.
A question I hear all the time is about the value of a quick-release bracket. Is it really worth the extra cash? For most people, I’d say absolutely. Think about it—you can pull your expensive motor off in seconds for secure storage at home or at a marina. It's also a game-changer if you want to use the same motor on a couple of different boats, like a bass boat and a jon boat.
Another classic challenge is dealing with an uneven bow. It's tempting to just crank down on the bolts and force the mounting bracket to conform to the hull's curve. Don't do it. That puts constant, uneven stress on the bracket and your boat's fiberglass, which is a recipe for cracks and damage down the road.
Can You Put a Trolling Motor on an Inflatable Boat?
You sure can, but you can't just bolt it through the rubber. You'll need a special motor mount kit made specifically for inflatables. These usually involve a mount that gets glued directly onto the tubes, giving you a solid, stable surface. If your inflatable has a solid transom, you can often find a transom-mount kit instead. The key is using the right hardware so you don't damage the boat.
What if the Wires Don’t Reach the Battery?
This happens a lot, especially on larger boats. If the factory wires are too short, you'll have to extend them. The number one rule here is to use marine-grade wire of the same gauge or thicker than the original. Never, ever go with a thinner wire. It will overheat, restrict power, and could be a serious fire hazard.
When you make the splice:
- Use high-quality, heat-shrink butt connectors.
- Get a solid, secure crimp with a proper crimping tool, not just pliers.
- Make sure the heat-shrink tubing completely seals the connection to keep water and corrosion out.
Pro Tip: Whatever you do, don't just twist the wires together and wrap them in electrical tape. That's a temporary fix that is guaranteed to fail in a wet, vibrating marine environment. You’ll be chasing power issues all season.
How Do I Handle a Deck That Flexes?
If you stand on the spot where you plan to mount the motor and the deck gives or flexes, stop right there. You have to reinforce it. The constant torque and vibration from a powerful trolling motor will eventually lead to spider cracks or even serious structural damage.
The standard fix is a backing plate. Cut a piece of marine-grade plywood, starboard, or aluminum plate to fit on the underside of the deck, directly below the motor mount. This distributes the load over a much wider area. If you've got a lot of flex, you might even need to add a few layers of fiberglass underneath to really stiffen things up. You want that mounting platform to be rock solid.
We've covered some of the most common hurdles, but every boat has its own personality. Here’s a quick-reference table for a few more questions that frequently come up.
Frequently Asked Questions
| Question | Answer |
|---|---|
| How high should the trolling motor sit in the water? | The top of the motor's lower unit (the torpedo-shaped part) should be at least 12 inches below the waterline for optimal performance and to prevent cavitation (sucking air). |
| Do I need a circuit breaker? | Yes, always. It's required by the US Coast Guard and protects your motor and boat from electrical damage. Match the breaker's amperage to your motor's specifications. |
| Can I use wing nuts on the battery terminals? | It's not recommended. Wing nuts can vibrate loose over time, causing intermittent power loss or arcing. Use stainless steel locking nuts for a secure, reliable connection. |
| What's the best way to secure the wiring? | Use cushioned cable clamps or zip ties every 18 inches to secure the wiring run to the boat. This prevents chafing, snagging, and damage from vibration. |
Hopefully, these answers clear up any sticking points and help you get your motor mounted securely and correctly the first time.
For more expert guides and in-depth product reviews to help you with every aspect of your vessel, explore Boating Articles. We provide the practical knowledge you need to tackle any project with confidence. Find your next article at https://boating-articles.com.