Thinking about upgrading to a 24V trolling motor? You're on the right track. The key is connecting two 12V batteries in a series circuit, doubling the voltage to the 24V your motor needs. Getting this right gives you more power and keeps you on the water longer.
Let’s be honest, it’s about unlocking your motor's true potential.
Why Bother With a 24V System?
For any serious angler, moving to a 24V setup is a true game-changer. It's one of the most impactful upgrades you can make to your boat. The immediate benefit you'll feel is a serious boost in power and efficiency.
This means having enough thrust to hold your spot against a stiff current or gusty wind. It also translates to much better battery life, so you can fish without worrying about running out of juice. A solid installation protects your gear and ensures consistent power when you need it most.
Before we get our hands dirty, it's crucial to understand the "why" behind it all.
The Magic of Series Wiring
At the heart of any wiring diagram for a 24 volt trolling motor is one core concept: the series connection. You’re essentially creating a chain with your batteries to add their voltages together. It’s simpler than it sounds.
You'll run a jumper wire from the positive (+) post of the first battery to the negative (-) post of the second one. The main positive lead from your motor connects to the open positive post on the second battery. The motor's negative lead goes to the open negative post on the first battery.
Want a deeper dive into battery setups? Find great info on how trolling motor systems work at renogy.com.
The Real Advantage: A 24V system isn't just about raw power; it's about smarter power. By operating at a higher voltage, the motor pulls fewer amps to produce the same thrust. This efficiency means less heat, reduced strain on components, and a much longer life for your motor.
Gathering Your Tools and Marine-Grade Parts
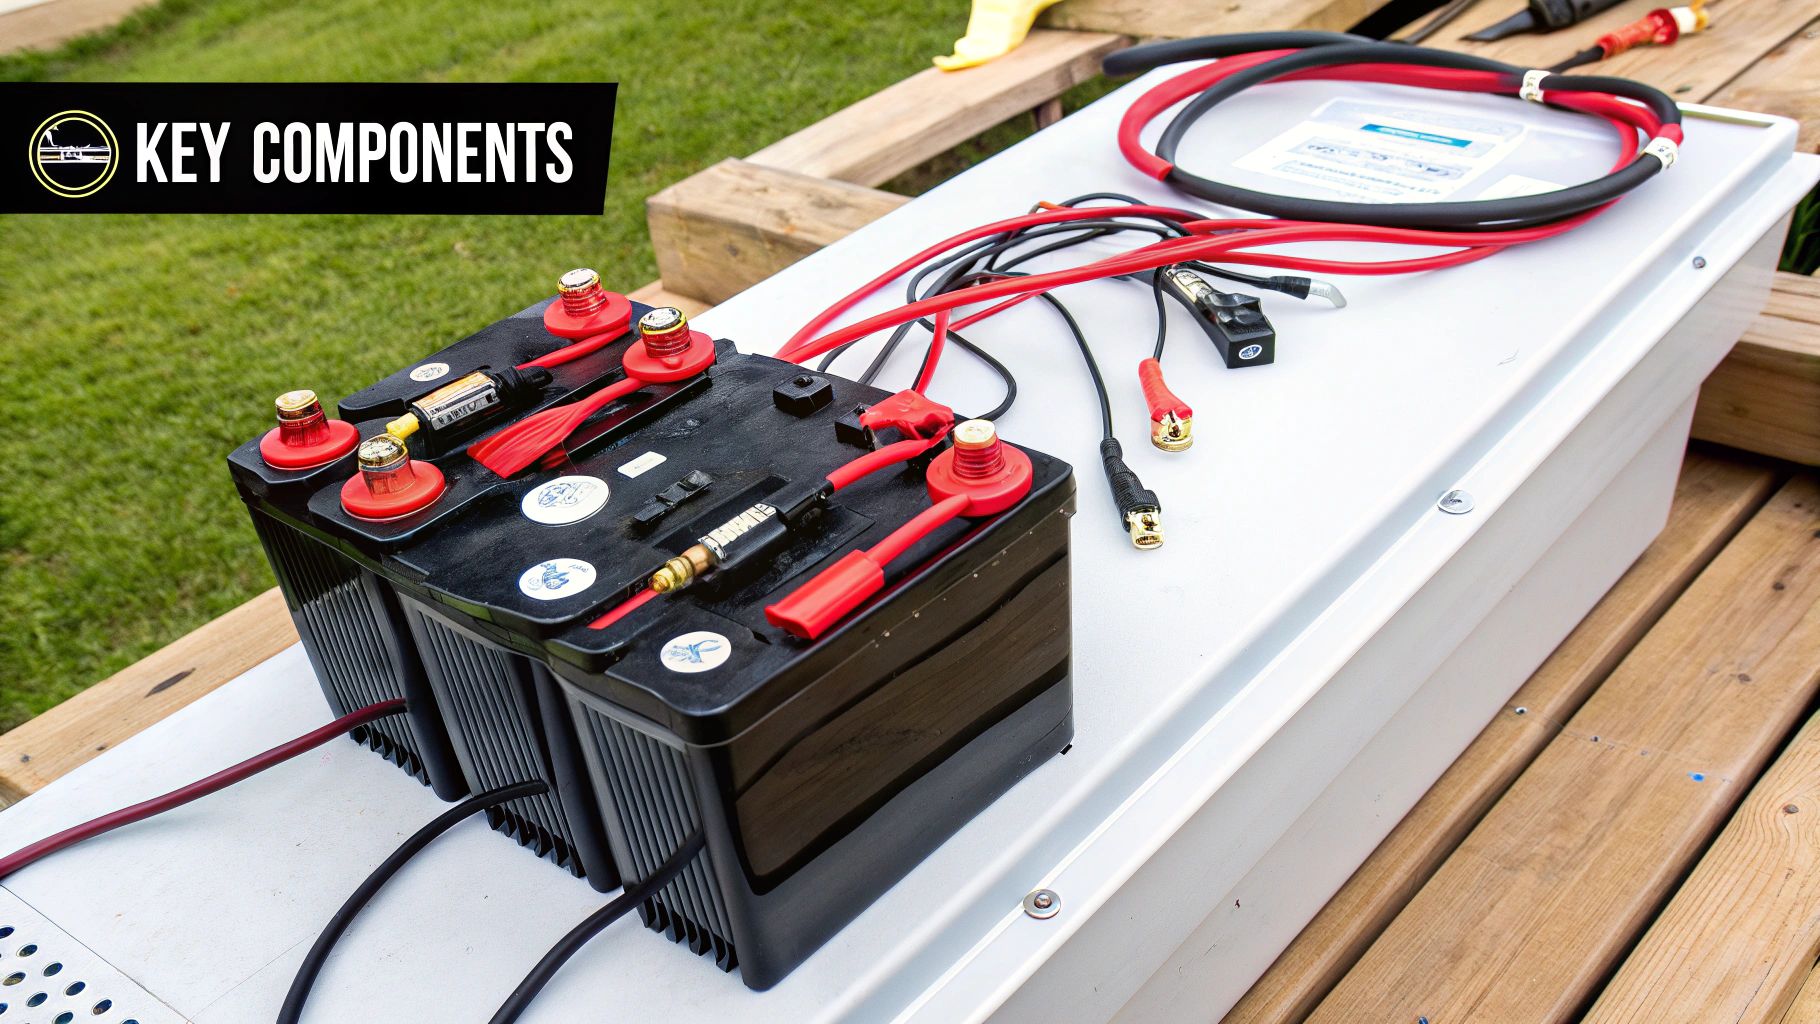
Before connecting wires for your 24V system, let's talk about what you'll need. A successful, safe setup starts with gathering the right gear first. The harsh marine environment will quickly expose any weak links in your system.
The heart of your 24V system is the batteries. You'll need two identical 12V deep-cycle marine batteries. They must be the same brand, capacity, and ideally, the same age.
Mixing an old battery with a new one creates an imbalance. The new one gets overcharged while the old one drains too fast, hurting performance and ruining both batteries. Learn more about what makes marine deep-cycle batteries unique in our detailed guide.
Your Must-Have Gear List
Once your batteries are sorted, you'll need a few other key items. These parts will help you build connections that withstand the elements. This keeps you running season after season.
- Marine-Grade Tinned Copper Wire: This isn't the place for standard automotive wire. You need marine-grade wire, which is tinned to fight off corrosion.
- Circuit Breaker: A 50- or 60-amp breaker on the positive wire is your primary defense. It protects against electrical surges that could fry your equipment.
- Heat Shrink Ring Terminals: These are the secret to secure, waterproof connections at your battery posts.
- The Right Tools: You'll need a quality wire stripper, a heavy-duty crimper, and a heat gun. These tools help you make pro-level connections.
Creating the 24V Series Connection
Alright, this is the most critical part of the whole setup. We're going to take your two 12V batteries and link them together. This creates a single 24V power source through a series connection.
To do this, you’ll take your short jumper wire. Connect the positive (+) terminal of the first battery to the negative (-) terminal of the second battery.
Before you start, double-check that your circuit breaker is disconnected and no power is flowing. Once you've fastened that jumper wire, you have a 24V battery bank. The remaining open terminals are now the main connections for your motor.
Here's a look at exactly how that should be wired.
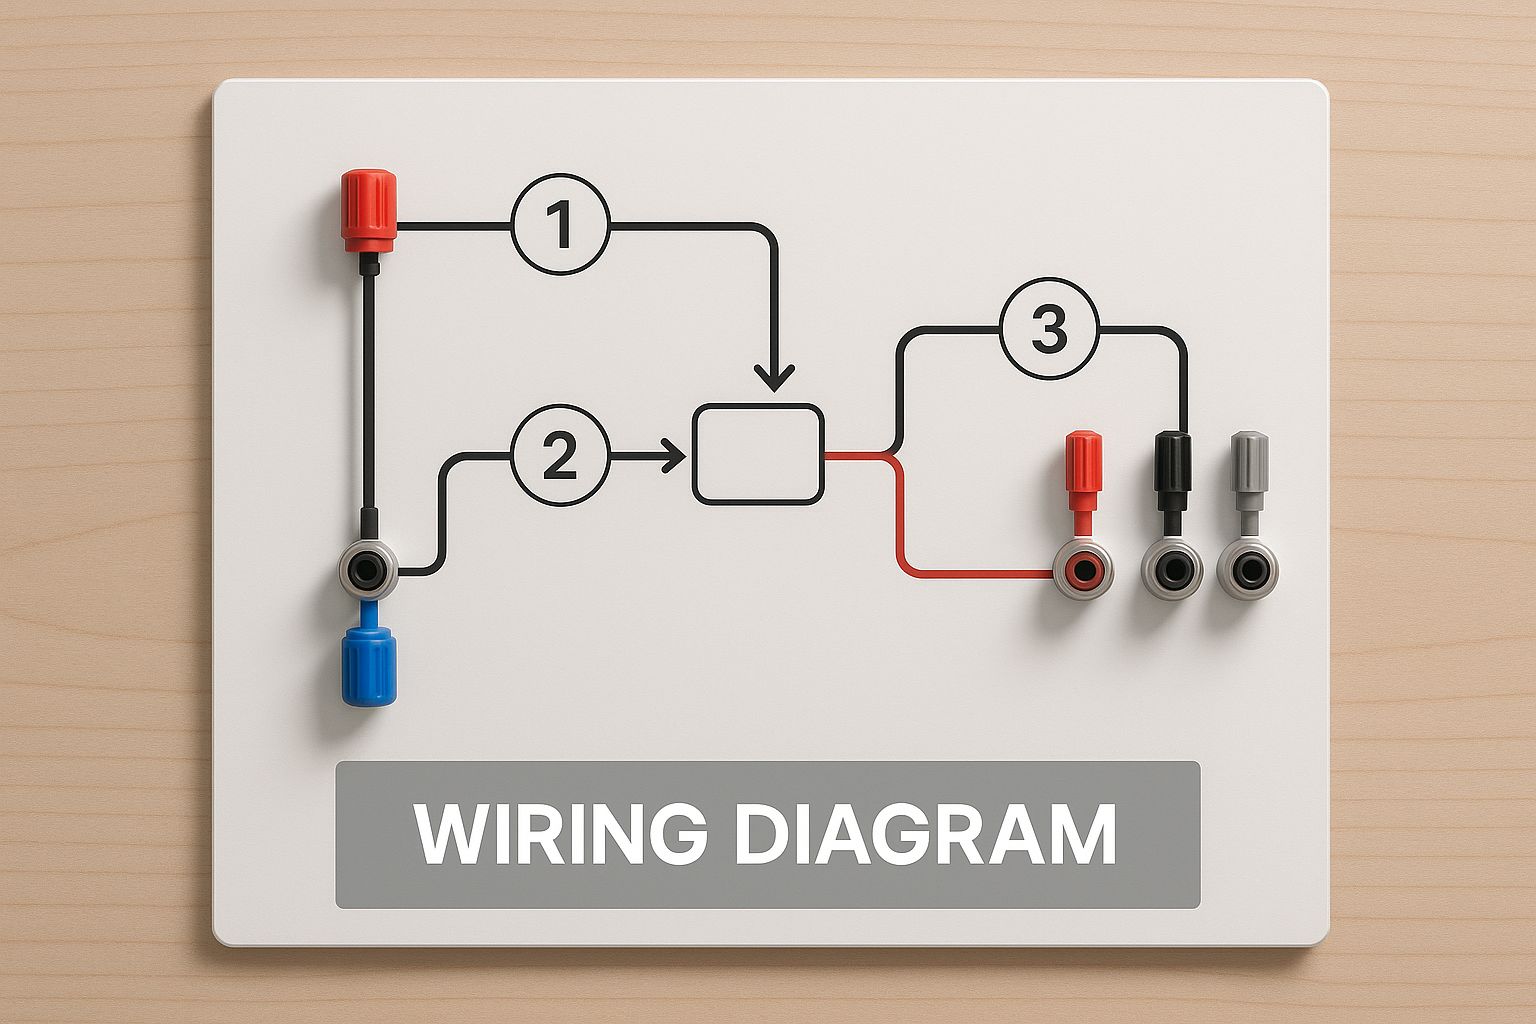
This diagram clearly shows the jumper cable doing its job. It leaves you with the two main terminals you'll use to power the trolling motor.
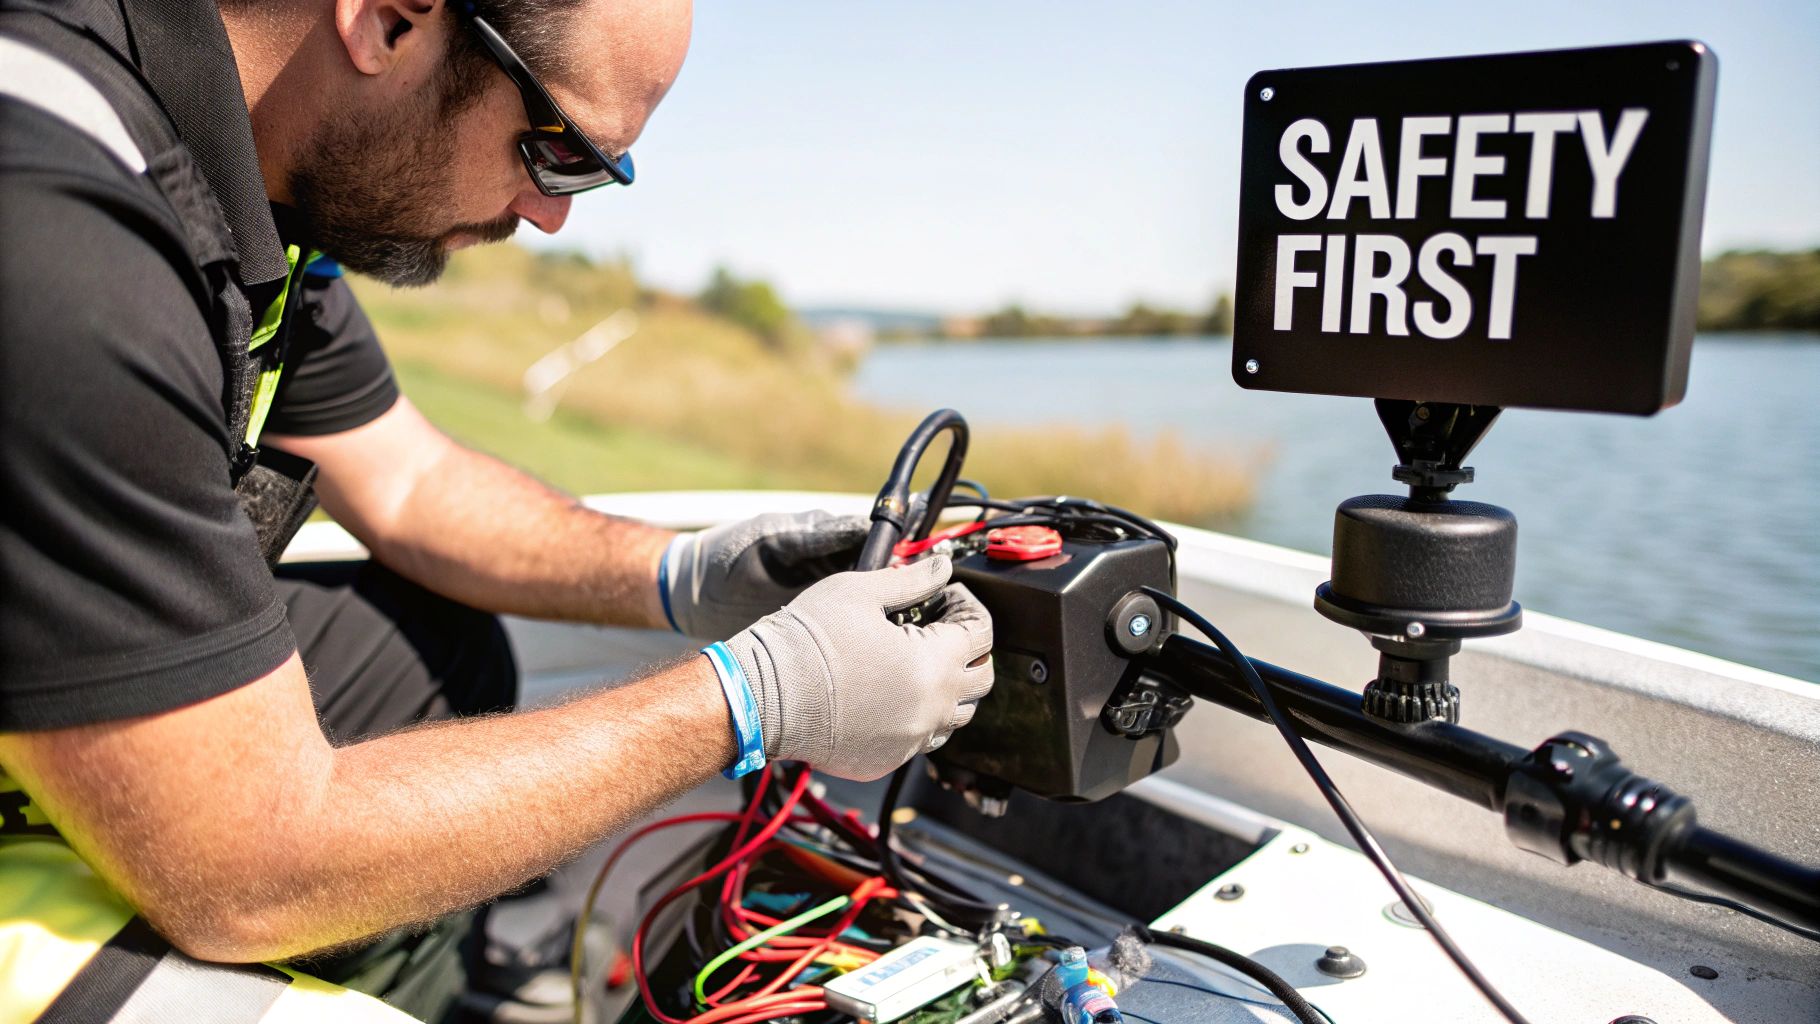
Connecting the Motor
Now it's time to bring the motor into the circuit.
Take the main positive (red) lead from your trolling motor. Connect it to the remaining open positive terminal (on battery two). Then, connect the motor's main negative (black) lead to the open negative terminal (on battery one).
This assumes your motor is already installed. If you need help, our guide on how to properly mount a trolling motor provides a solid foundation.
Critical Tip: A common mistake is connecting positive-to-positive and negative-to-negative between batteries. This creates a parallel circuit, keeping the voltage at 12V, which can damage your motor. Always double-check that you've wired in series: positive to negative.
Installing Circuit Protection for Onboard Safety
A circuit breaker is the bodyguard for your expensive trolling motor. It’s not just a nice-to-have; it's essential. This device instantly cuts power during an overload, saving your motor and preventing a fire.
For it to work correctly, install it on the positive (red) wire. Place it as close to the battery as possible, ideally within 18 inches.
Choosing the Right Size Breaker and Wire
Matching your wire gauge and breaker to your motor is critical. If they are too small, you risk overheating or annoying trips. If they are too big, you defeat the purpose of the protection.
It all comes down to your motor's maximum amp draw. Understanding electrical sizing and safety considerations is a great place to start.
To simplify things, here’s a quick-reference chart to get the sizing right.
Wire Gauge and Circuit Breaker Sizing Chart
| Motor Thrust (lbs) | Max Amp Draw | Recommended Wire Gauge (AWG) | Circuit Breaker Rating (Amps) |
|---|---|---|---|
| 55 | 50 | 6 | 60 |
| 70 | 42 | 8 | 50 |
| 80 | 56 | 6 | 60 |
| 101 | 46 | 8 | 50 |
| 112 | 52 | 6 | 60 |
This chart is a solid starting point. Always double-check your motor’s manual for specific recommendations.
Best Practices for Routing Wires
How you run the wires is just as important as how you connect them. A loose wire can chafe against a sharp edge, creating a dangerous short. This is a common issue on a gunwale or bulkhead.
Take your time here. Secure cables with clamps or zip ties along their entire run. If you pass a wire through a hole, always use a rubber grommet to protect it from abrasion.
A proper wiring diagram for a 24-volt trolling motor isn't just about performance—it's about safety. Marine safety reports show that many trolling motor failures stem from improper wiring. Using wires that are too thin is a major fire hazard.
Making the Final Connections and Testing Your Setup
It's time for the moment of truth. You need to connect the power leads to your trolling motor plug. This is where your careful work comes together.
The most critical part here is polarity. You must connect the positive wire to the positive terminal and the negative wire to the negative terminal. There's no room for error.
A reversed connection can fry the motor's control board. It’s a costly and entirely preventable mistake. I always trace the wires one last time before making that final connection.
The Pre-Launch System Check
Before backing the trailer down the ramp, do a quick systems check. Grab your multimeter for this task. Set it to DC voltage.
Carefully touch the probes to the corresponding slots in the trolling motor receptacle.
- Positive probe to the positive slot.
- Negative probe to the negative slot.
You’re looking for a reading between 24 to 26 volts. If you see that, your series connection is correct. If the meter shows 12V, you’ve wired the batteries in parallel, so re-check your connections.
Once the voltage checks out, plug in the motor. Turn it on for just a couple of seconds to confirm it spins up.
Pro Tip: Never run your trolling motor out of the water for more than a few seconds. It relies on water for cooling and can quickly overheat. This is just a quick "go/no-go" test, not a performance trial.
Common Questions About 24V Trolling Motor Wiring
Even with the best wiring diagram, questions pop up during an installation. Let's walk through common questions to clear up any confusion. This ensures your setup is safe and reliable.
A common question is about mixing batteries. The short answer is: don't do it. When wired in series, they act as one power source.
An old battery paired with a new one creates an imbalance where one overcharges the other. This drastically shortens the life of both batteries. Always use identical batteries.
Another major hang-up is wire size. Skimping on the wire gauge is one of the most dangerous mistakes you can make. Always stick to the wire gauge recommended by the motor's manufacturer.
Answering Your Key Concerns
Getting the small details right makes a huge difference. Here are a few more specific questions I often help people with. This can prevent a system that's a constant headache.
- Can I use a standard 12V plug? Absolutely not. You must use a plug and receptacle rated for the amperage of your 24V system.
- Where exactly does the circuit breaker go? It goes on the main positive (+) wire. Install it as close to the battery as possible, ideally within 18 inches.
I often get calls about a motor not getting power after a new installation. Before complex diagnostics, double-check your connections. A loose terminal or reversed wire is often the culprit. For bigger issues, our guide on advanced boat motor troubleshooting can help.
Once everything is running, your job shifts to maintenance. Proper care of your batteries is just as important as the initial setup. Taking the time for mastering electric motor battery maintenance will pay off with more power and longer run times.
Ready to tackle your next boating project? Boating Articles has the expert guides you need. Visit https://boating-articles.com to find everything from maintenance tips to equipment recommendations.