When you first lay out a nautical chart, it can look like an overwhelming puzzle of lines, numbers, and strange symbols. But once you know what it all means, it becomes one of the most powerful tools in your navigation toolkit. Getting comfortable with a chart is a fundamental skill that separates a passenger from a true mariner.
Your First Look at a Nautical Chart
Before plotting a course, your eyes should go straight to the title block. This is the Rosetta Stone for the entire chart. It holds all the foundational information you need to make sense of the area.
Think of it as the chart's instruction manual. It tells you the geographic region, its official chart number, and the projection method used. Most importantly, it spells out the units for depth soundings—feet, fathoms, or meters?
Did you know the rules for modern chart-making are over a century old? The U.S. Office of Coast Survey’s original Nautical Chart Manual, published back in 1920, laid the groundwork for everything we see today. You can still find information on this foundational document on the NOAA website.
Why Chart Details Matter
Most nautical charts you'll encounter use the Mercator projection. The reason is practical: it displays any line of constant course as a perfectly straight line, which makes plotting your route much simpler. The trade-off is that it distorts the size and shape of landmasses, especially far from the equator.
Another critical detail you cannot ignore is the publication date. The seafloor is constantly changing. Sandbars shift, channels are dredged, and new hazards can appear surprisingly quickly.
Using an outdated chart is like navigating with a blindfold on. Always make sure you have the latest edition. For a deeper dive, our guide on how to read nautical charts covers how to keep your library up-to-date.
Here's a quick breakdown of what you'll find in that all-important title block.
Key Information in a Chart's Title Block
This table summarizes the essential elements found in a nautical chart's title block and explains their importance for safe navigation.
| Element | What It Tells You | Why It's Critical |
|---|---|---|
| Chart Title & Region | The geographical area the chart covers (e.g., "Approaches to Narragansett Bay"). | Confirms you're using the correct chart for your intended passage. |
| Chart Number | The official identifier (e.g., "Chart 13221"). | Essential for purchasing, referencing, and finding updates. |
| Projection & Scale | The map projection used and the ratio of chart distance to real-world distance (e.g., 1:80,000). | Affects how you plot courses and measure distances. |
| Depth & Height Units | The units used for all soundings (depths) and clearances (heights), like feet, fathoms, or meters. | Prevents you from running aground or hitting an overhead obstacle. |
| Datum Information | The reference levels for soundings (chart datum) and elevations (vertical datum). | Tells you the water level conditions the depths are based on (usually Mean Lower Low Water). |
| Edition & Publication Date | The edition number and the date the chart was printed. | Ensures you have the most recent, accurate information available for navigation. |
Spending a minute studying this block before you begin will save you a world of confusion. It sets the context for everything else you'll do.
Decoding a Chart's Visual Language
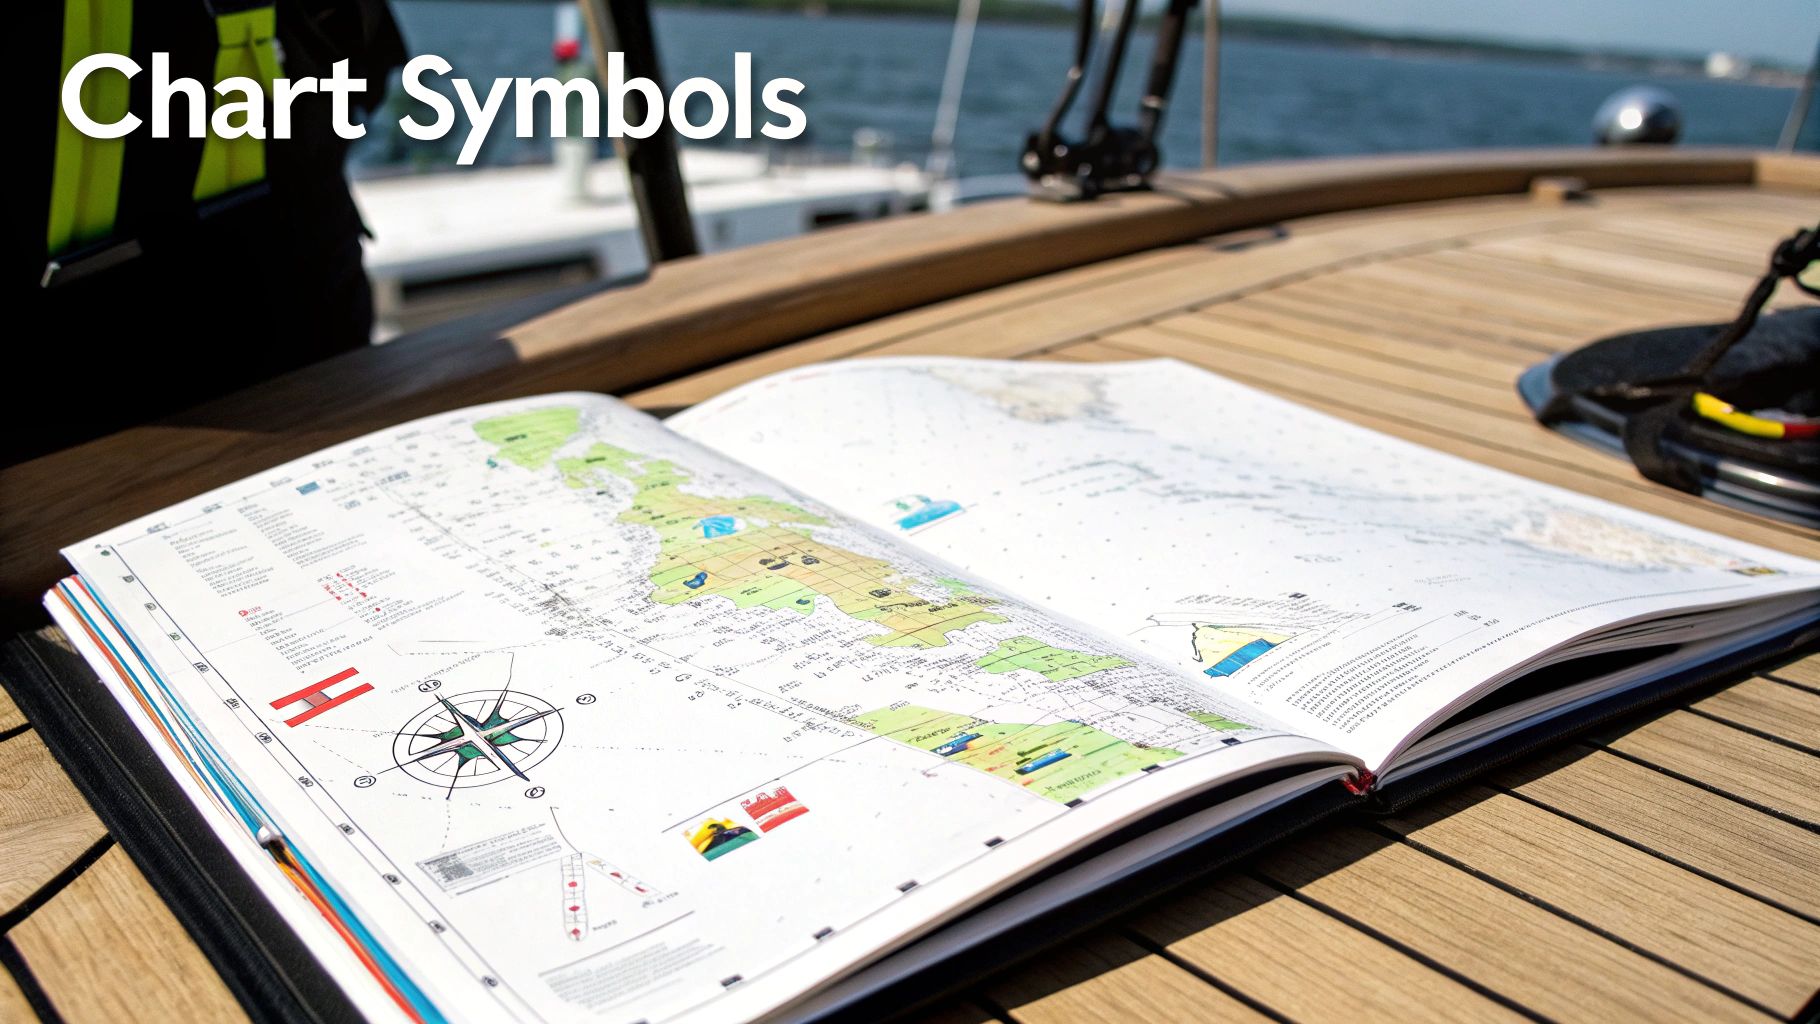
A nautical chart isn't just a map; it's a conversation. It speaks a universal language of symbols, colors, and abbreviations. Once you learn it, the chart becomes a clear, actionable guide for your voyage.
Early charts were the lifeblood of maritime travel during the Age of Exploration. Today's versions are built on the same principle: documenting dangers and pointing to safe water. It’s fascinating to see just how far we've come from those early hand-drawn maps.
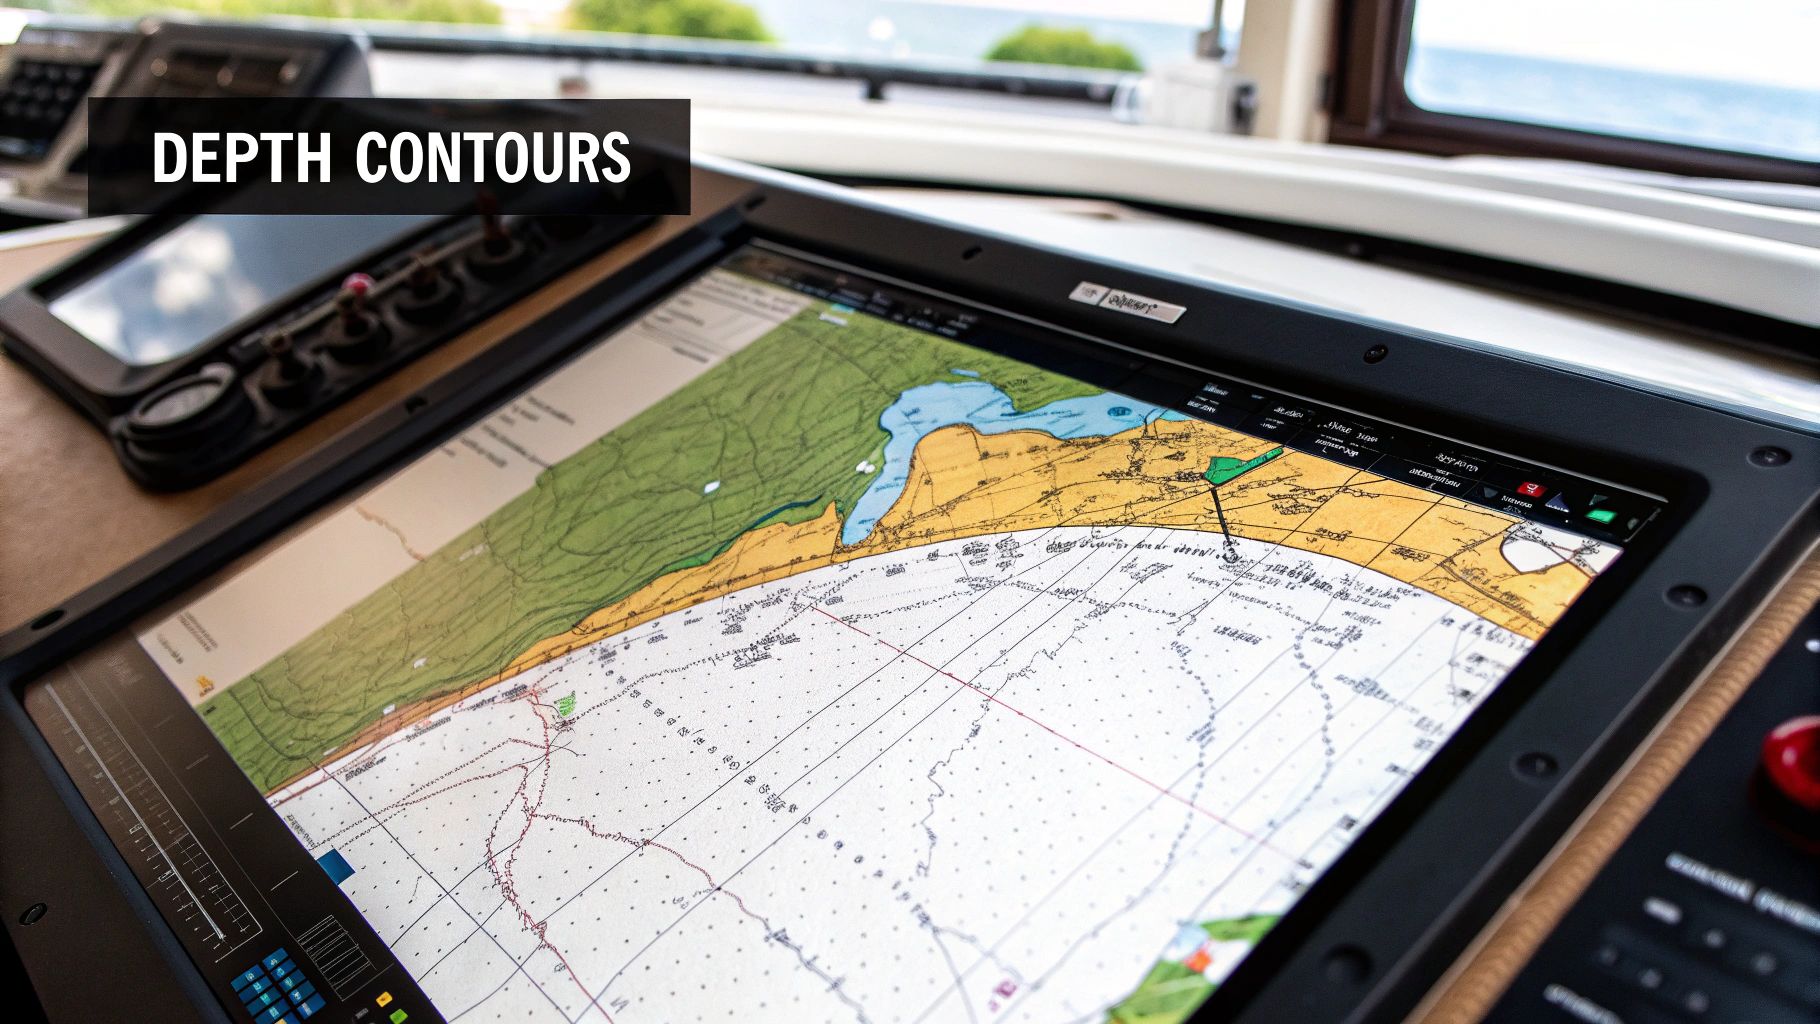
Reading Colors and Depths
The color scheme gives you an at-a-glance read on water depth. It lets you quickly assess the general safety of an area.
- White: Think of this as open water. It signifies deep, generally safe water for navigation.
- Light Blue: This is your "proceed with caution" zone, marking shoal water.
- Dark Blue: Treat this as a potential no-go area. It represents very shallow water and intertidal zones.
Scattered across these colored areas, you'll see numbers called soundings. These give you the specific water depth at that spot.
Before you trust a single sounding, you must check the chart’s title block to see if the depths are in feet, fathoms, or meters. Getting this wrong is a classic and potentially disastrous mistake for any boater.
Symbols are the next critical layer of information. A tiny cross might be a submerged rock, while a wreck symbol warns of an underwater obstruction. This visual system, combined with your knowledge of the boating rules of the road, helps you make smart decisions.
Reading the Signs: How Buoys and Beacons Appear on Your Chart
Think of Aids to Navigation (ATONs) as the road signs of the water. Knowing how these buoys and beacons show up on your chart is fundamental to staying safe. These symbols guide you to safe channels and away from hazards.
The system you'll use most often is the lateral system, which uses colors and shapes to define channel edges. The mariner's phrase to remember is: "Red, Right, Returning." It means that when you're coming in from the sea, keep the red buoys on your starboard (right) side.
Decoding Buoy Symbols on the Chart
On a nautical chart, a buoy symbol is typically a small diamond with a tiny circle underneath it. Its color is marked with a letter, like "R" for red or "G" for green.
You’ll also notice numbers next to the symbols. This is part of the system:
- Red buoys are always marked with even numbers.
- Green buoys are always marked with odd numbers.
This numbering helps you track your progress along a channel.
One of the most critical skills is interpreting light characteristics. A symbol like "Fl R 4s" on your chart tells you to look for a red light that flashes once every four seconds. This allows you to confirm your position with certainty.
For a deeper dive into marker meanings, I recommend The Ultimate Guide to Buoys and Flags. Once you get the hang of it, you’ll be able to match what you see on the horizon with your chart seamlessly.
Plotting Your Course With Confidence
This is where your chart-reading skills come together. You can translate those symbols and lines into a safe trip from Point A to Point B.
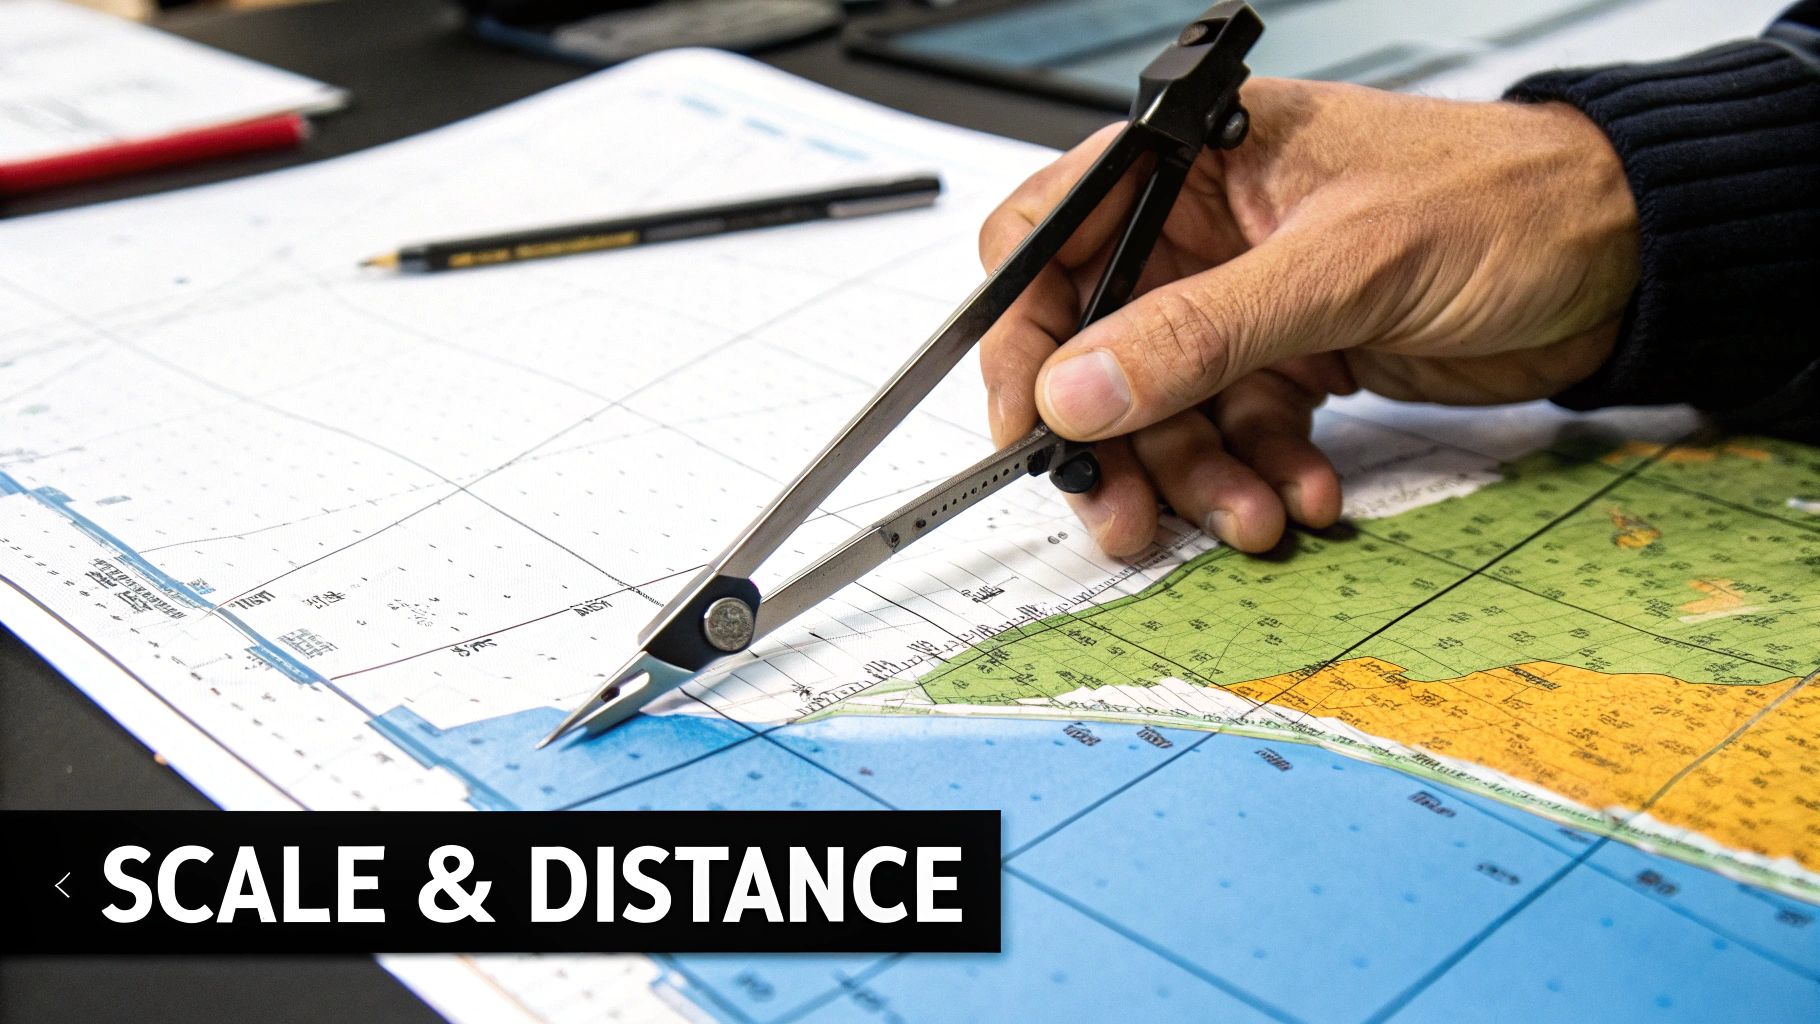
Everything starts with a simple question: Where are you right now? Your GPS will give you the answer in latitude and longitude. Find your latitude on the vertical scale on the chart's sides, and your longitude on the horizontal scale.
A pair of dividers or a straight edge is your best friend here. Walk those two points inward until they meet, and that intersection is your boat.
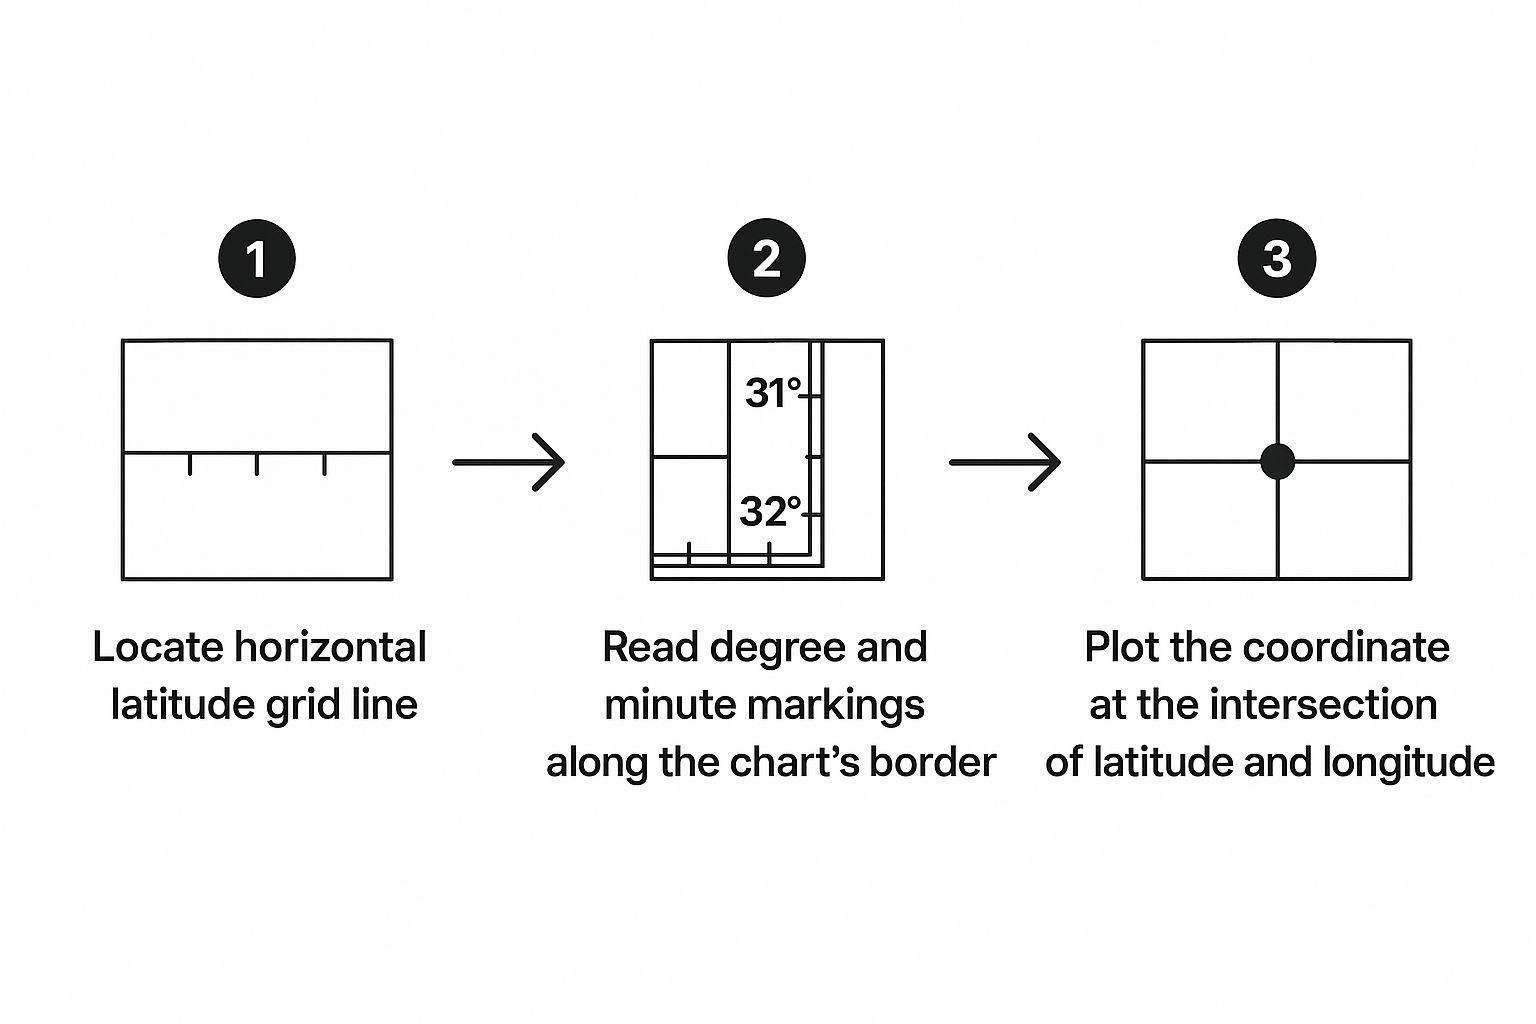
As you can see, by locating your coordinates on the vertical and horizontal scales, you can accurately mark any position with precision.
Drawing Your Course Line
With your starting point and destination marked, it's time to connect the dots. Grab your parallel rulers and lay a straight line between the two points. This is your intended track.
To make it navigable, you need a bearing. Without changing their angle, "walk" the rulers across the chart until one edge slices through the center of the nearest compass rose. The number on the outer ring is your true course.
Pro Tip: Don't forget magnetic variation! Your compass points to magnetic north, not true north. The variation for your area is printed in the middle of the compass rose. Add or subtract this value to convert your true course into a magnetic course.
Get The Right Tools For The Job
You don't need fancy equipment for manual chart plotting. Having the right basic tools makes the process smoother and more accurate.
Essential Tools for Chart Plotting
| Tool | Primary Use | Pro Tip |
|---|---|---|
| Parallel Rulers | Drawing straight lines and transferring course angles to the compass rose. | Invest in a good quality set. Cheaper plastic ones can slip and give you an inaccurate bearing. |
| Dividers | Measuring distances on the latitude scale and transferring positions. | Use the one-minute-of-latitude-equals-one-nautical-mile rule on the side scale for accurate distances. |
| Sharp Pencils (#2 or #3) | Marking positions and drawing course lines that can be easily erased. | Keep a dedicated eraser handy. Smudged pencil marks can lead to costly reading errors. |
| GPS Receiver | Providing your exact latitude and longitude for an initial position fix. | Always plot your GPS position on the paper chart. Don't rely solely on the electronic screen. |
The jump from old compasses to GPS has been amazing. If you're a gearhead, you might enjoy reading about the history of these electronic navigation tools.
Practical Tips from Experienced Mariners
Knowing how to read a chart is one thing; using it effectively on a heaving deck is another. The real learning happens out on the water. These tips will help you build that confidence.
First things first: always use the most current charts available. This isn't a suggestion; it's a fundamental rule of safe navigation. Make a habit of checking the U.S. Coast Guard's weekly Local Notice to Mariners for critical updates.
It's tempting to rely completely on your GPS chartplotter, but that's a rookie mistake. Electronic systems are brilliant, but they can and do fail. The modern gold standard is an up-to-date paper chart working alongside your GPS.
Safe voyages also depend on your own condition. Your ability to read fine print or spot a distant buoy can make all the difference. That's why taking care of your vision, which can include looking into essential vitamins for maintaining good eye health, is so important.
Managing Charts in Tight Spaces
On smaller boats, a full-sized chart is an unwieldy beast. You have to get smart about how you handle them.
- Fold Before You Go: At the dock, pre-fold your chart to show just the leg you're about to navigate.
- Get a Good Chart Case: A clear, waterproof chart case is your best friend. It'll protect your paper from wind and spray.
- Stack Your Route: On a longer trip, pre-fold each chart section and stack them in order. This prep saves you from a frantic shuffle later.
Getting Your Bearings: Common Chart Questions
Once you get a feel for the basics, a few questions almost always surface. It’s completely normal. Let's dig into some of the most common questions I hear.
Is a Chart Just a Map for the Water?
While they look similar, a nautical chart and a land map are different tools for different jobs. A map shows you roads and towns. A chart is your guide to what lies beneath the surface.
It’s packed with crucial information you’d never find on a map:
- Water depths (soundings)
- The nature of the seabed (sand, mud, rock)
- Underwater hazards like shoals, wrecks, and reefs
- Navigation aids like buoys and lights
Think of it this way: a map gets you from one city to another, but a chart gets your vessel safely from one harbor to the next.
A quick word of caution: Never rely solely on your boat’s GPS. It's a fantastic primary tool, but what happens if you lose power or the unit fails? Having up-to-date paper charts and knowing how to use them is your essential backup plan.
How Often Do I Need New Charts?
The answer is simple: always use the most current charts available. The marine environment is constantly changing. Sandbars shift, channels are dredged, and buoys can be moved.
Navigating with old information is a recipe for disaster. Agencies like NOAA in the United States constantly issue updates and release new editions. It's your responsibility to ensure your charts are current before you leave the dock.
For more expert guides, in-depth reviews, and practical advice on everything from docking to electronics, Boating Articles is your go-to resource for making every moment on the water safer and more enjoyable. Explore our full library of content at https://boating-articles.com.